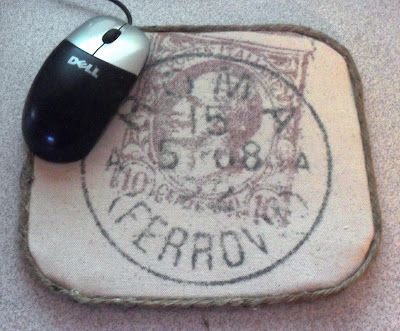
It was purely by accident that I figured out this method of transferring a printed image.–í¬† It is simple to do and you don’t need any special paper or products!–í¬† If you can print it from your computer then you can transfer it to a fabric or wood surface.
Now, this project I am about to show you is not very exciting, but it will give you the idea of how the transfer is done…so here it goes.
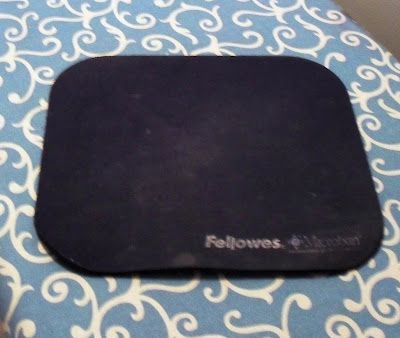
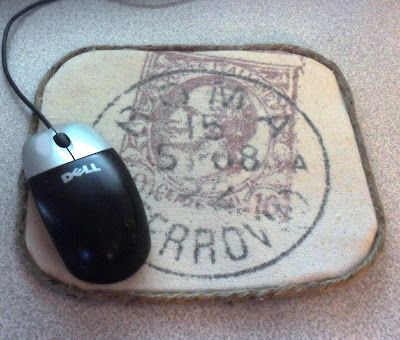
I decided to cover my old and dirty mouse pad that looked like this:
В 
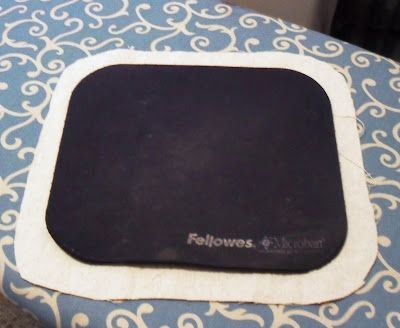
IВ used canvas and cut a piece a bit larger that than the mouse pad.В 
В 
В 
В 
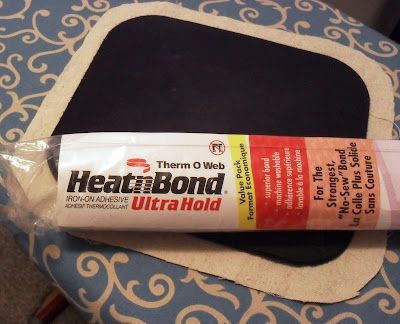
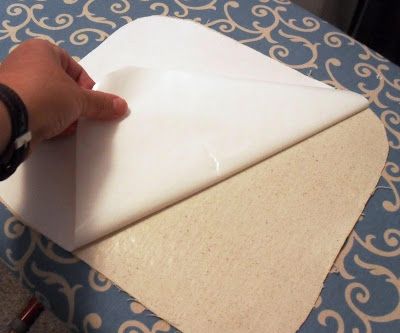
Then I cut a piece of “Heat n Bond” the same size as the canvas and, following the instructions, adhered it to the back of my fabric.–í¬† When it cooled, I removed the paper backing.–í¬†
В 
В 
В 
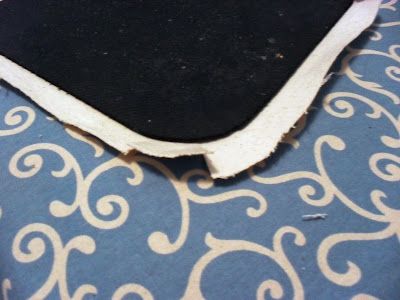
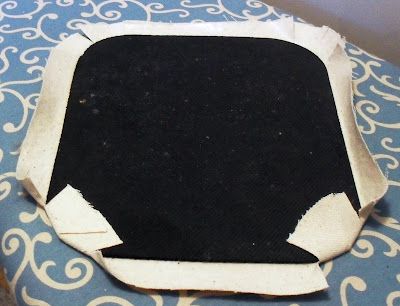
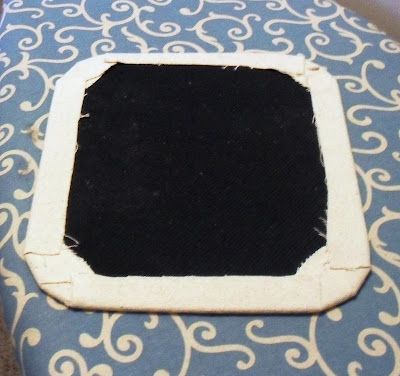
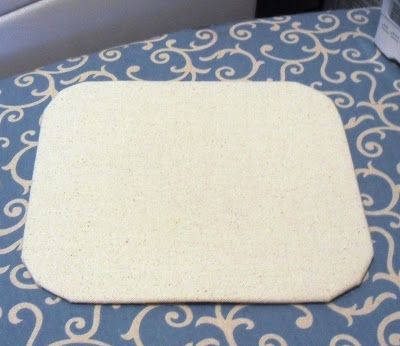
I then centered the mouse pad onto the back of the canvas and, again, using my iron, adhered the canvas to the top of the mouse pad.В  I then wrapped the excess canvas to the back of the pad and used my iron to attach the edges.
В 
В 
В 
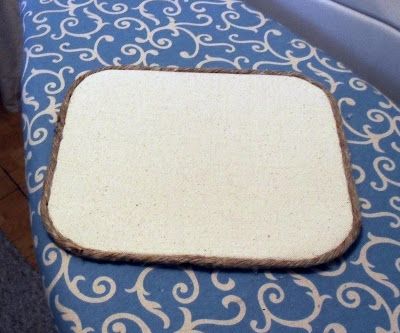
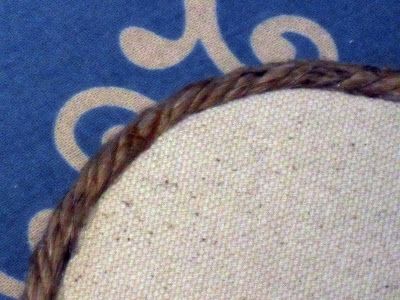
I cut a piece of macramae jute and secured it to the edge of the pad using hot glue.
В 
В 
В 
В 
В 
В 
So, now you know how I covered the mouse pad…onto how to do the transfer.
В 
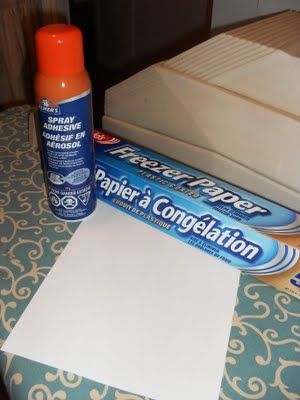
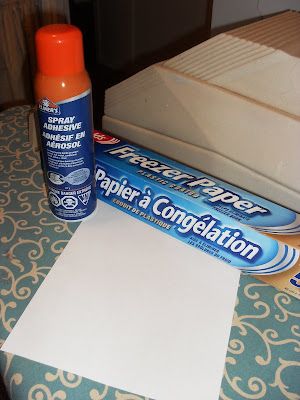
You will need freezer paper, 8 1/2″ x 11″ paper, spray adhesive, ink jet printer and your imagination.
В 
В 
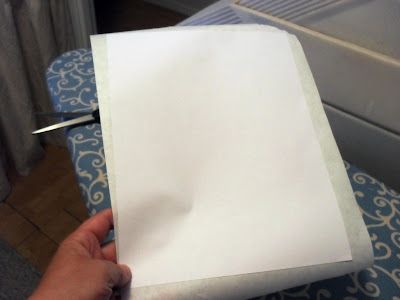
Cut a piece of freezer paper a bit larger than your standard-sized paper.–í¬† Spray your paper with spray adhesive and lay on the “paper side” of your freezer paper leaving the waxy side exposed.
В 
В 
В 
Trim the excess freezer paper using sissors.–í¬† You now have a “reusable” sheet of transfer paper for all your projects.–í¬†
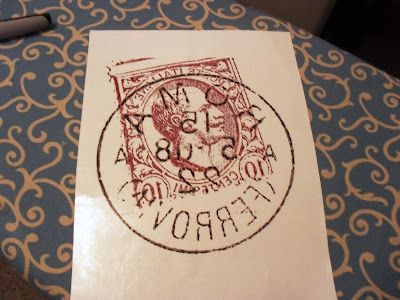
I found the italian postage image from “The Graphics Fairy” and set my printer to “mirror image”.–í¬† You will need to print the image–í¬†on the “waxy” side of your paper.–í¬† (be careful not to smudge the image)
В 
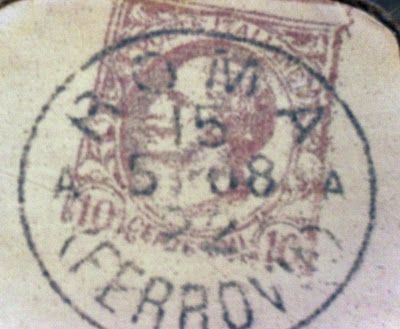
Now, wet the surface you are transferring too, however, your only want to “slightly” dampen the surface, not soak it!–í¬† I dampened the top of the mouse pad with a sponge.–í¬† Place your image on the surface and “burnish” using the back of a spoon until you have rubbed the entire image surface.–í¬†–í¬† Carefully lift the paper off and there you have it…an image transfer!
В 
I kinda rushed through this project because I was excited to share it with you so, as you can see, I didn’t quite center my image onto mouse pad.–í¬† Also, my pictures are not very good…very dark and they don’t show the true colors.–í¬† Sorry, but I hope you get the idea!–í¬† Oh…and before I forget I mentioned that the paper is “reusable”… once you transfer your image you can simply wipe the “waxy” side with a damp cloth to remove any remaining ink.–í¬† You now have a clean surface to print a new image for a new project.
В 
As I mentioned, this method works well on wood as well, so I will be sharing a wood transfer project in the next day or two.В  Until then, thank you for stopping for a visit!В 
