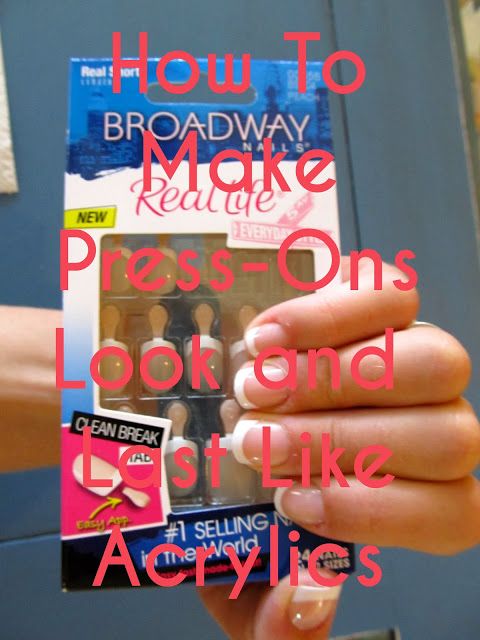
How To Make Press-On Nails Look and Last Like Acrylics
I have really ugly nails. My fingers are kind of chubby and my nails are thin and my nail beds are wide. It’s just not cute. It doesn’t help that I sometimes chew on my nails. I am also horrible at painting my nails. It always looks like a 7 year old painted them. I can’t ever get the paint to last more than 2 days without chipping, either. Acrylics seemed like a pain and fairly costly. I had to figure out how to make my nails look good for special occasions without the price. I was wandering through Walgreens when I decided to try some press-ons.
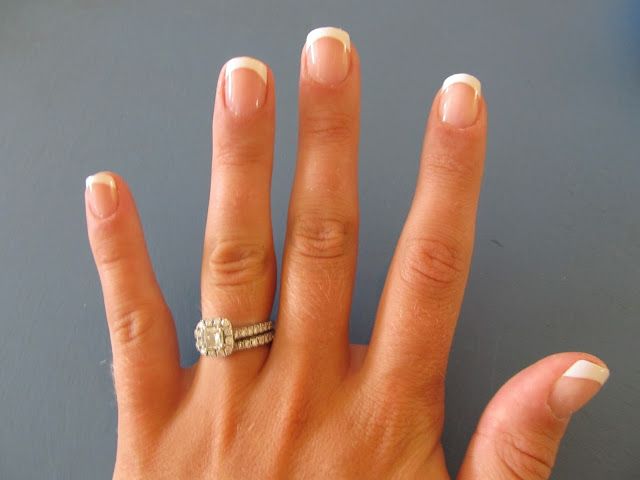
The first time I tried them, I liked the way they looked, but they did not last very long. Throughout the years, I have continued to use press-on nails and have learned what makes them look good and what makes them stay. They look so natural and elegant, I would pick them over acrylics any day. I love the look of press-on nails so much I even wore them for my wedding.
Here’s how to do it:
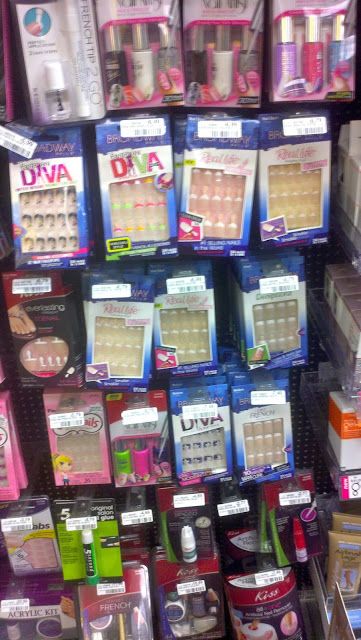
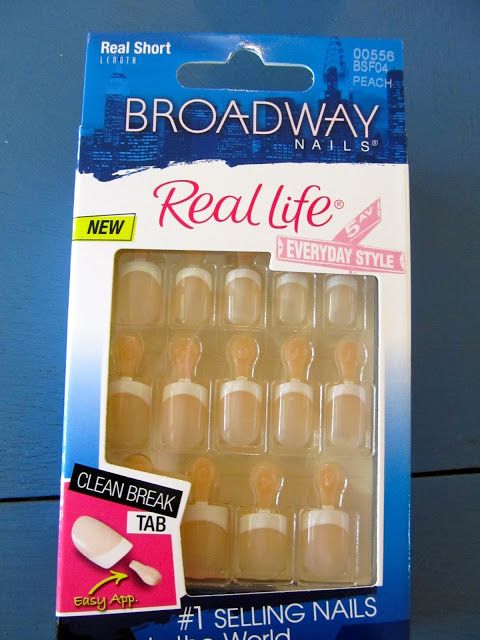
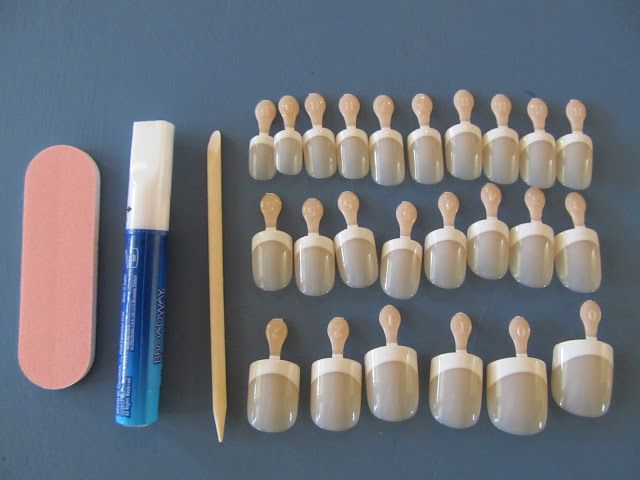
At your local drug store, Target, or grocery store, go to the nail aisle. You are looking for Broadway Nails Real Life. I get the real short in peach because I think they look the best. They also come in pink, which might match the color of your nails better. It is very important to get this brand!! I have tried all other brands and this one is the best by far. They cost around $6.49, depending on where you live.
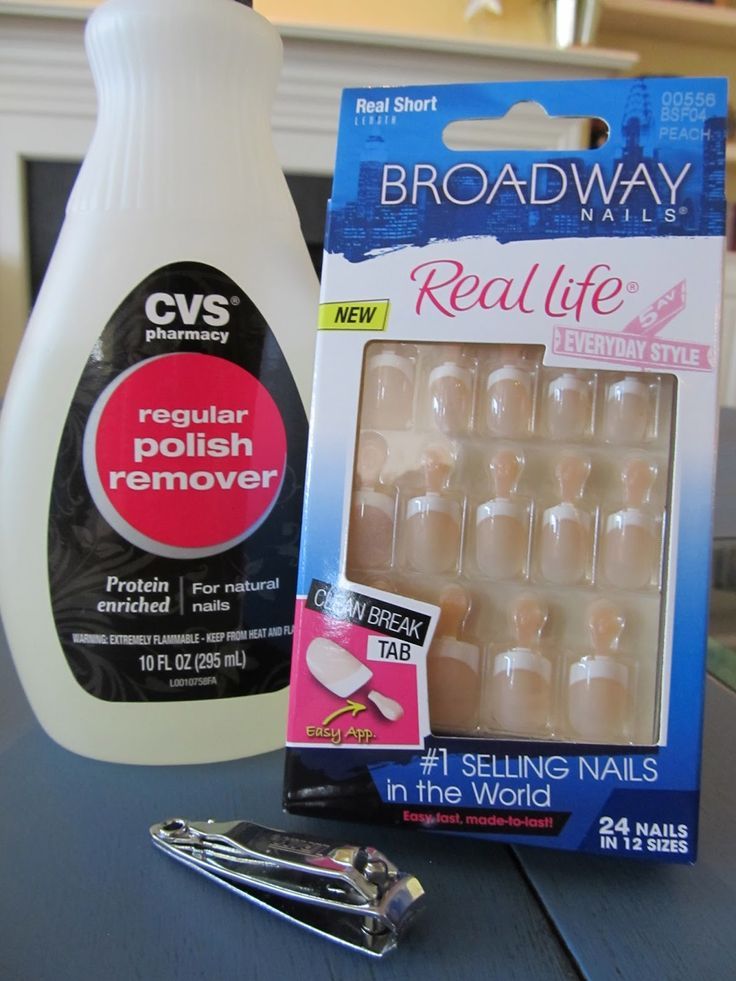
The nail kit comes with 24 nails of different sizes, glue, a file, and a cuticle pusher. You will also need nail polish remover and a nail clippers.
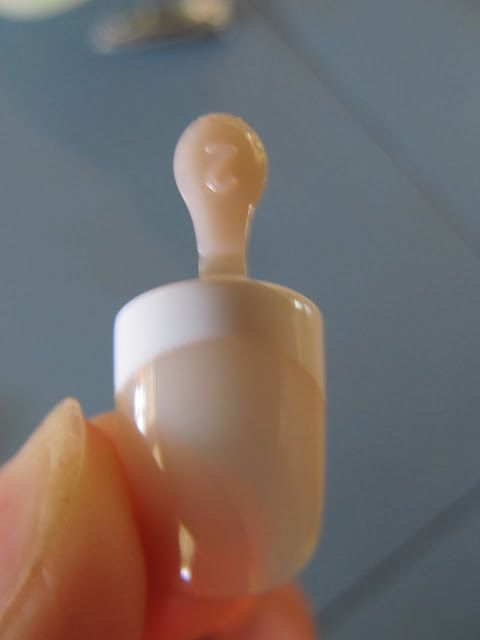
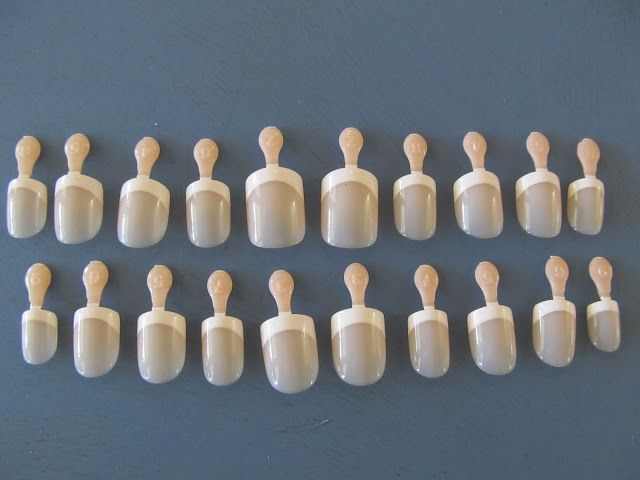
If you have already done the math, 24 nails means that each box comes with 2 sets of nails. That’s right, two sets for $6.49. Now, this part is very important. You must do it the right way to get both sets of nails to work and look great. Each nail has a tab with a number. The numbers are how large the nails is.
You are going to want to arrange them in order starting with the pinkies and going in to your thumbs. It will look like this:
set #1: 8546226458
set #2: 9657337569
One set will be slightly bigger (length wise) than the other set. I usually use the longer set for an event and the shorter set for day to day activities.
Next, pick your set and put the other one back in the box.
Use the nail polisher remover to take off any polish. Wipe your nails with the remover even if you don’t have any polish, it helps the glue adhere. Next, push down your cuticles. This helps the nail get all the way down in there. Cut and file your nails. You want your real nail to be pretty short so it does not grow past the press-on.
Now, this is another very important step. Take the nail file and rough up your nails. Make them as rough and grainy as possible. This helps the glue to stay.
You are ready to start putting the nails on. Starting with your pinky and going in to the thumb and one hand, and then doing the same on the other. Put glue on both your real nail and the press-on. Make sure it is evenly dispersed and that there is not too much glue. Press the nail onto your real nail and hold for at least 10 seconds. Wipe any excess glue from around the nail. Break off the tab at the top very carefully. Use the file to file down any extra tab that was left on there. Once you have done all 10 nails, you are finished!
Other tips:
-Don’t pick at your nails. I always used to pick at the glue around the nails, but it will make them fall off!
-If you find the white part is chipping off, you can go over it with white nail polish. You can even paint the entire nail a color.
-If a nail does happen to fall off before you are done with them, just glue it back on.
If you follow these instructions, your nails will last for 2 or more weeks!
So there you have it, 2 sets of nails that last 2 weeks each. That’s a month of nails for $6.49!
Good Luck!
