Bubble dress: patterns and tutorial

Bubble dress: Patterns and tutorial
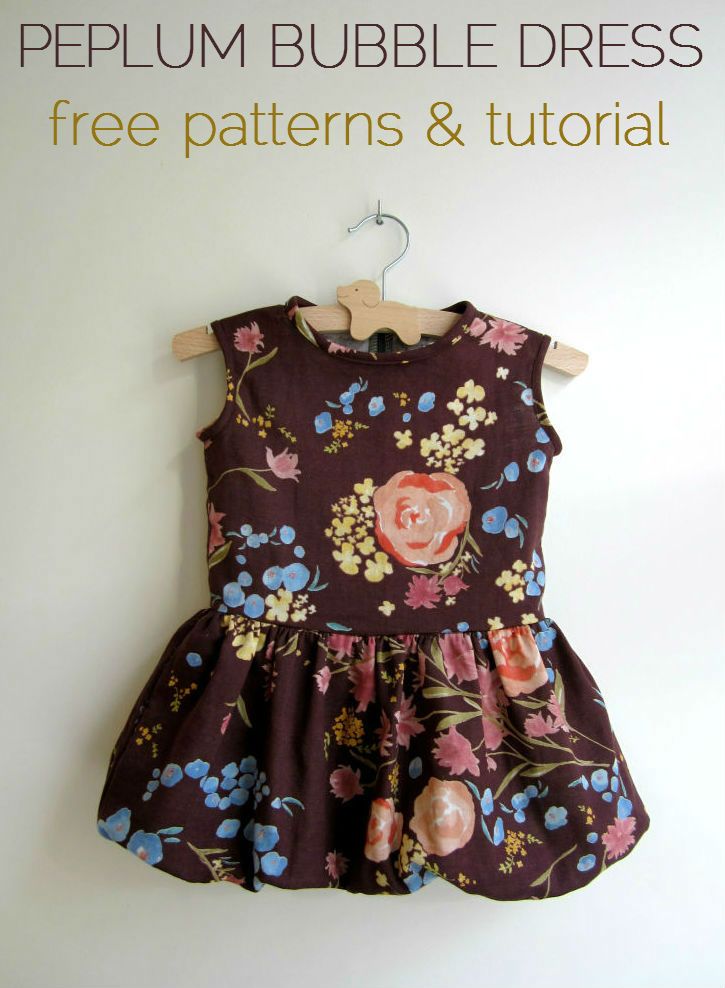

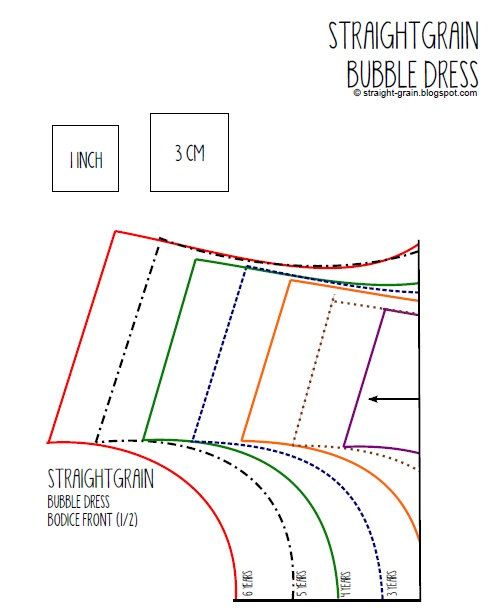
Pattern for ages 1 to 6 (including 18 months), with the help of Winifred Aldrich’s¬†great book.
The bodice is a very basic model with a blind zipper, and bias at the armholes and neck line. The pattern has regular shoulders instead of the cap sleeves I used for my own two versions.
I hope the patterns and tutorial are clear and correct; please let me know if they’re not!
MATERIALS
–¬†fabric: bubble dresses and skirts look best in thin fabrics such as¬†poplin, double gauze, and lawn cotton.¬†Quilting weight cotton¬†also works, but it’s best to stay away from heavier fabrics such as¬†canvas, heavy linen, and corduroy.¬†Knit¬†fabrics tend to fall rather ‘flat’, and do not give the ‘bubbly’ look you might be aiming for.
–¬†fabric for lining of the skirt
–¬†a blind zipper, preferably at least the length of the back of the bodice, preferably a few centimeters longer.
PATTERNS
The pattern pieces are free. All you need to do to get them is become a follower of this blog (via Google Friend Connect, or email, or Facebook) and download them here.
[Note: this is a new and improved version of the pattern, put online on March 28, 2013]
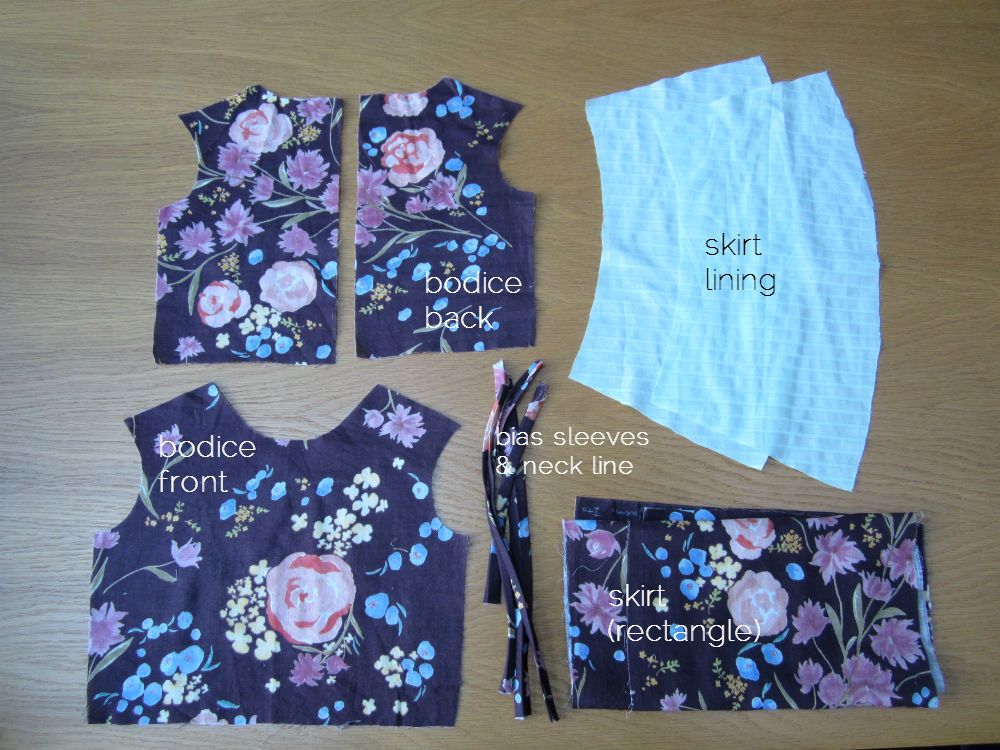
The pdf-document contains the patterns for the bodice back and front, and the skirt’s lining. It also contains a table with the measurements for the outer skirt, which is a simple rectangle.
ABOUT THE SIZES
The new version of the pattern contains a table with the measurements of the finished dress. Compare these with the measurements of a dress which fits your child well in order to get an idea of which size to make. The bodice gets a bit more narrow towards the bottom; keep in mind that you’ll have to be able to pull the dress over your child’s shoulders!
If you do want to shorten or lengthen the skirt of the dress, it is best to shorten the skirt at the bottom (not the top). You will have to shorten the lining as well as the outside skirt. So for instance, if you want the dress to be 3 centimeters shorter, you’ll have to cut off 3 centimeters from the lining, and three centimeters from the outside skirt.
COMBINING IT WITH ANOTHER BODICE PATTERN
If you want, you can replace the pattern of the bodice of the dress with that of another dress (e.g., one with sleeves, buttons, …). One thing you’ll have to keep an eye on is that the¬†bottom¬†of the¬†bodice¬†has the same width as the¬†top¬†the¬†lining¬†(!) of the skirt, as these parts need to be stitched together without any gathering.
TUTORIAL
Note: all seams are 1 cm (0.4 inch), and are included in the pattern.
0. Cut all the pattern pieces, and serge or zigzag the following edges:
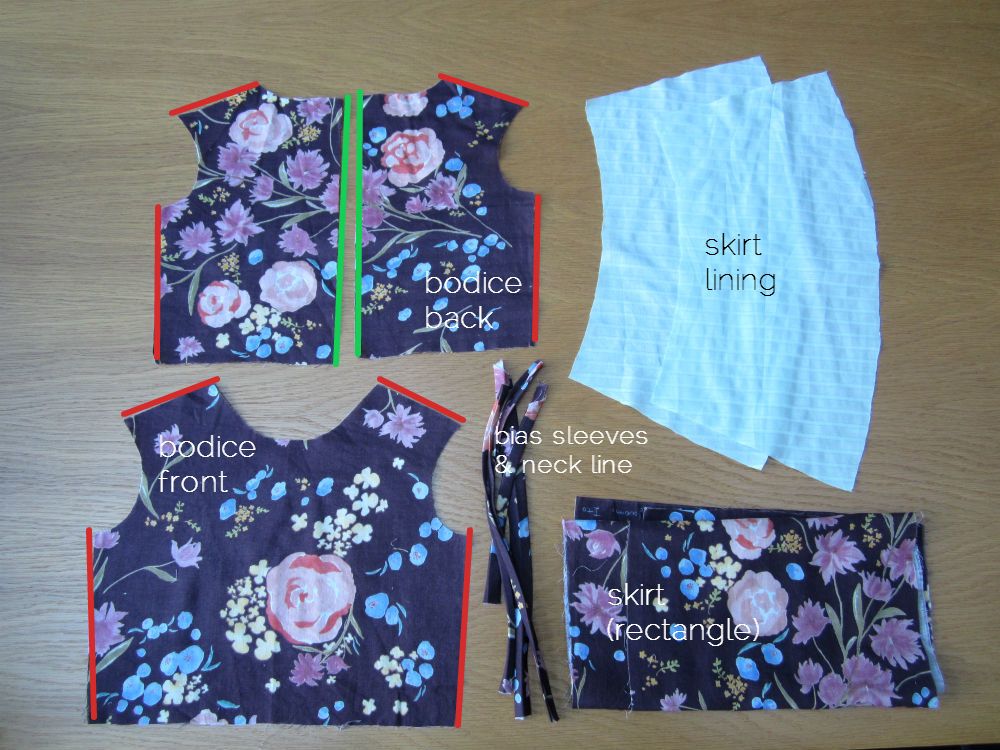
- the sides of the front and back piece of the bodice (indicated in red)
- the schoulders of the front and back piece of the bodice (indicated in red)
- optional: the inside of the back pieces.I like to serge these together with the zipper later on, but if you don’t like this, then now is the time to serge the back pieces. (indicated in¬†green)
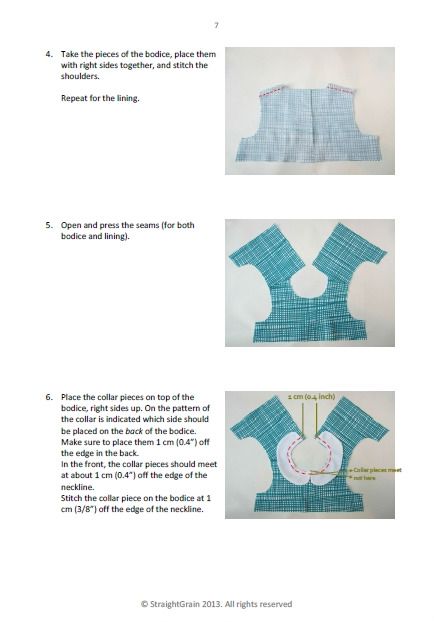
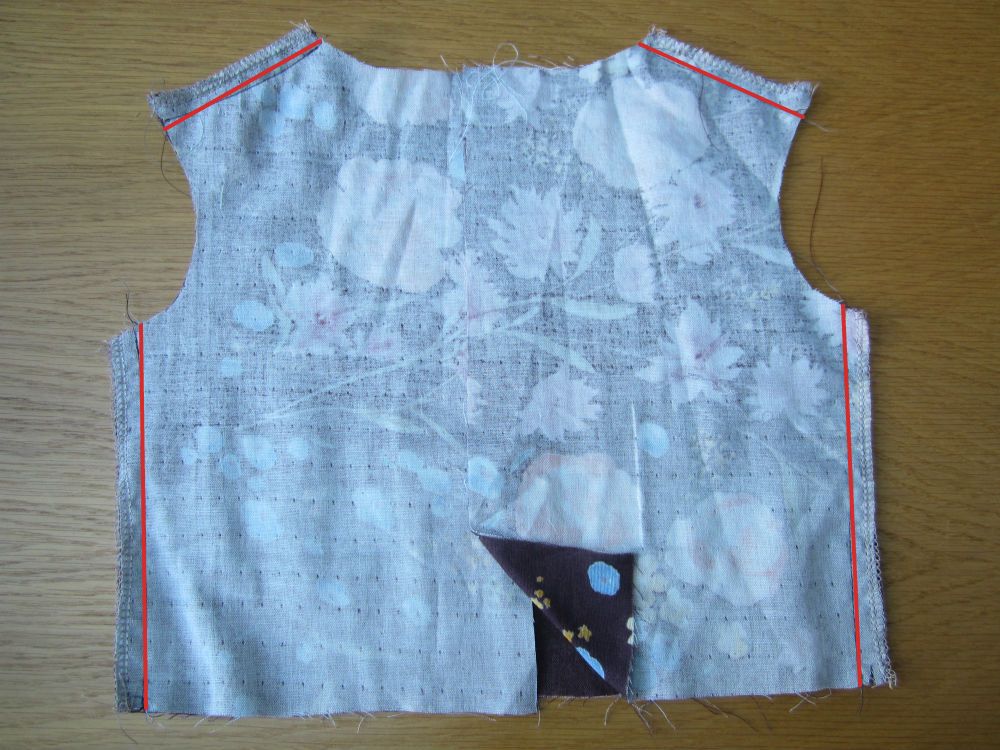
1. First, assemble the bodice. Put the back pieces on the front piece, right sides together. Stitch sides and shoulders at 1 cm (0.4 inch) of the edge.
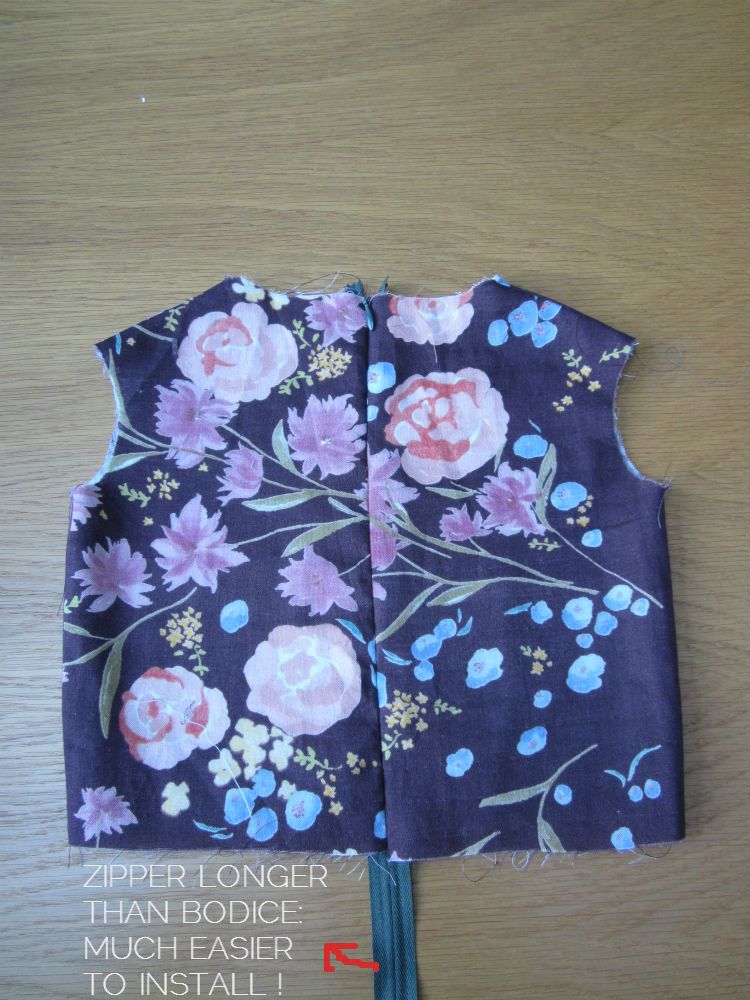
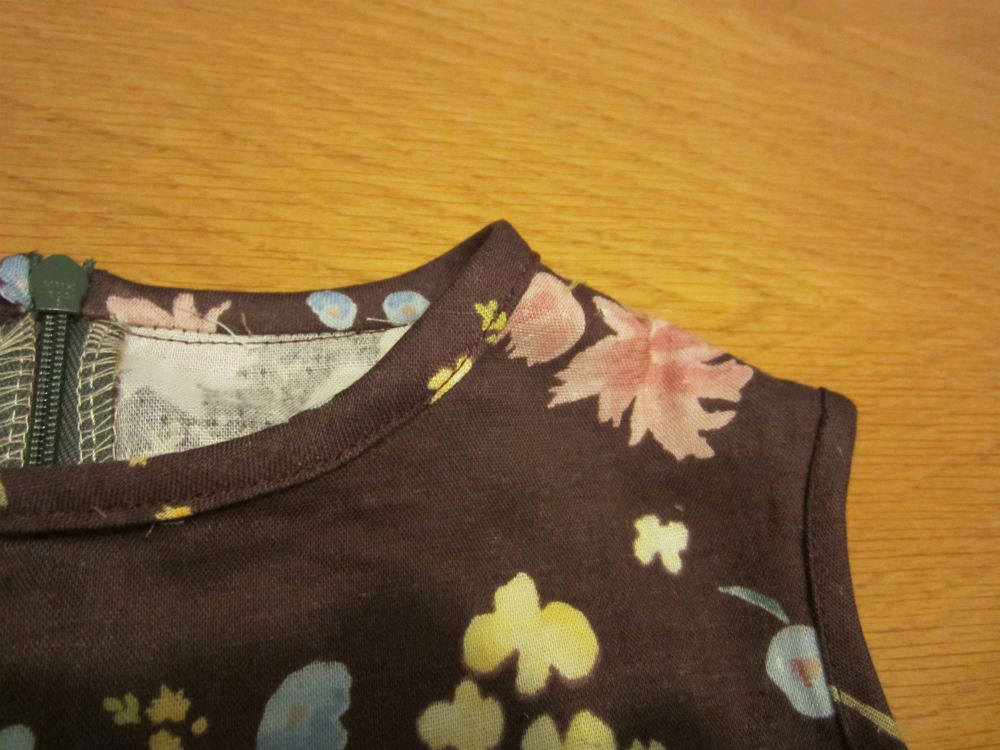
3. Next, finish the armholes an neck line with bias binding. First stitch it to the wrong side of the fabric (good side bias on wrong side fabric) and then fold it over and topstitch on the right side.
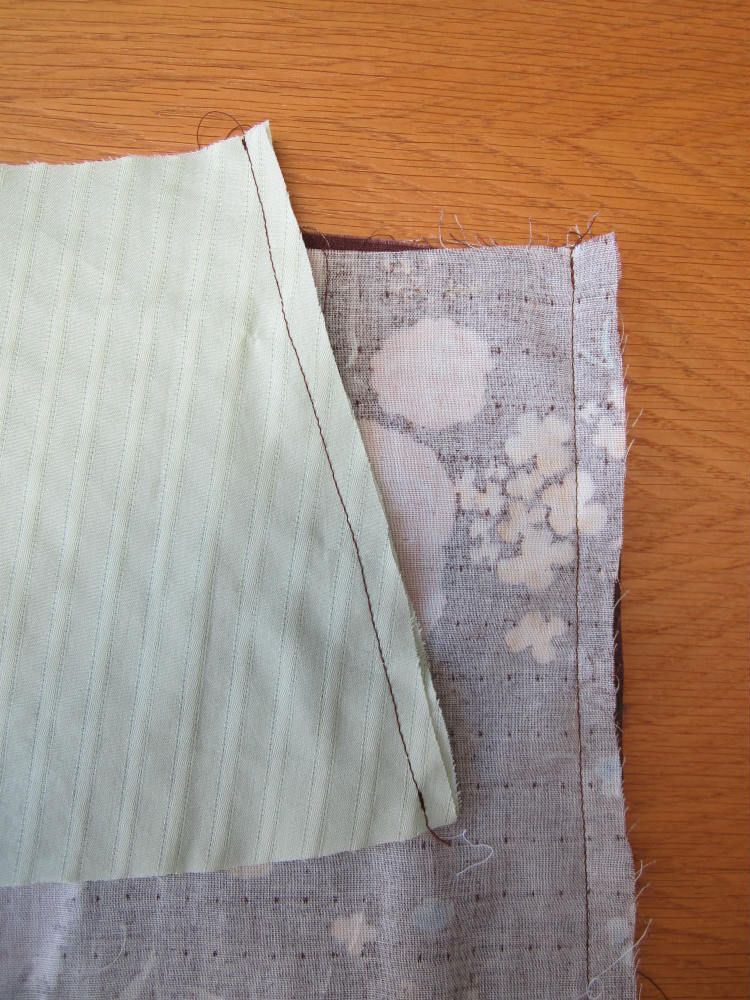
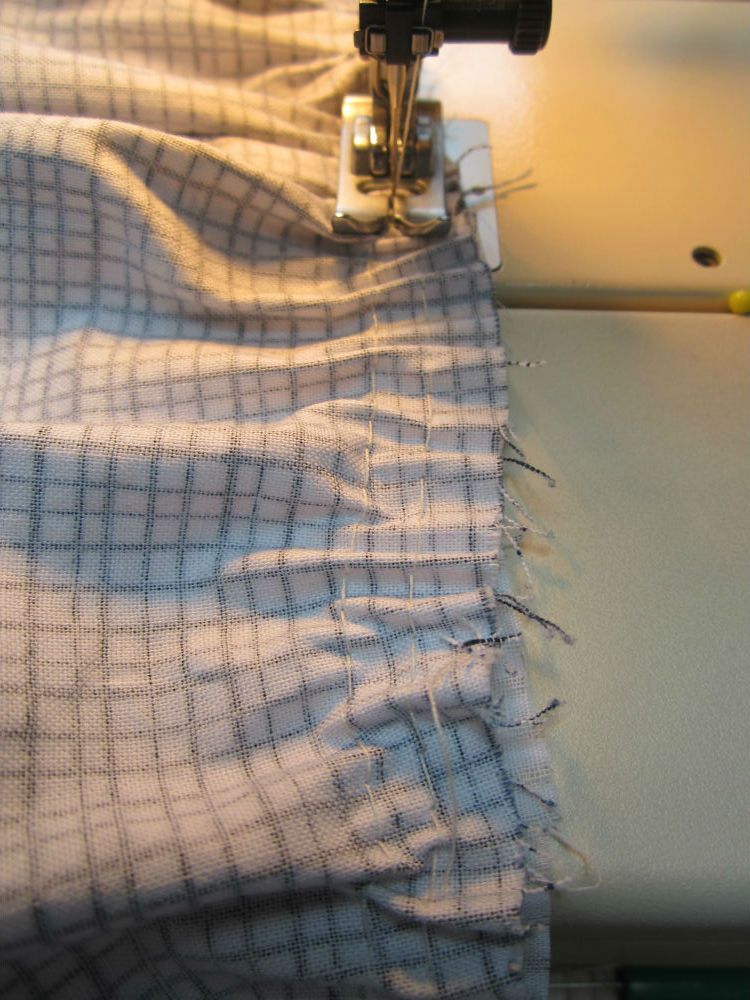
Now we’ll put the lining and the outside of the skirt together. We’ll start with the bottom, putting the¬†right¬†sides together. First, gather the outside fabric so it is reduced to the same width as the lining.¬†Here¬†is a little tutorial with some tricks on how to do this perfectly. Stitch the bottom of the skirt and the lining together, and turn.
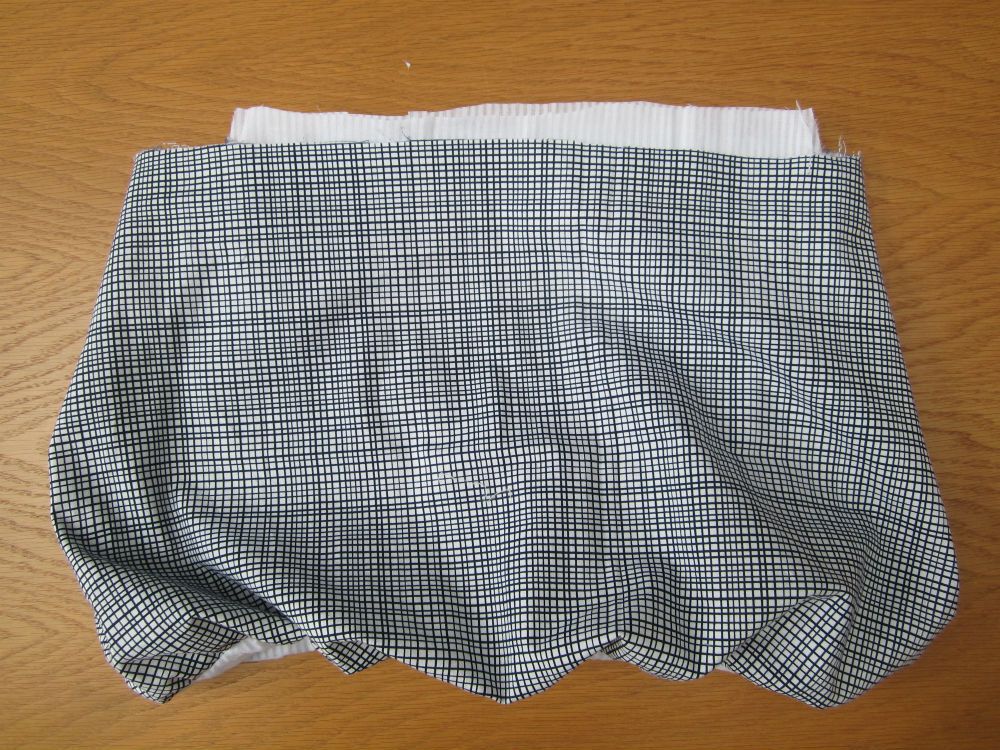
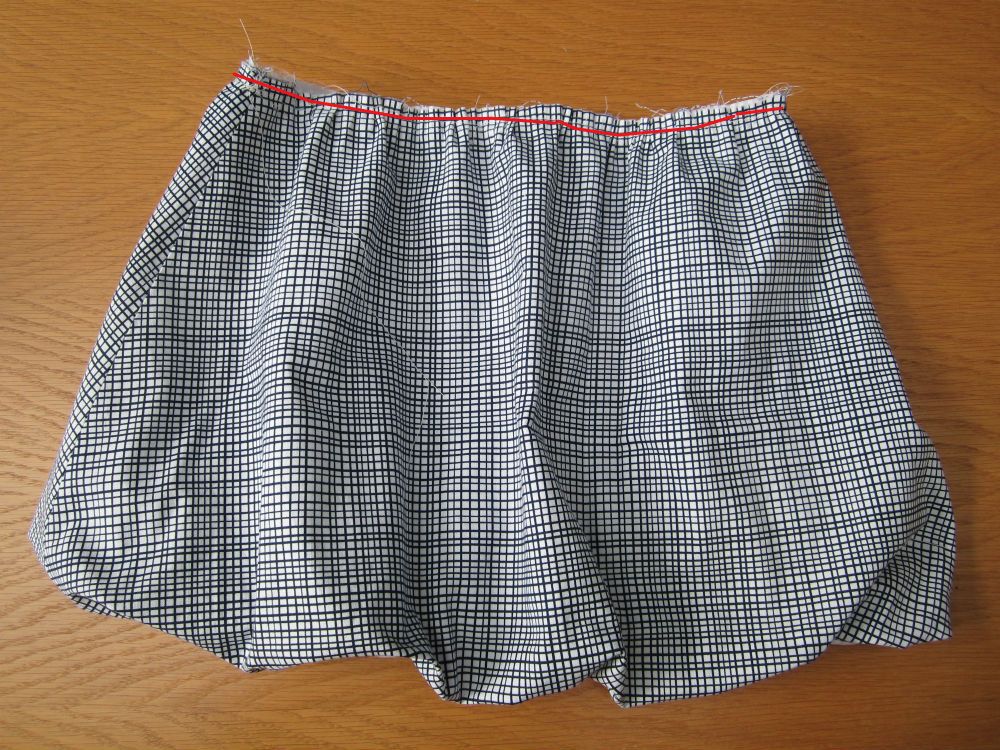
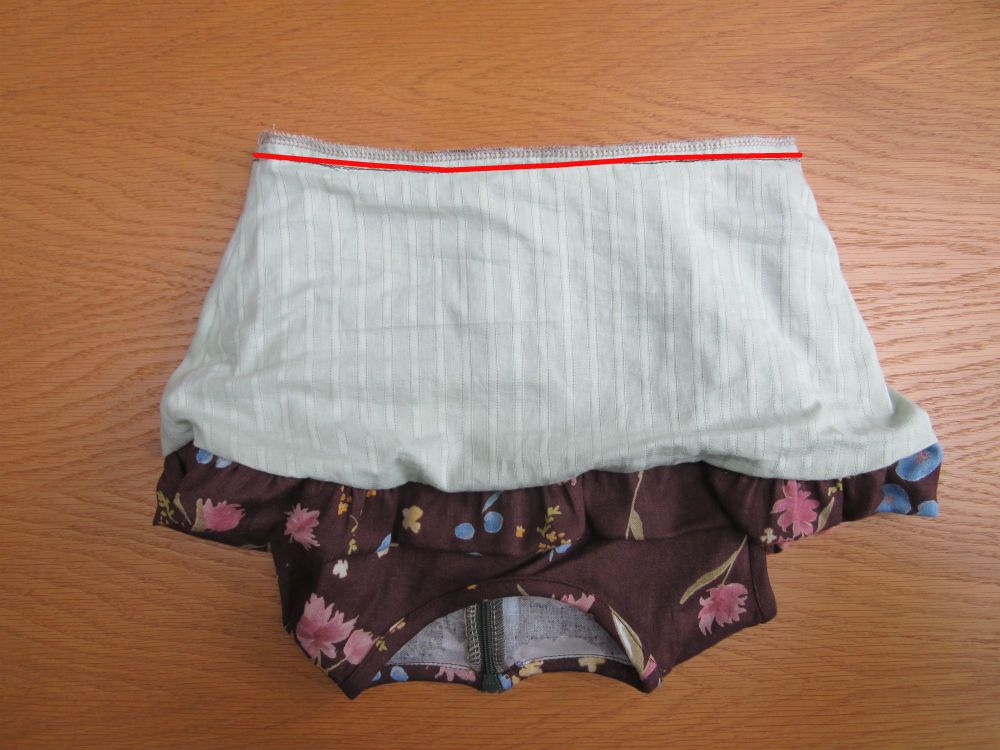
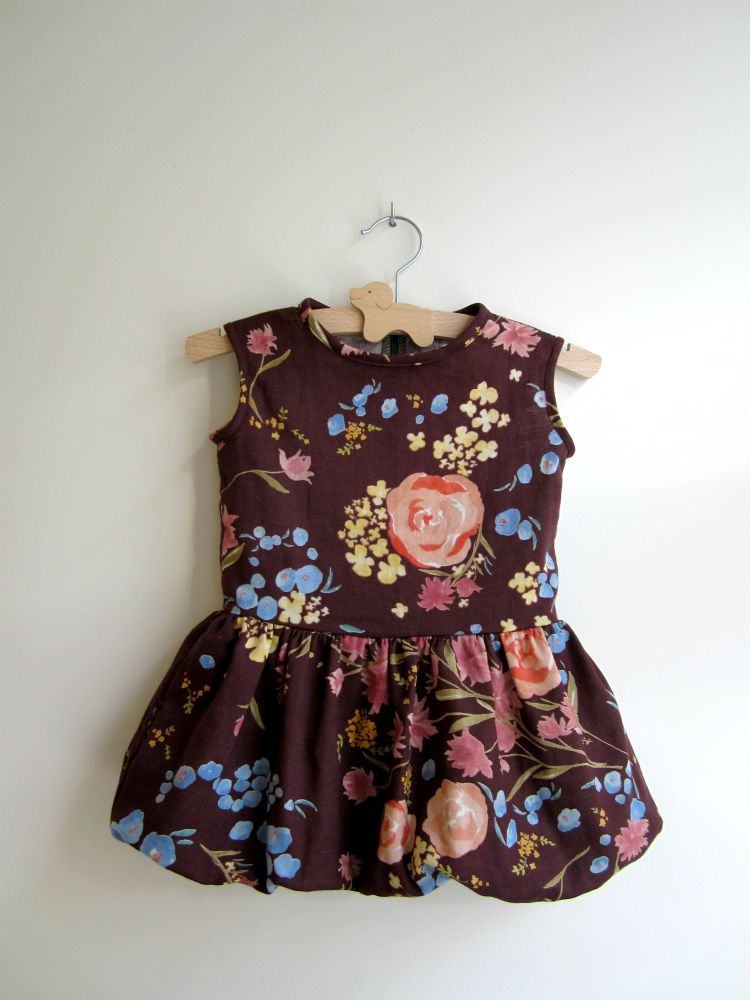
8. Serge the seam you just created, and turn the dress. Oh la la!
Bubble dress pattern available now
After an avalanche of computer problems over the last three days, I finally managed to finish the bubble dress pattern and instructions, and open up my shop.
The bubble dress pattern is sold for $8, and is immediately available for download. Just click the “Add to cart” button blow, and you will be taken through all the necessary steps.
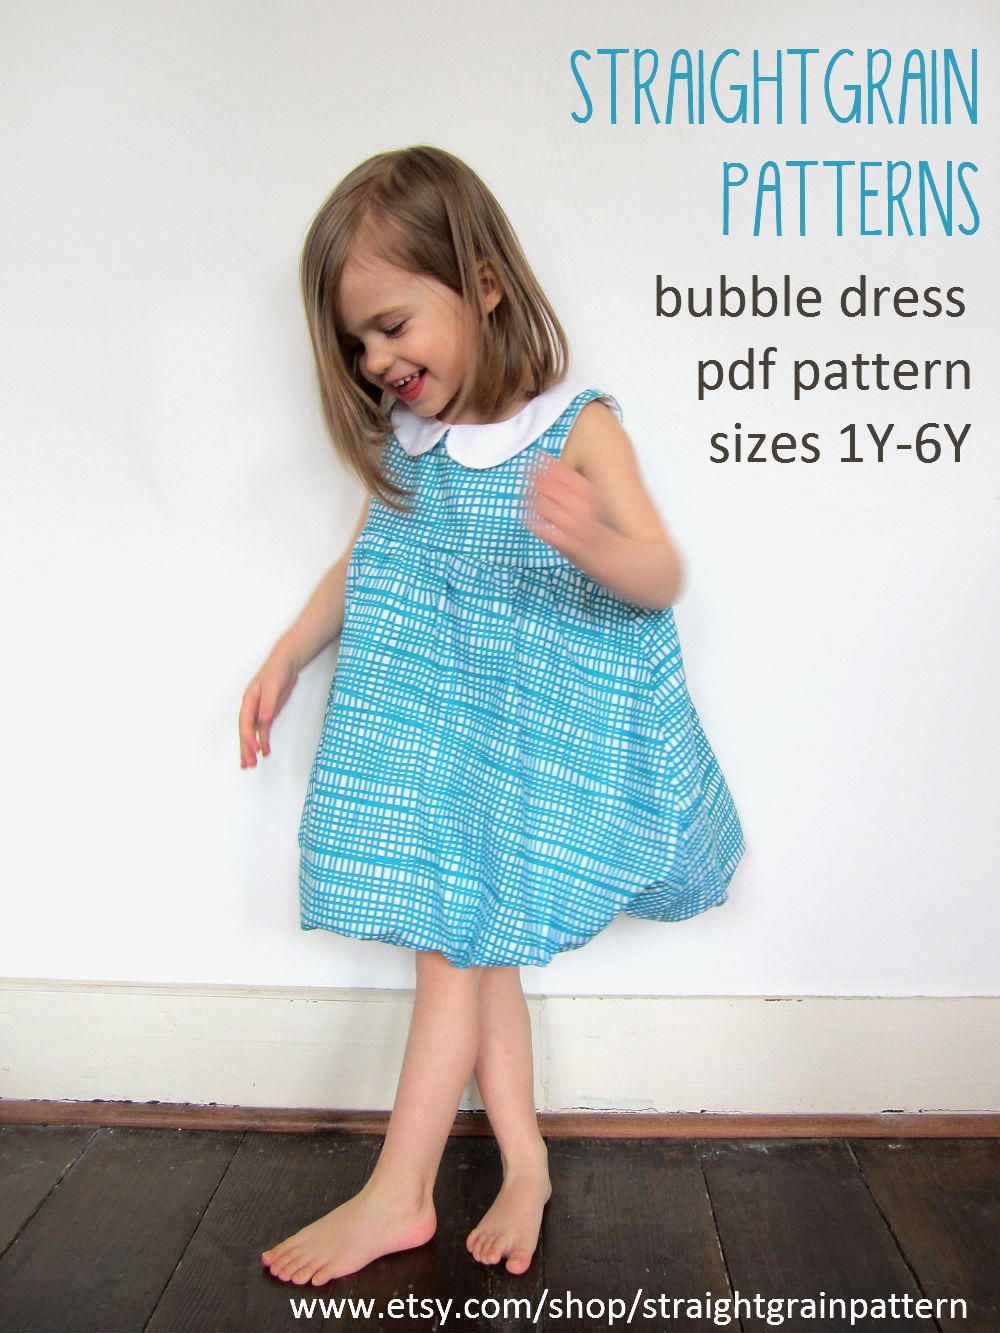
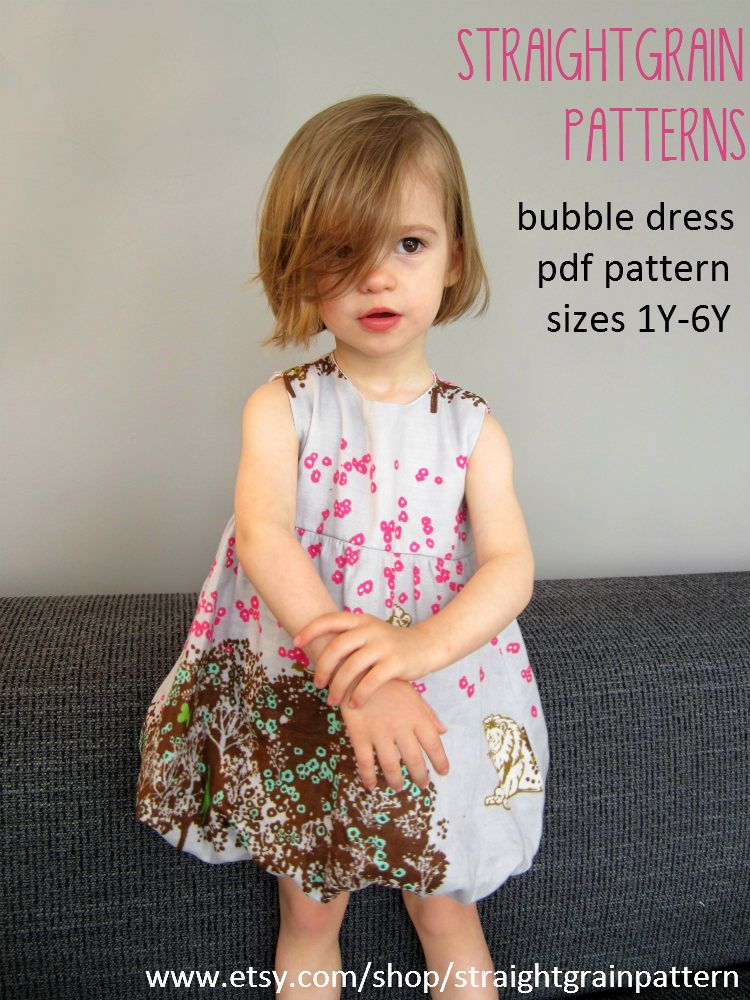
The patterns and instructions are in pdf-format, easy to print (on letter size or A4 paper) and to assemble. The 29 page file includes:
– easy-to-follow sewing instructions with full-color pictures of each step
– digitally drawn patterns for ages 1Y, 18M, 2Y, 3Y, 4Y, 5Y, 6Y, seam allowance included
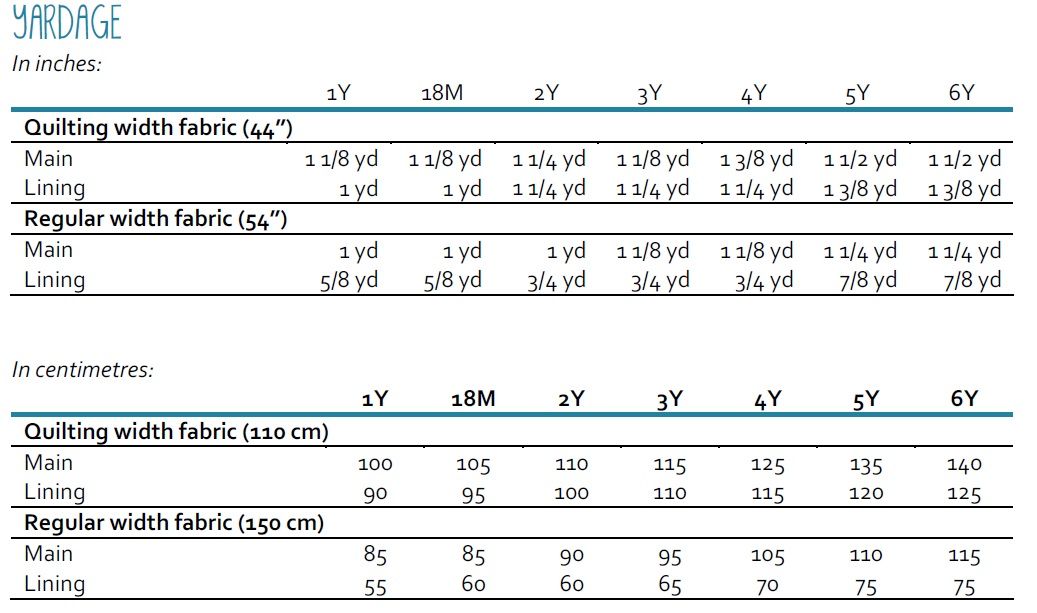
– detailed information about printing and assembling the patterns, yardage needed, materials needed, and sizing
– cutting diagrams for quilting width and regular width fabric
– all measurements are provided in inches/yards and centimeters
