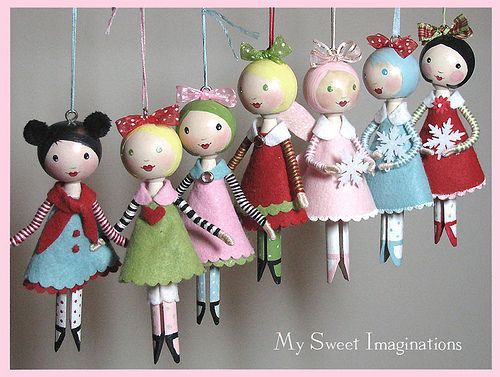
Clothes pin doll ornaments
Step 1: Supplies
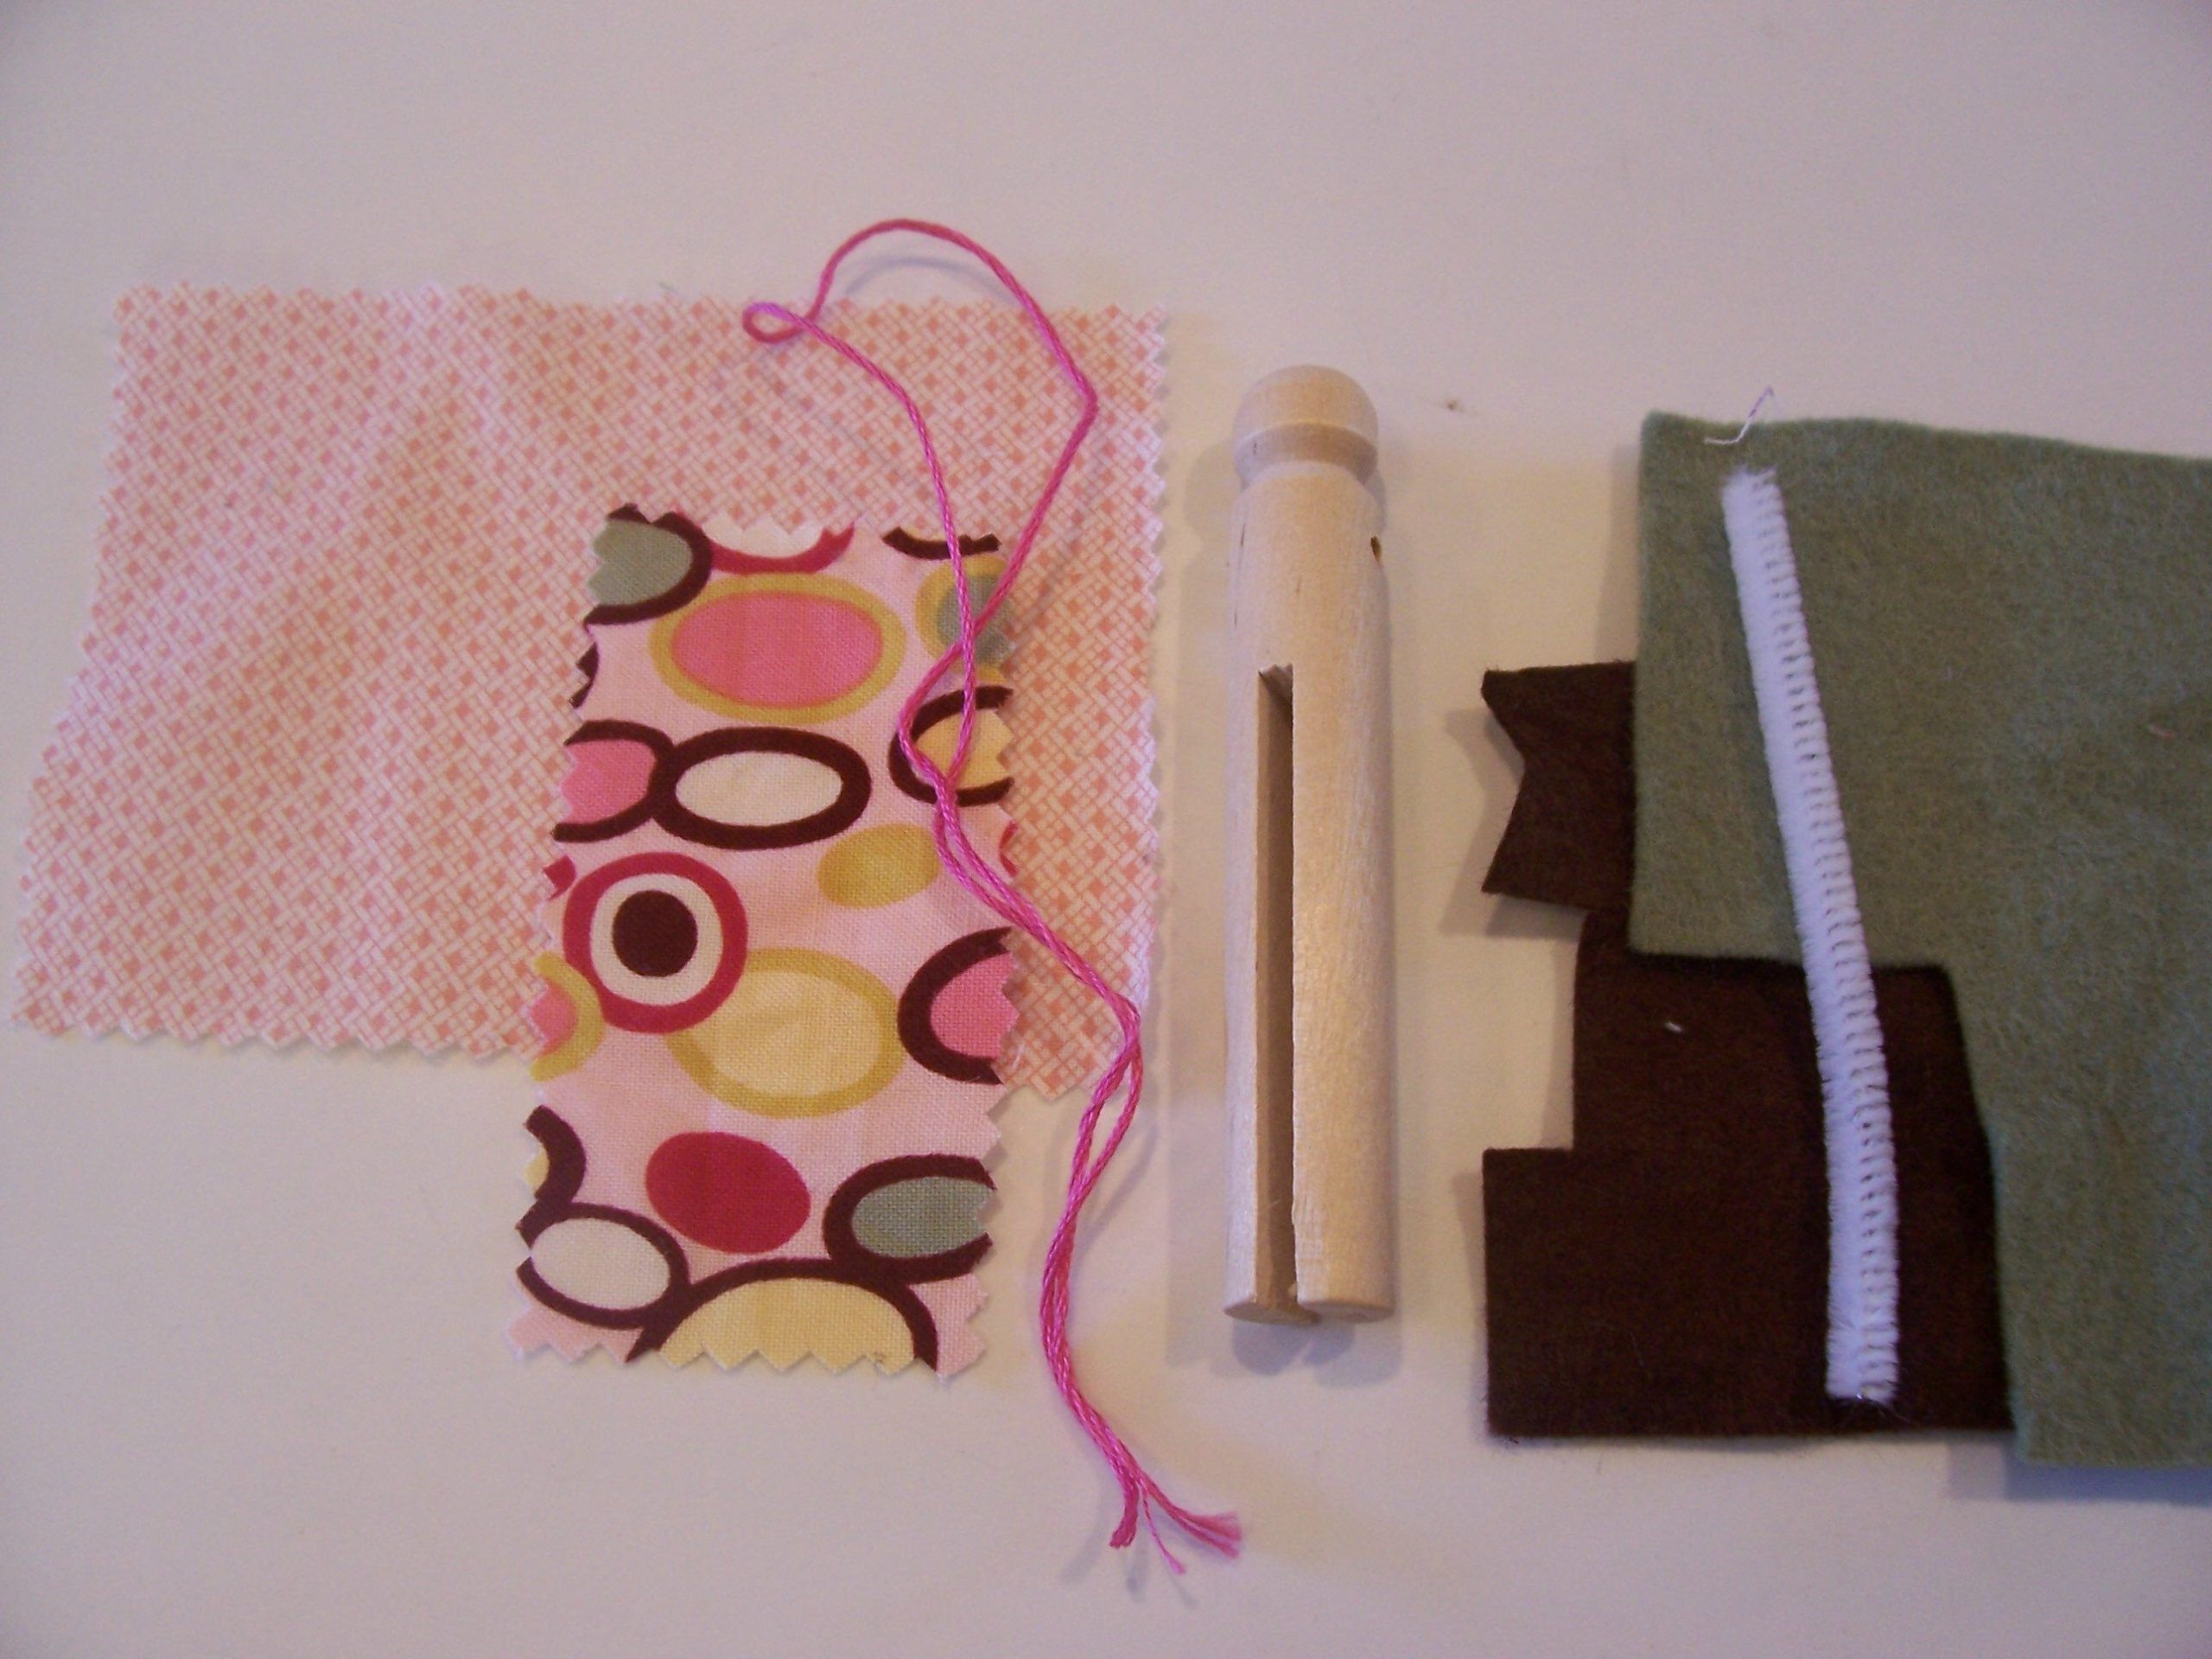
A round clothespin/doll pin (available at craft stores like Michaels)
Scraps of cotton fabric and felt
yarn or felt for hair
embroidery floss
ball point pen
school glue or tacky glue
scissors
drill
pipecleaner
needle and thread (optional)
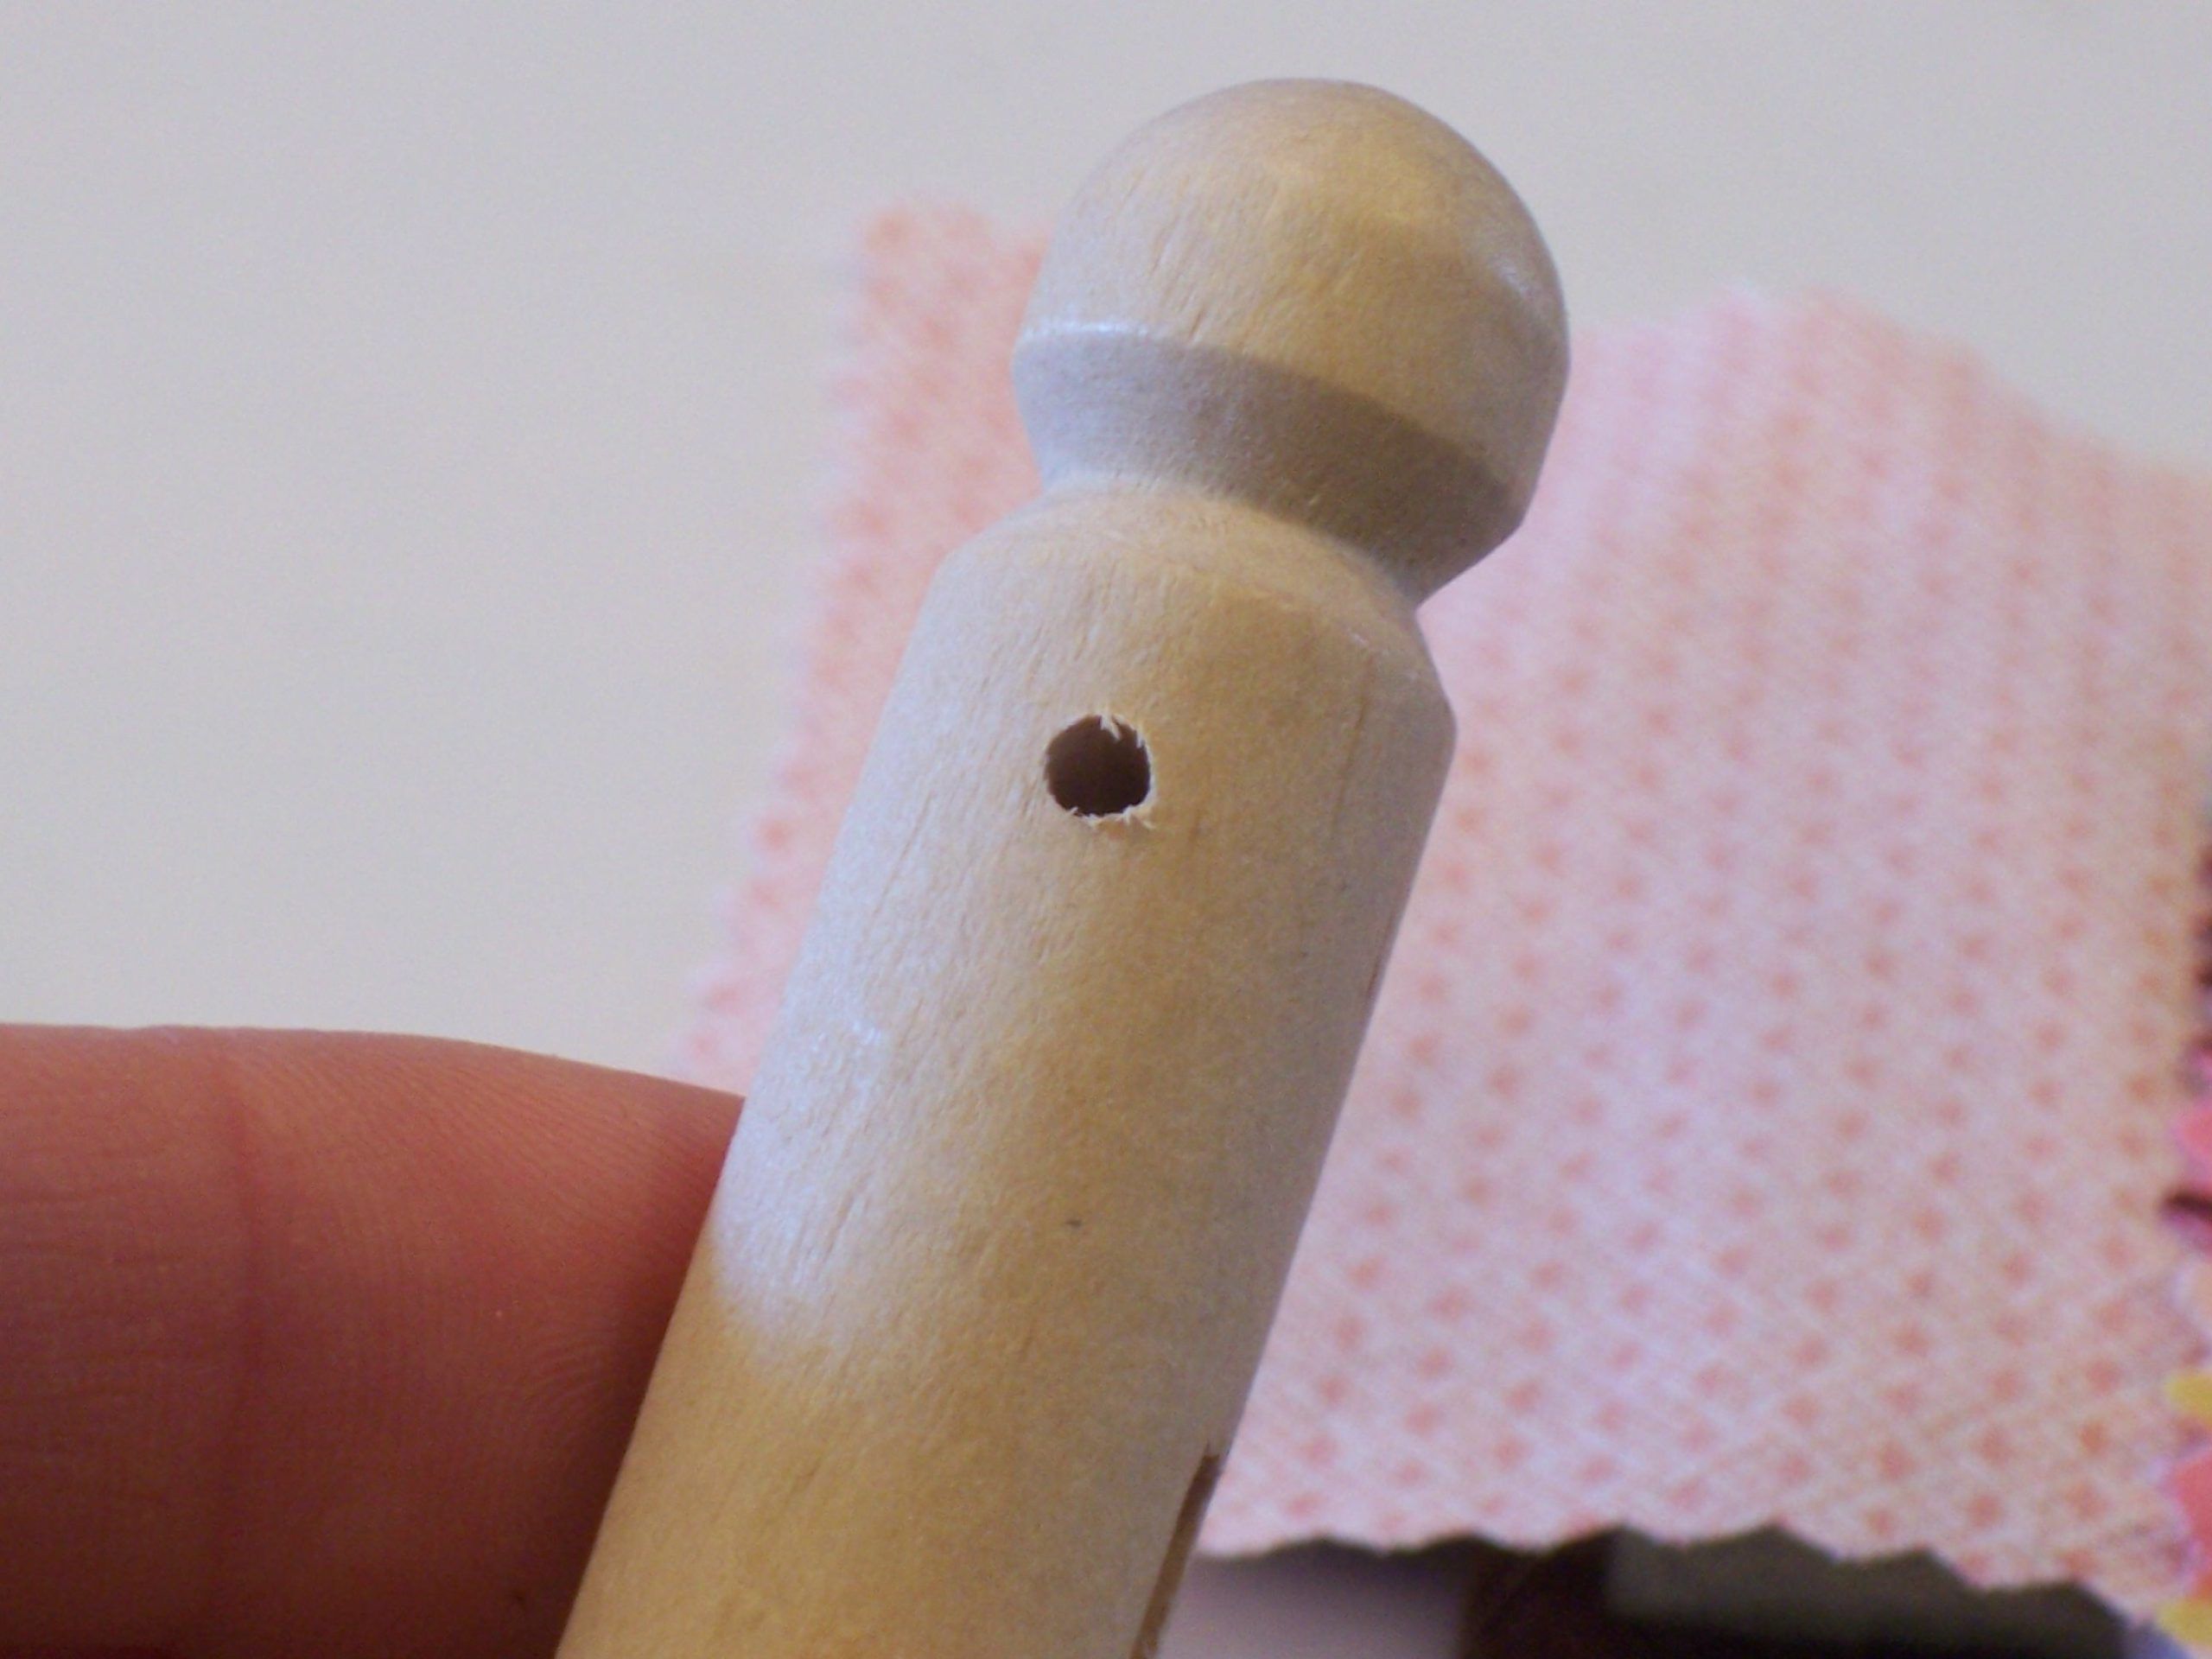
Once your supplies are gathered, use a small drill bit to drill a hole through the pin just below the neck (as shown). This is for the arms.
Step 2: Draw Face and Insert Arms
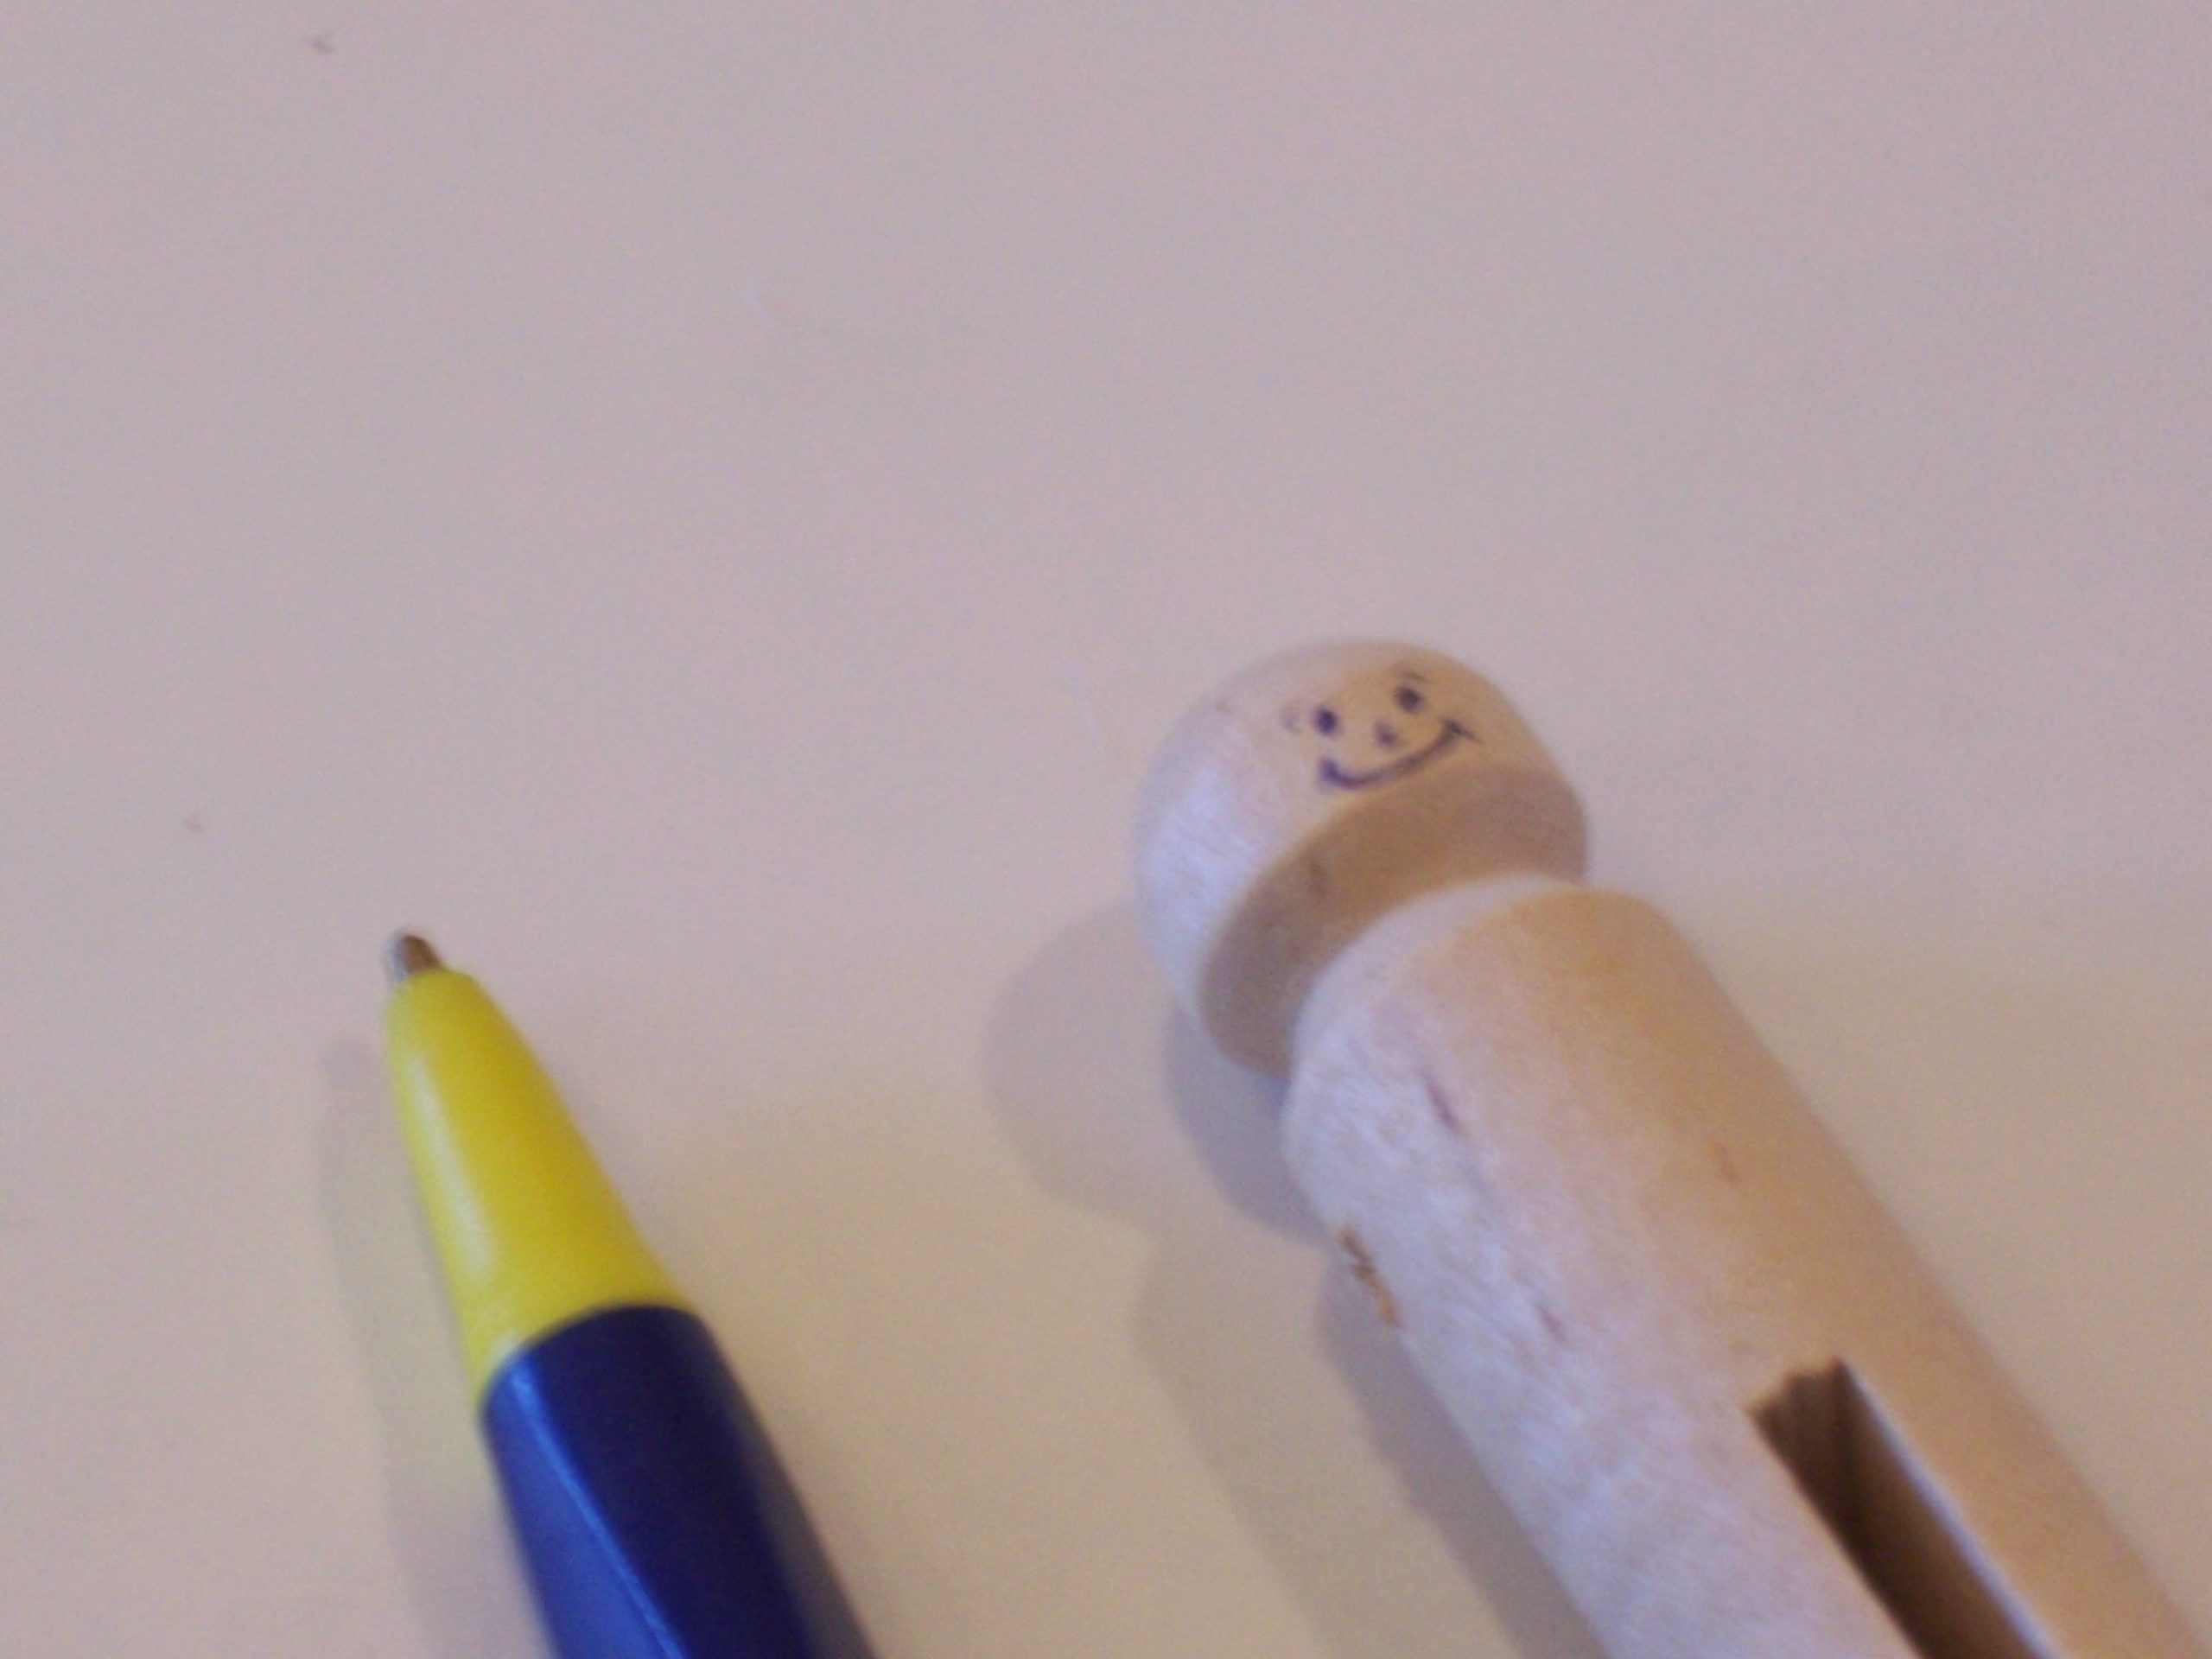
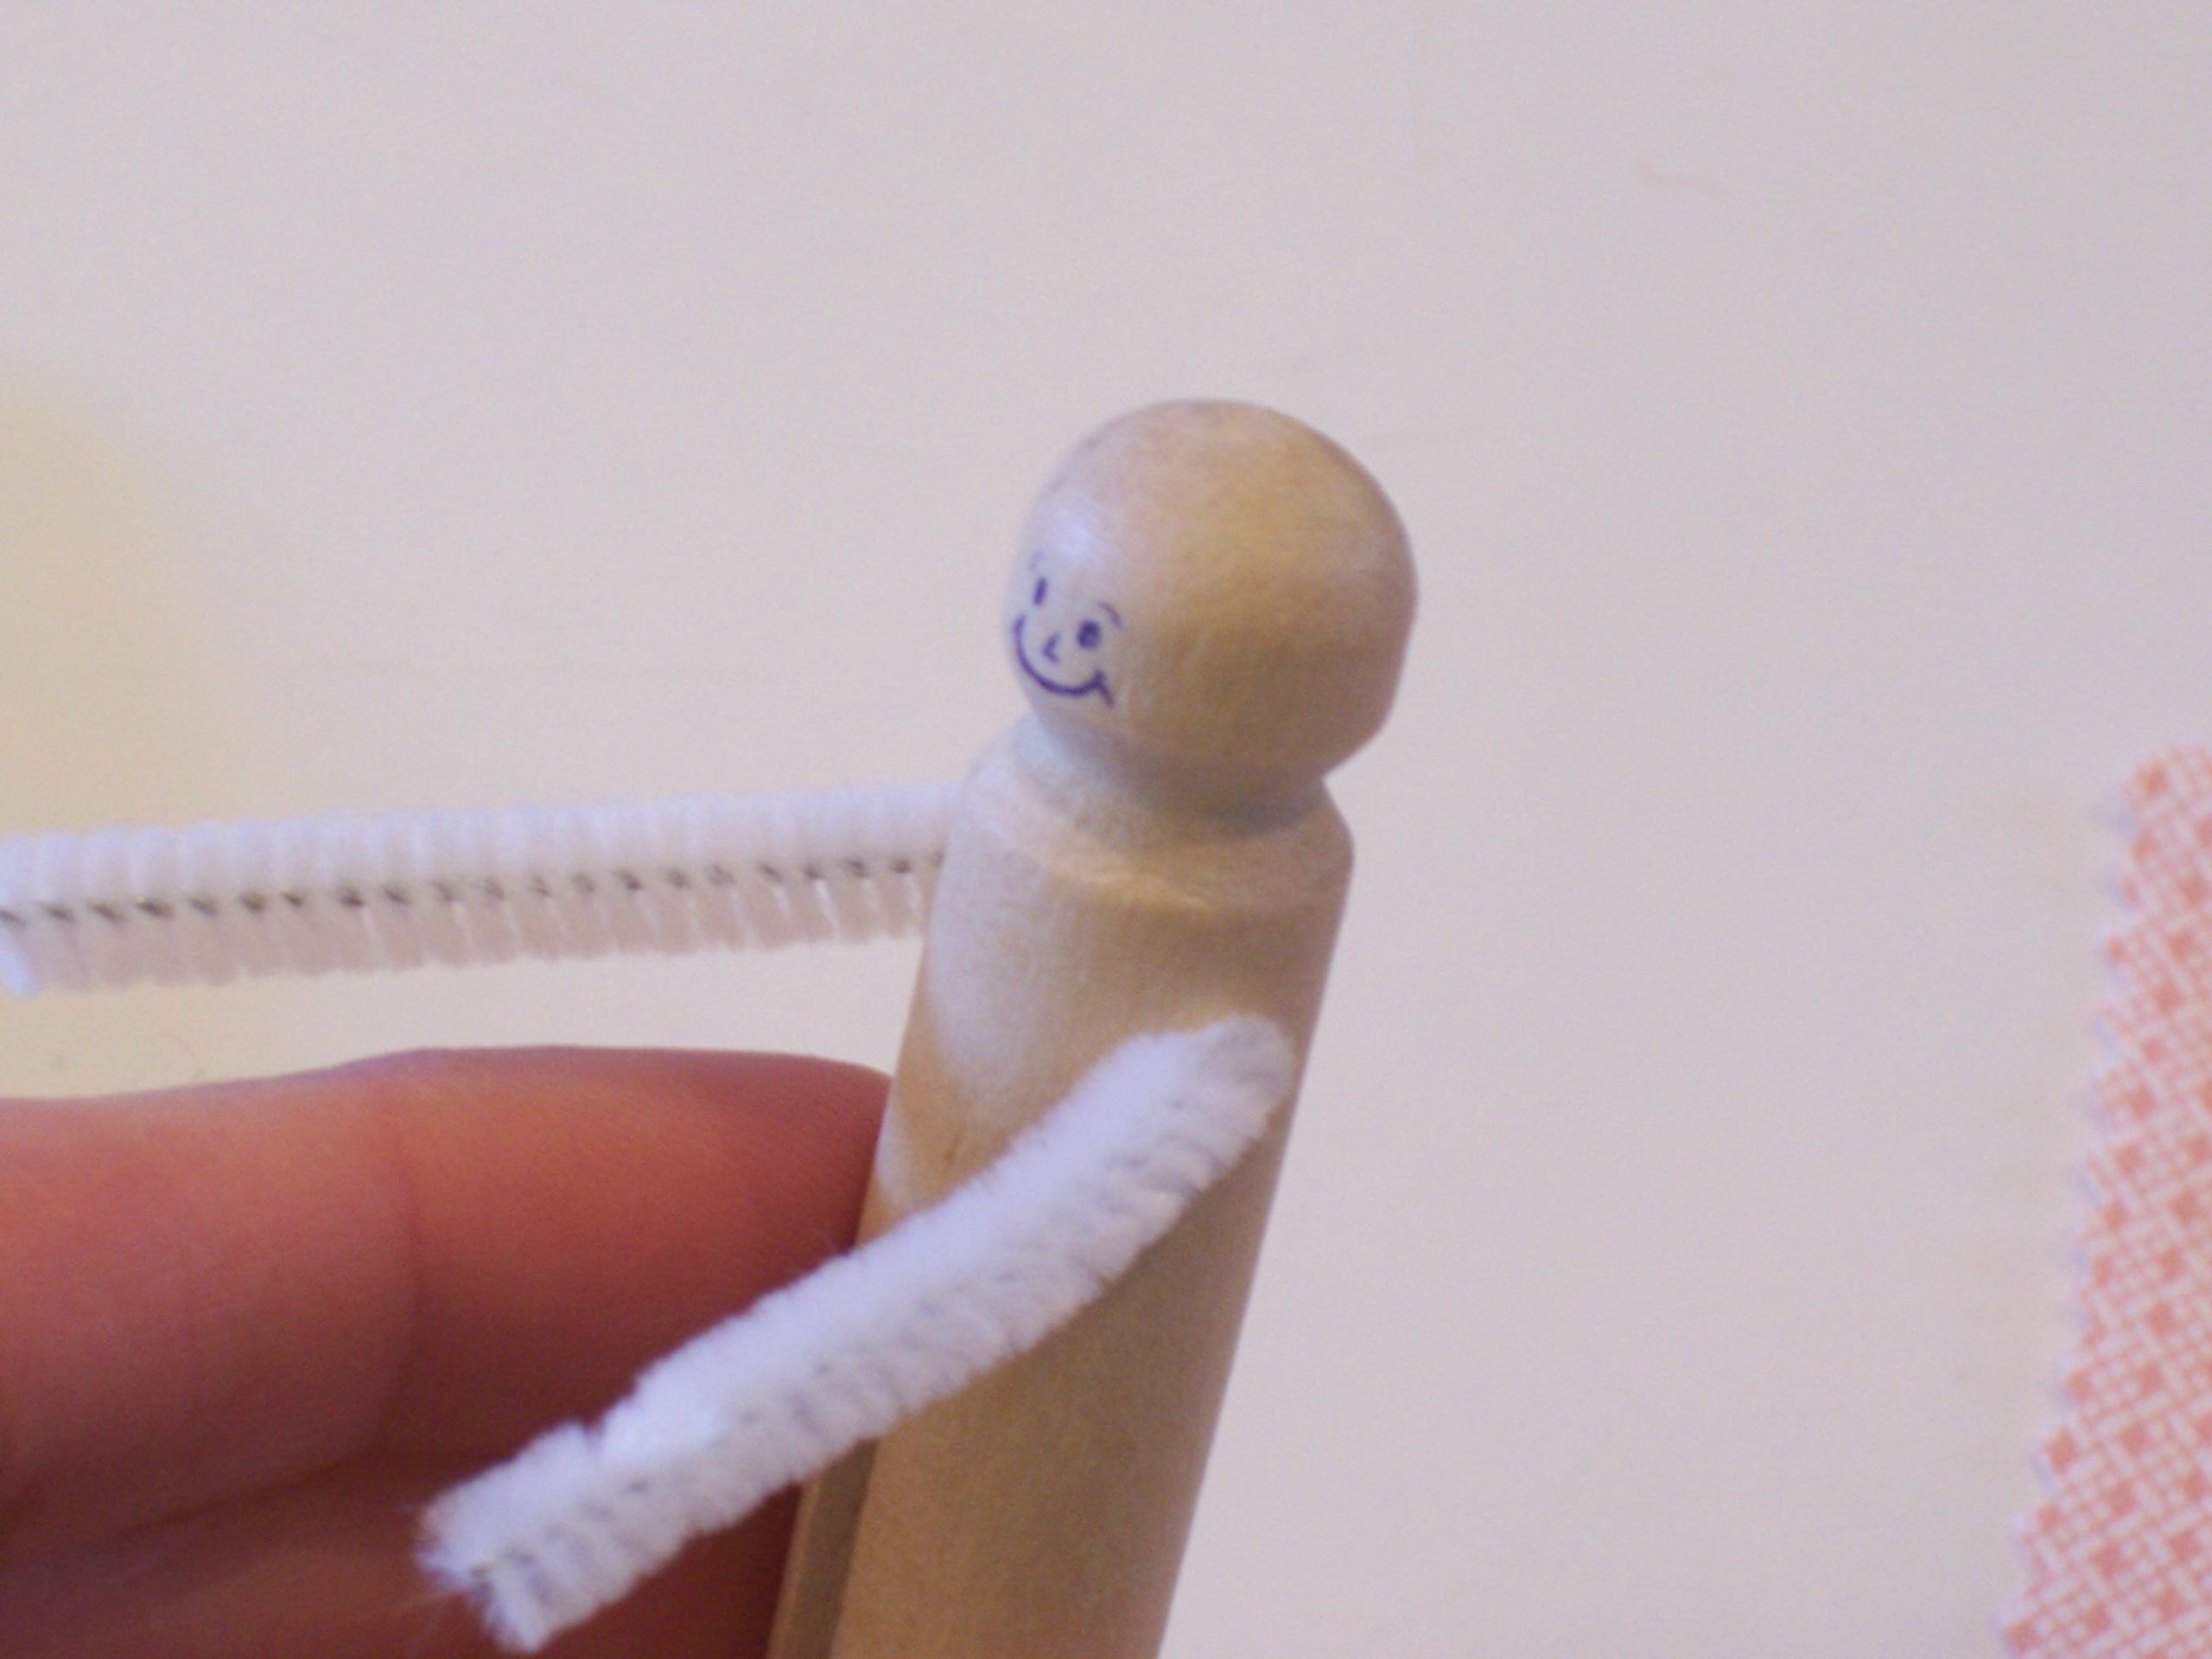
You want to draw the face first thing so if you mess up you can turn the doll over and use the other side. Be sure to use a ball point pen. Sharpies and ink pens run in the wood grain.
For the arms, center an approximately 4 inch long piece of pipecleaner in the doll and bend the arms forward. Fold back a bit at the ends to cover the sharp point and make hands. Bend at elbow into desired position.
Step 3: Put on the Skirt
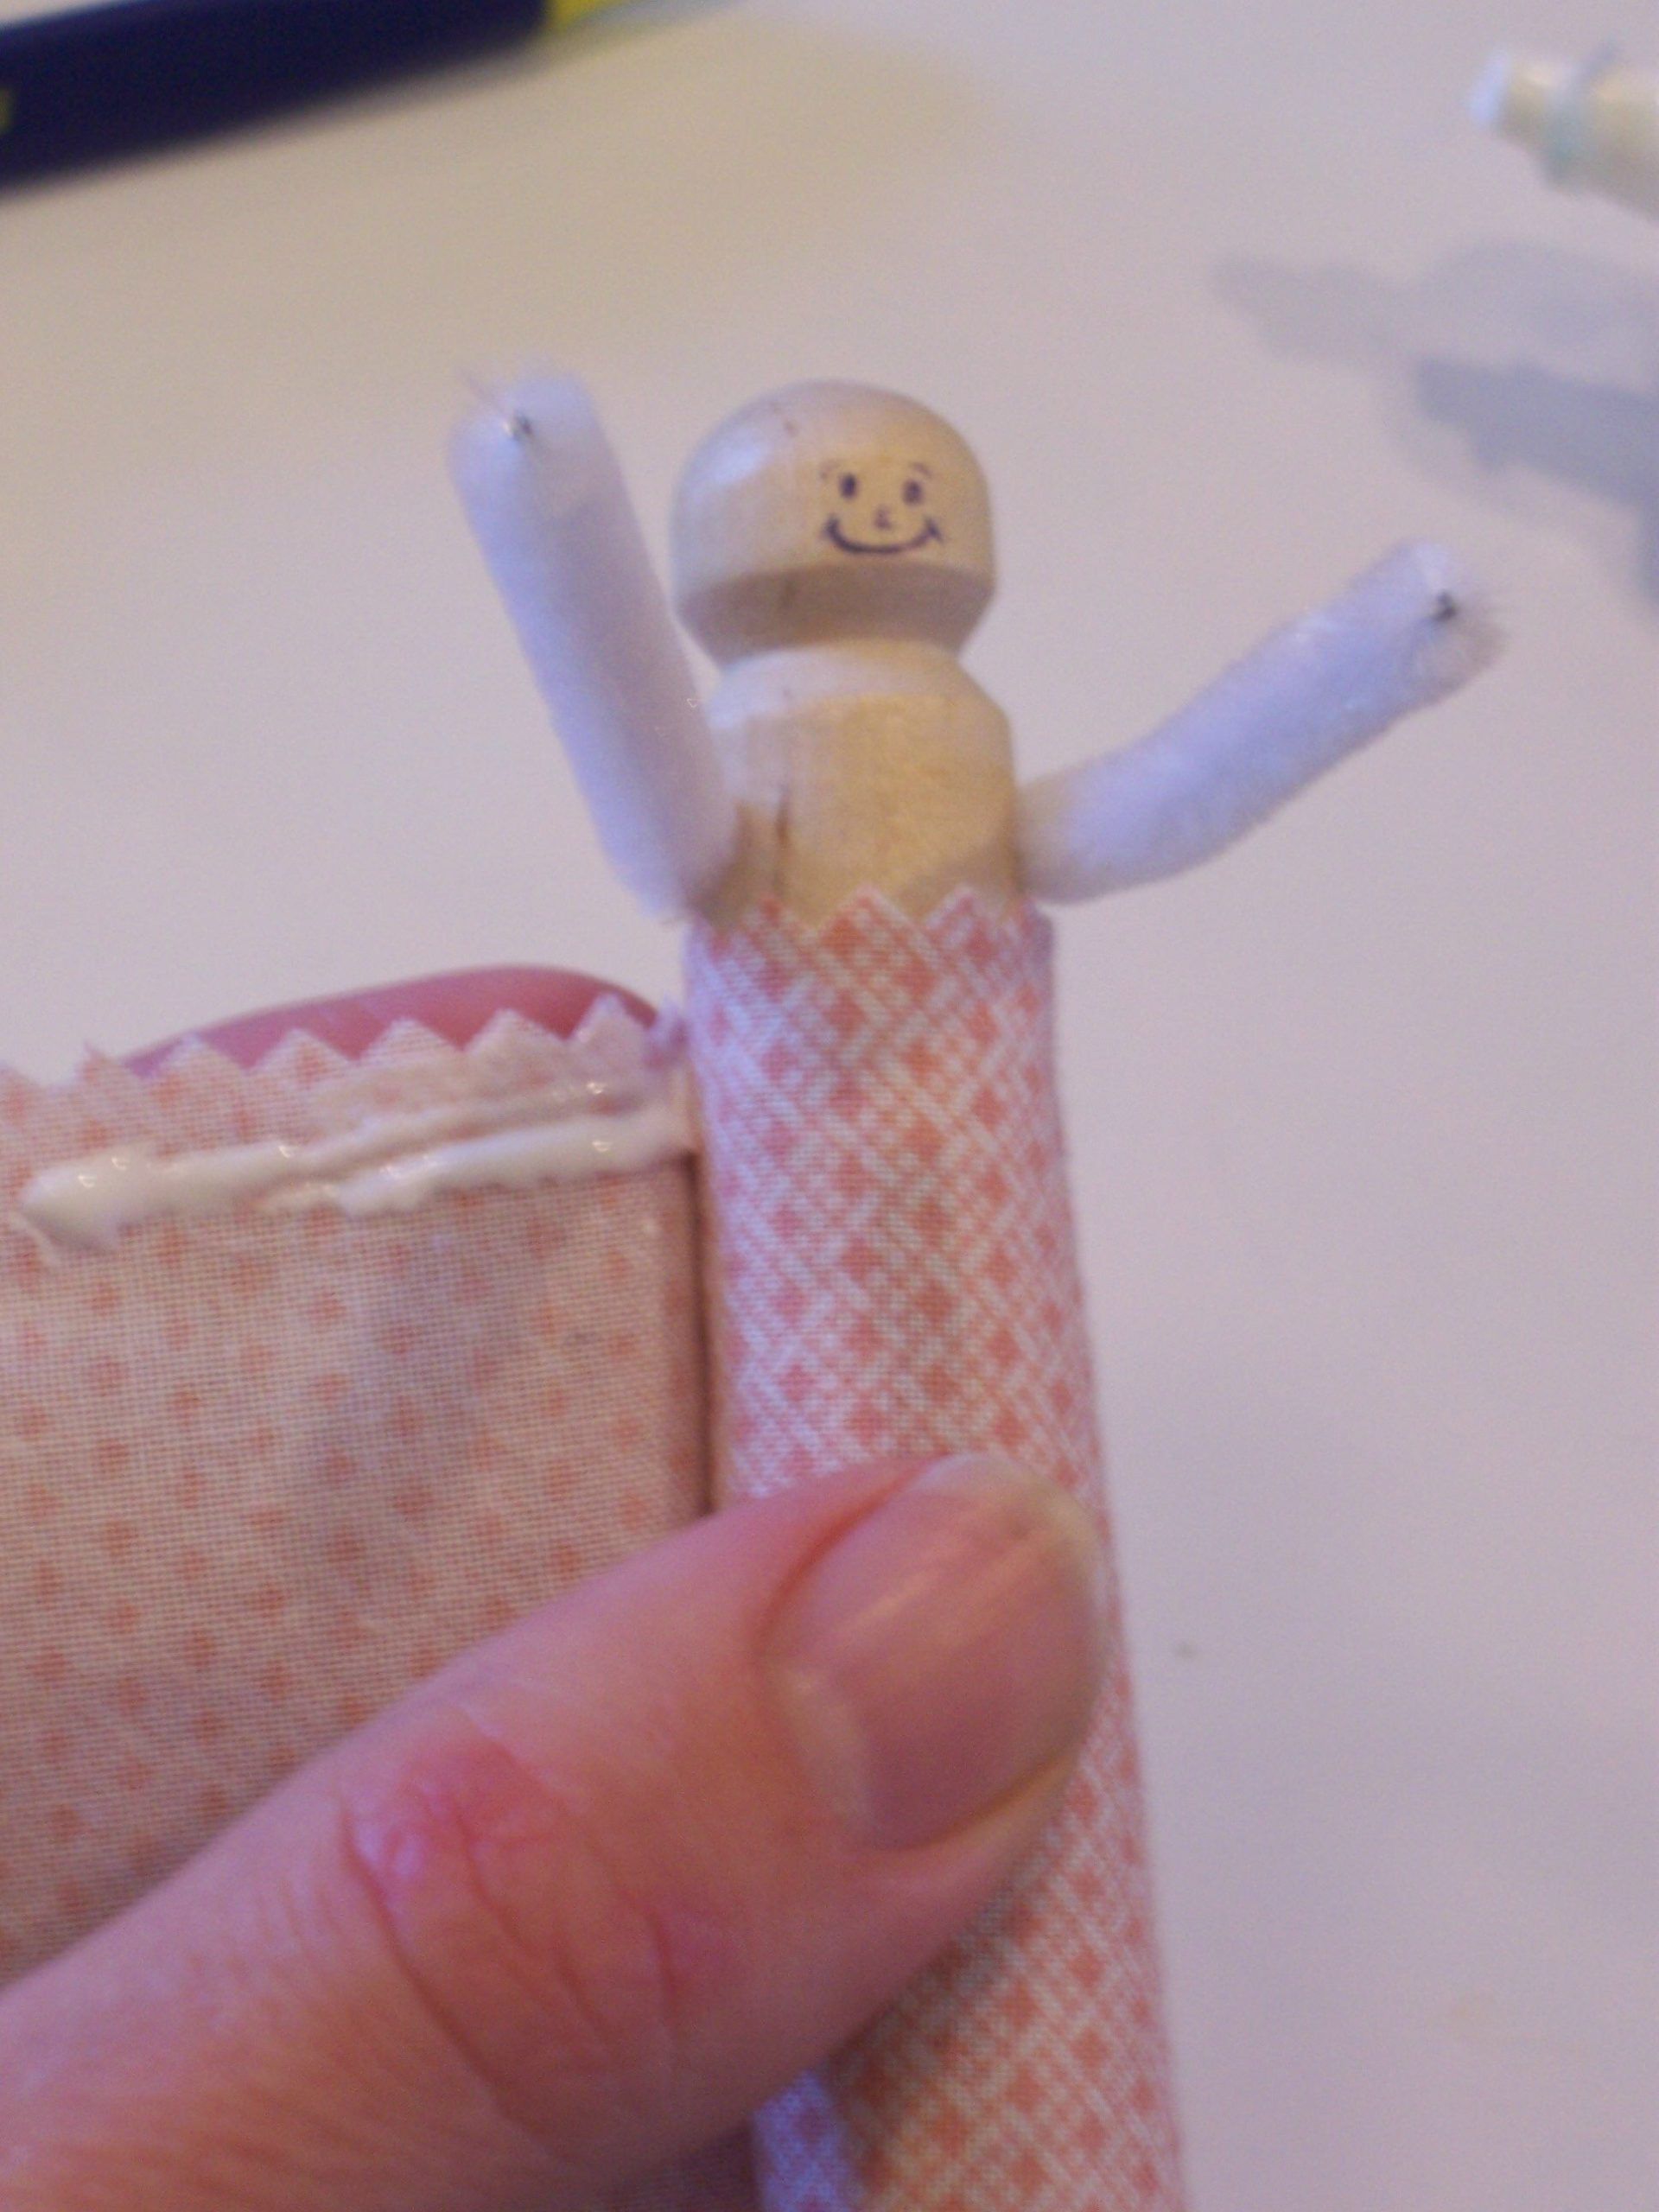
You have two options, a straight skirt or a gathered skirt.
For a straight skirt, use pinking shears to trim a rectangle of fabric to desired length and run a bead of glue along the top edge. Wrap around clothespin just below arms.
For a gathered skirt, use a needle and thread to make a running stitch along the top edge of the skirt. Gather along thread and then glue as above.
Step 4: Put on the Top
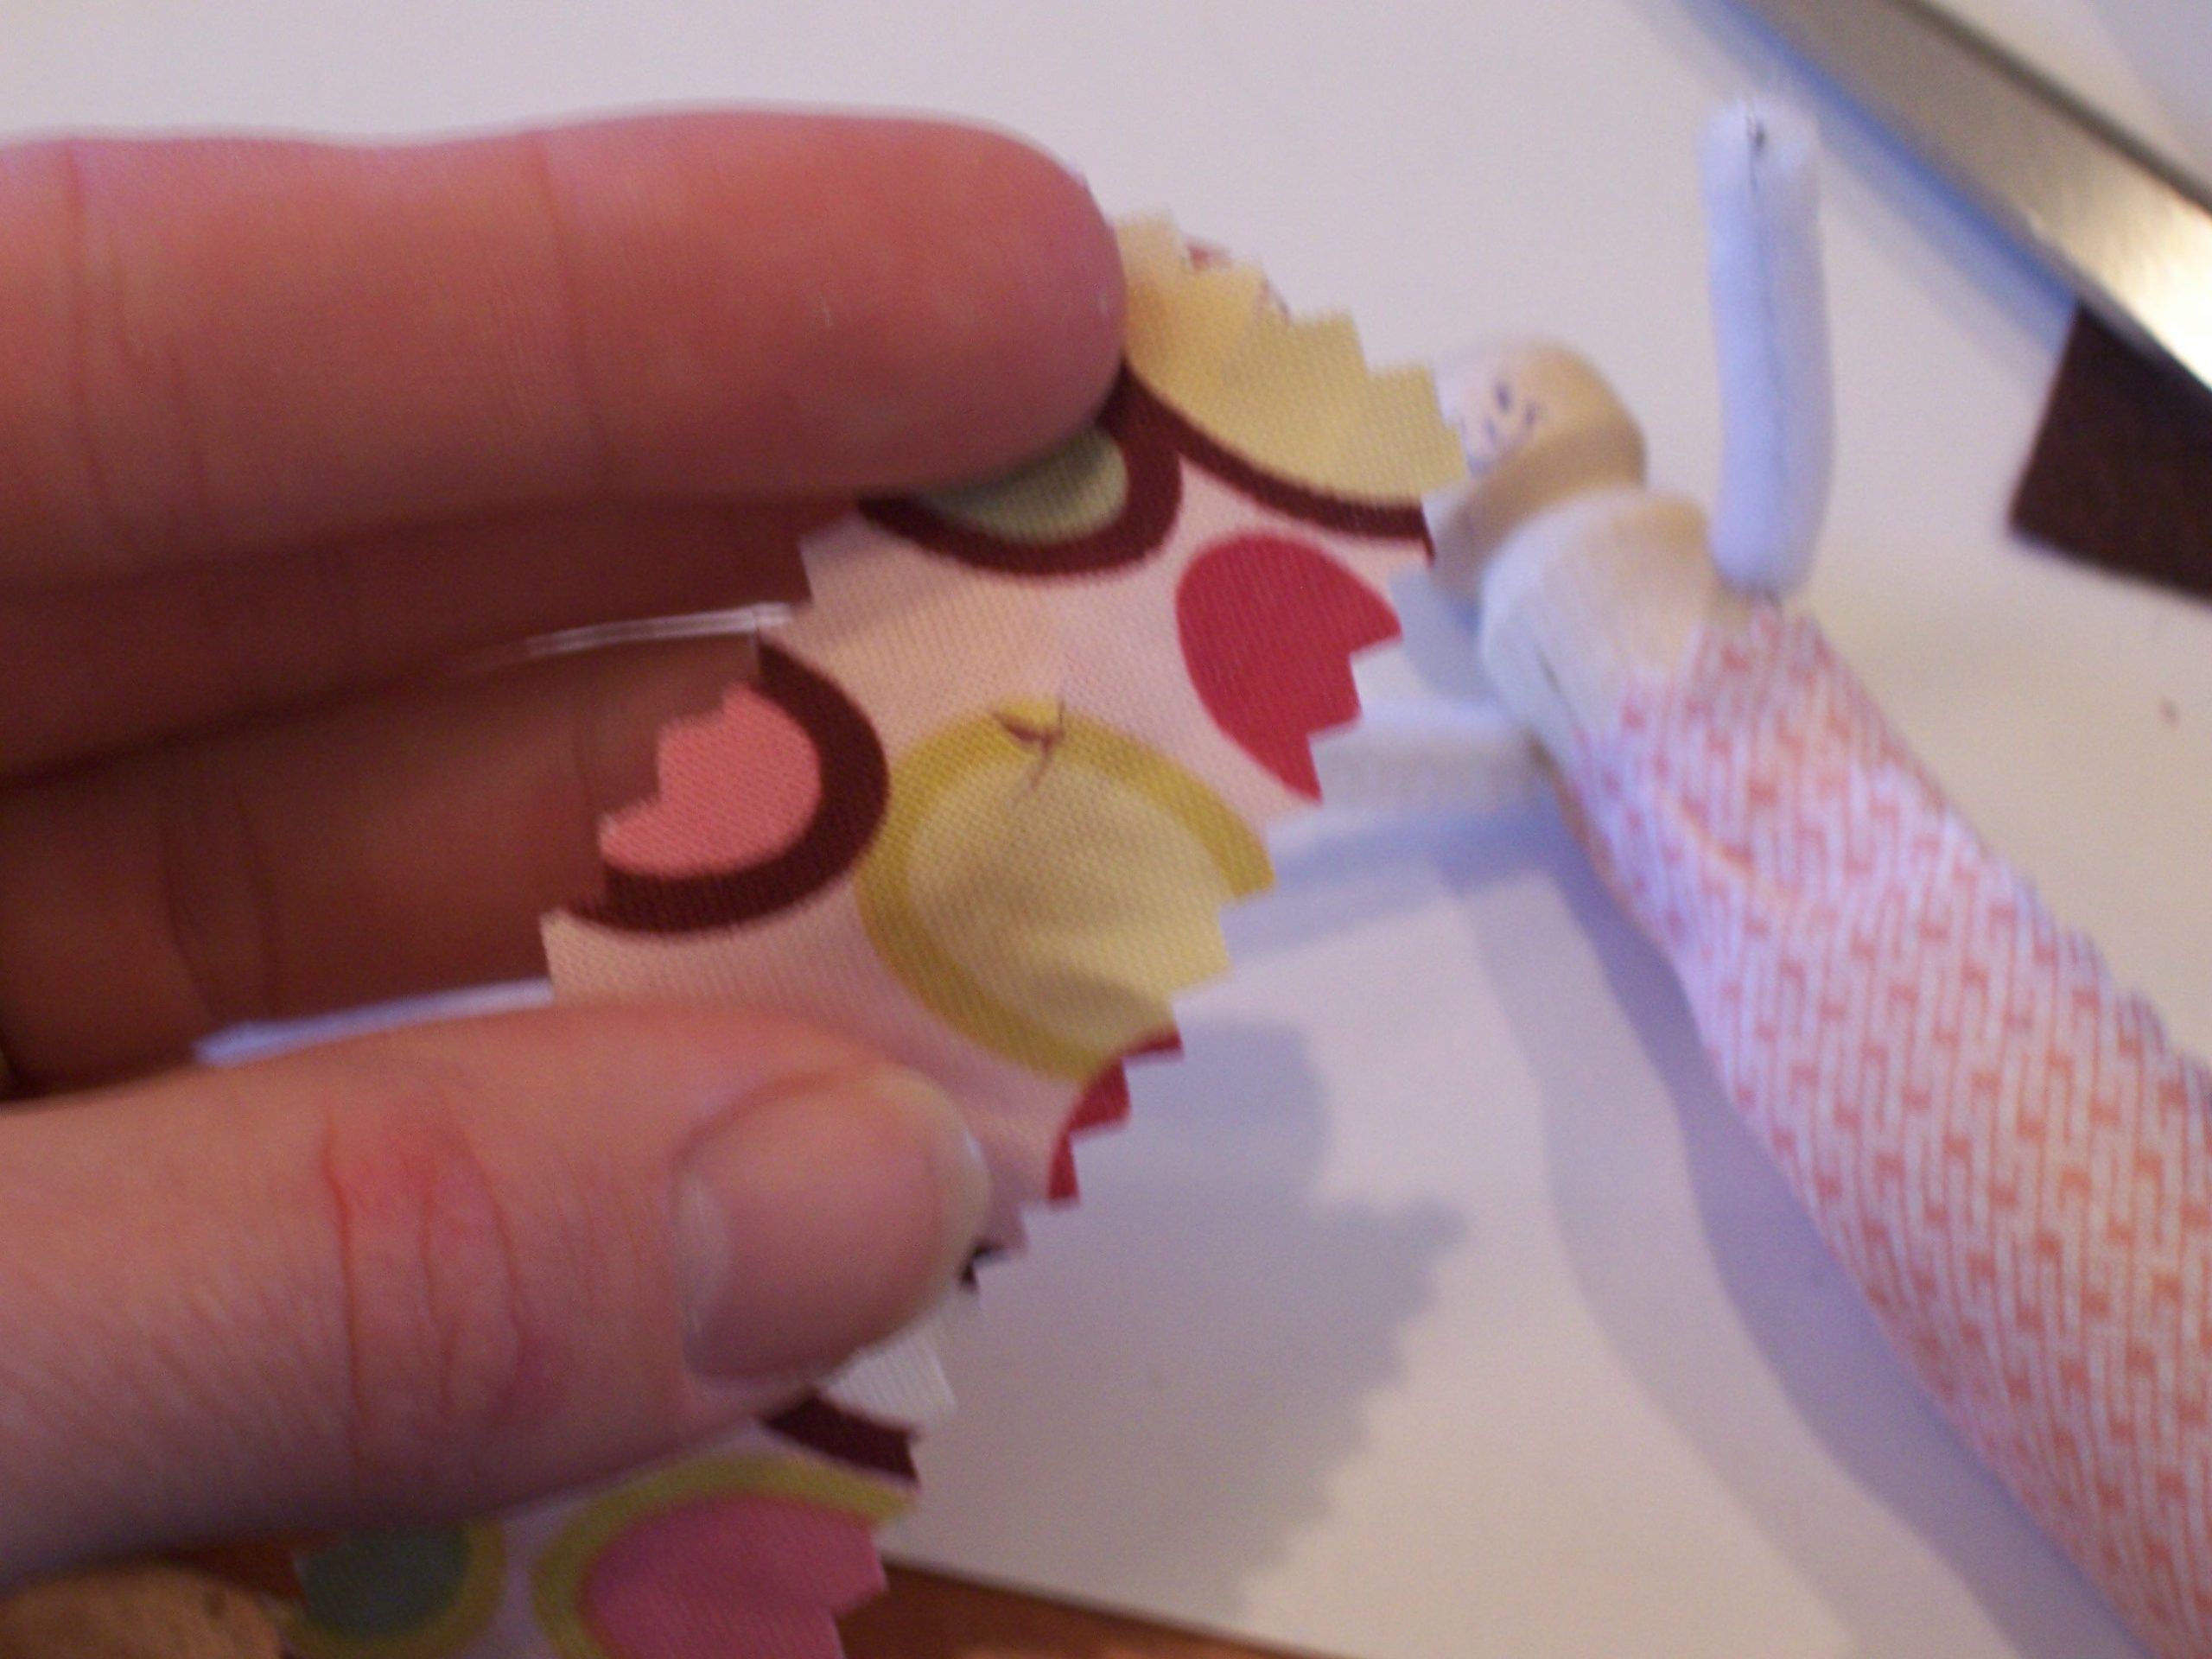
For a simple solution, you can wrap a bit of ribbon, ricrac or felt around the shoulders criss crossing at the front and glue in place.
For a more detailed top, cut fabric to appropriate height and cut a small “x” at the approximate location of the arms then put on the shirt and glue in place. Felt makes a nice jacket and the front edges can be folded back to make a lapel. Or you can wrap with fabric.
For younger children, you may want to skip the arms and have a very rustic, armless doll.
Once the shirt is on, you can still add a sash–see photo.
Step 5: Attach Hair
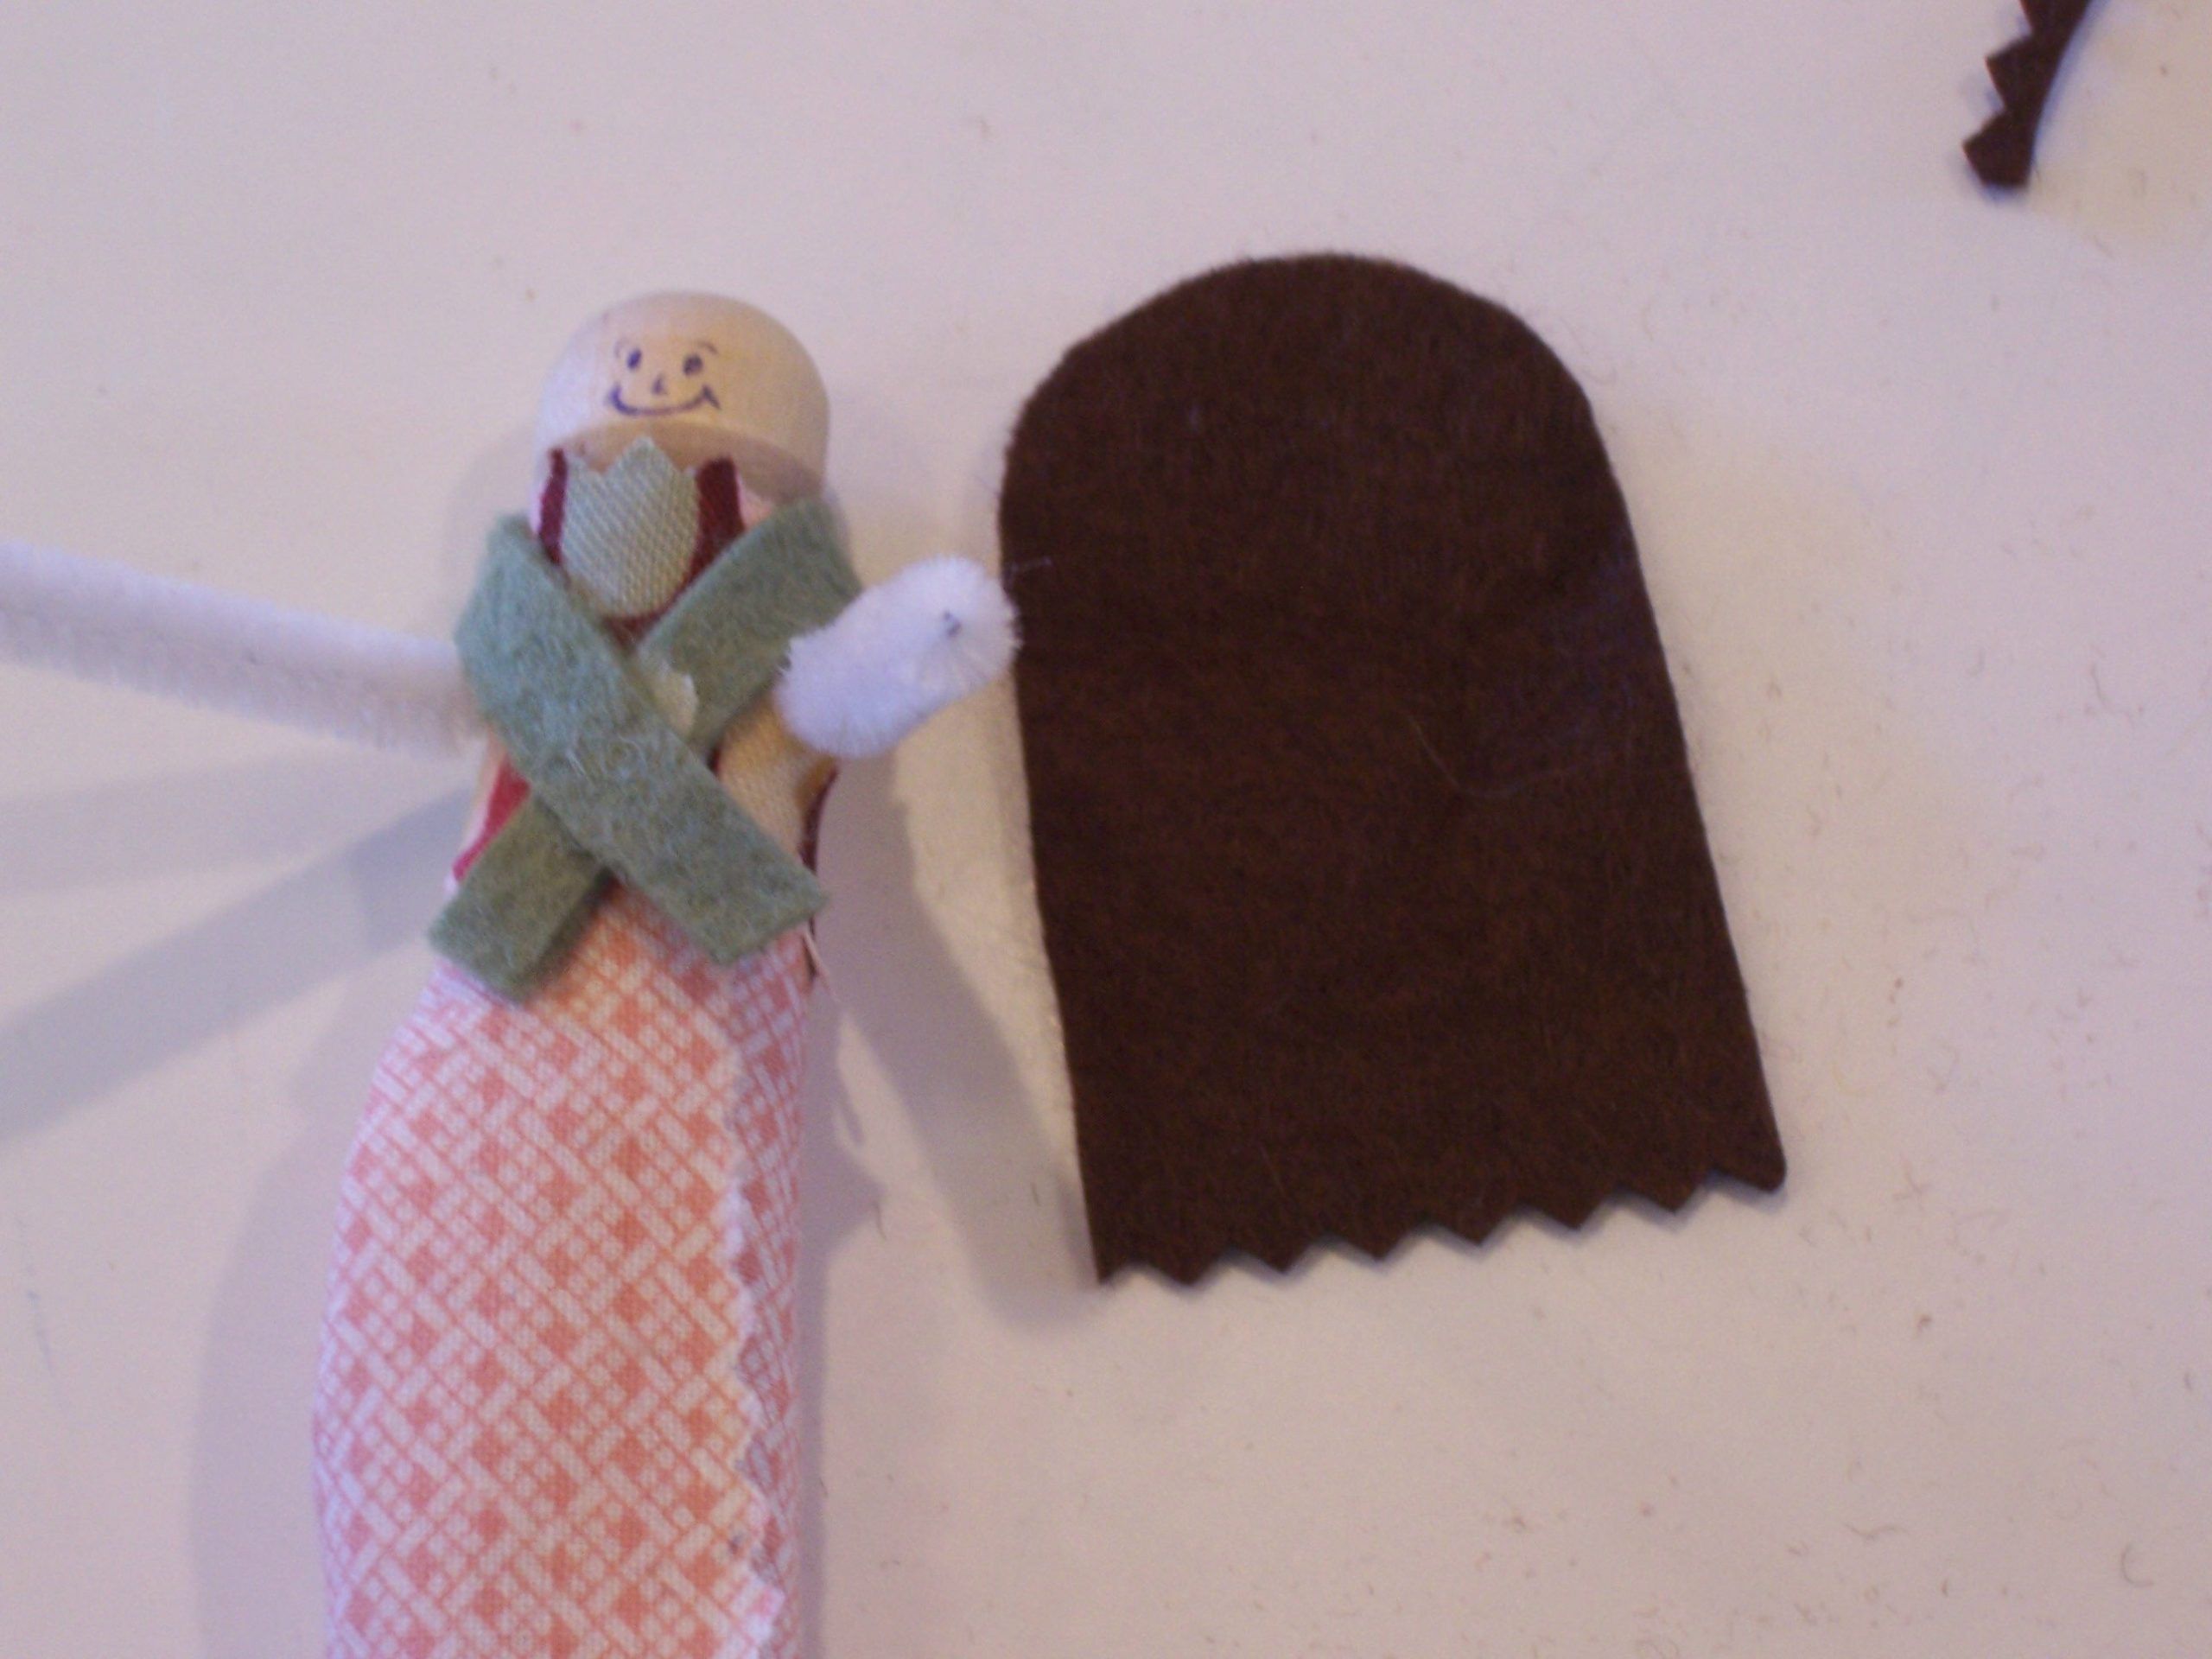
Felt and yarn work equally well for hair.
For felt, cut a piece of felt the shape shown below. Pinking shears make a nice bottom edge.
For yarn, take about 1 yard of narrow yarn and loop back and forth several times as shown.
Smear the top, back and sides of the “head” of the doll with glue.
For felt, press felt in place and smush it to the head as much as possible on all sides.
For yarn, arrange yarn in a single layer and press in place so loops are off to each side of head.
Once glue is dry, for felt, use embroidery floss to tie yarn into a ponytail or trim yarn to a bob hairstyle.
For yarn, trim loops and braid on each side. Tie off ends of braids and trim ends.
Step 6: All Done!
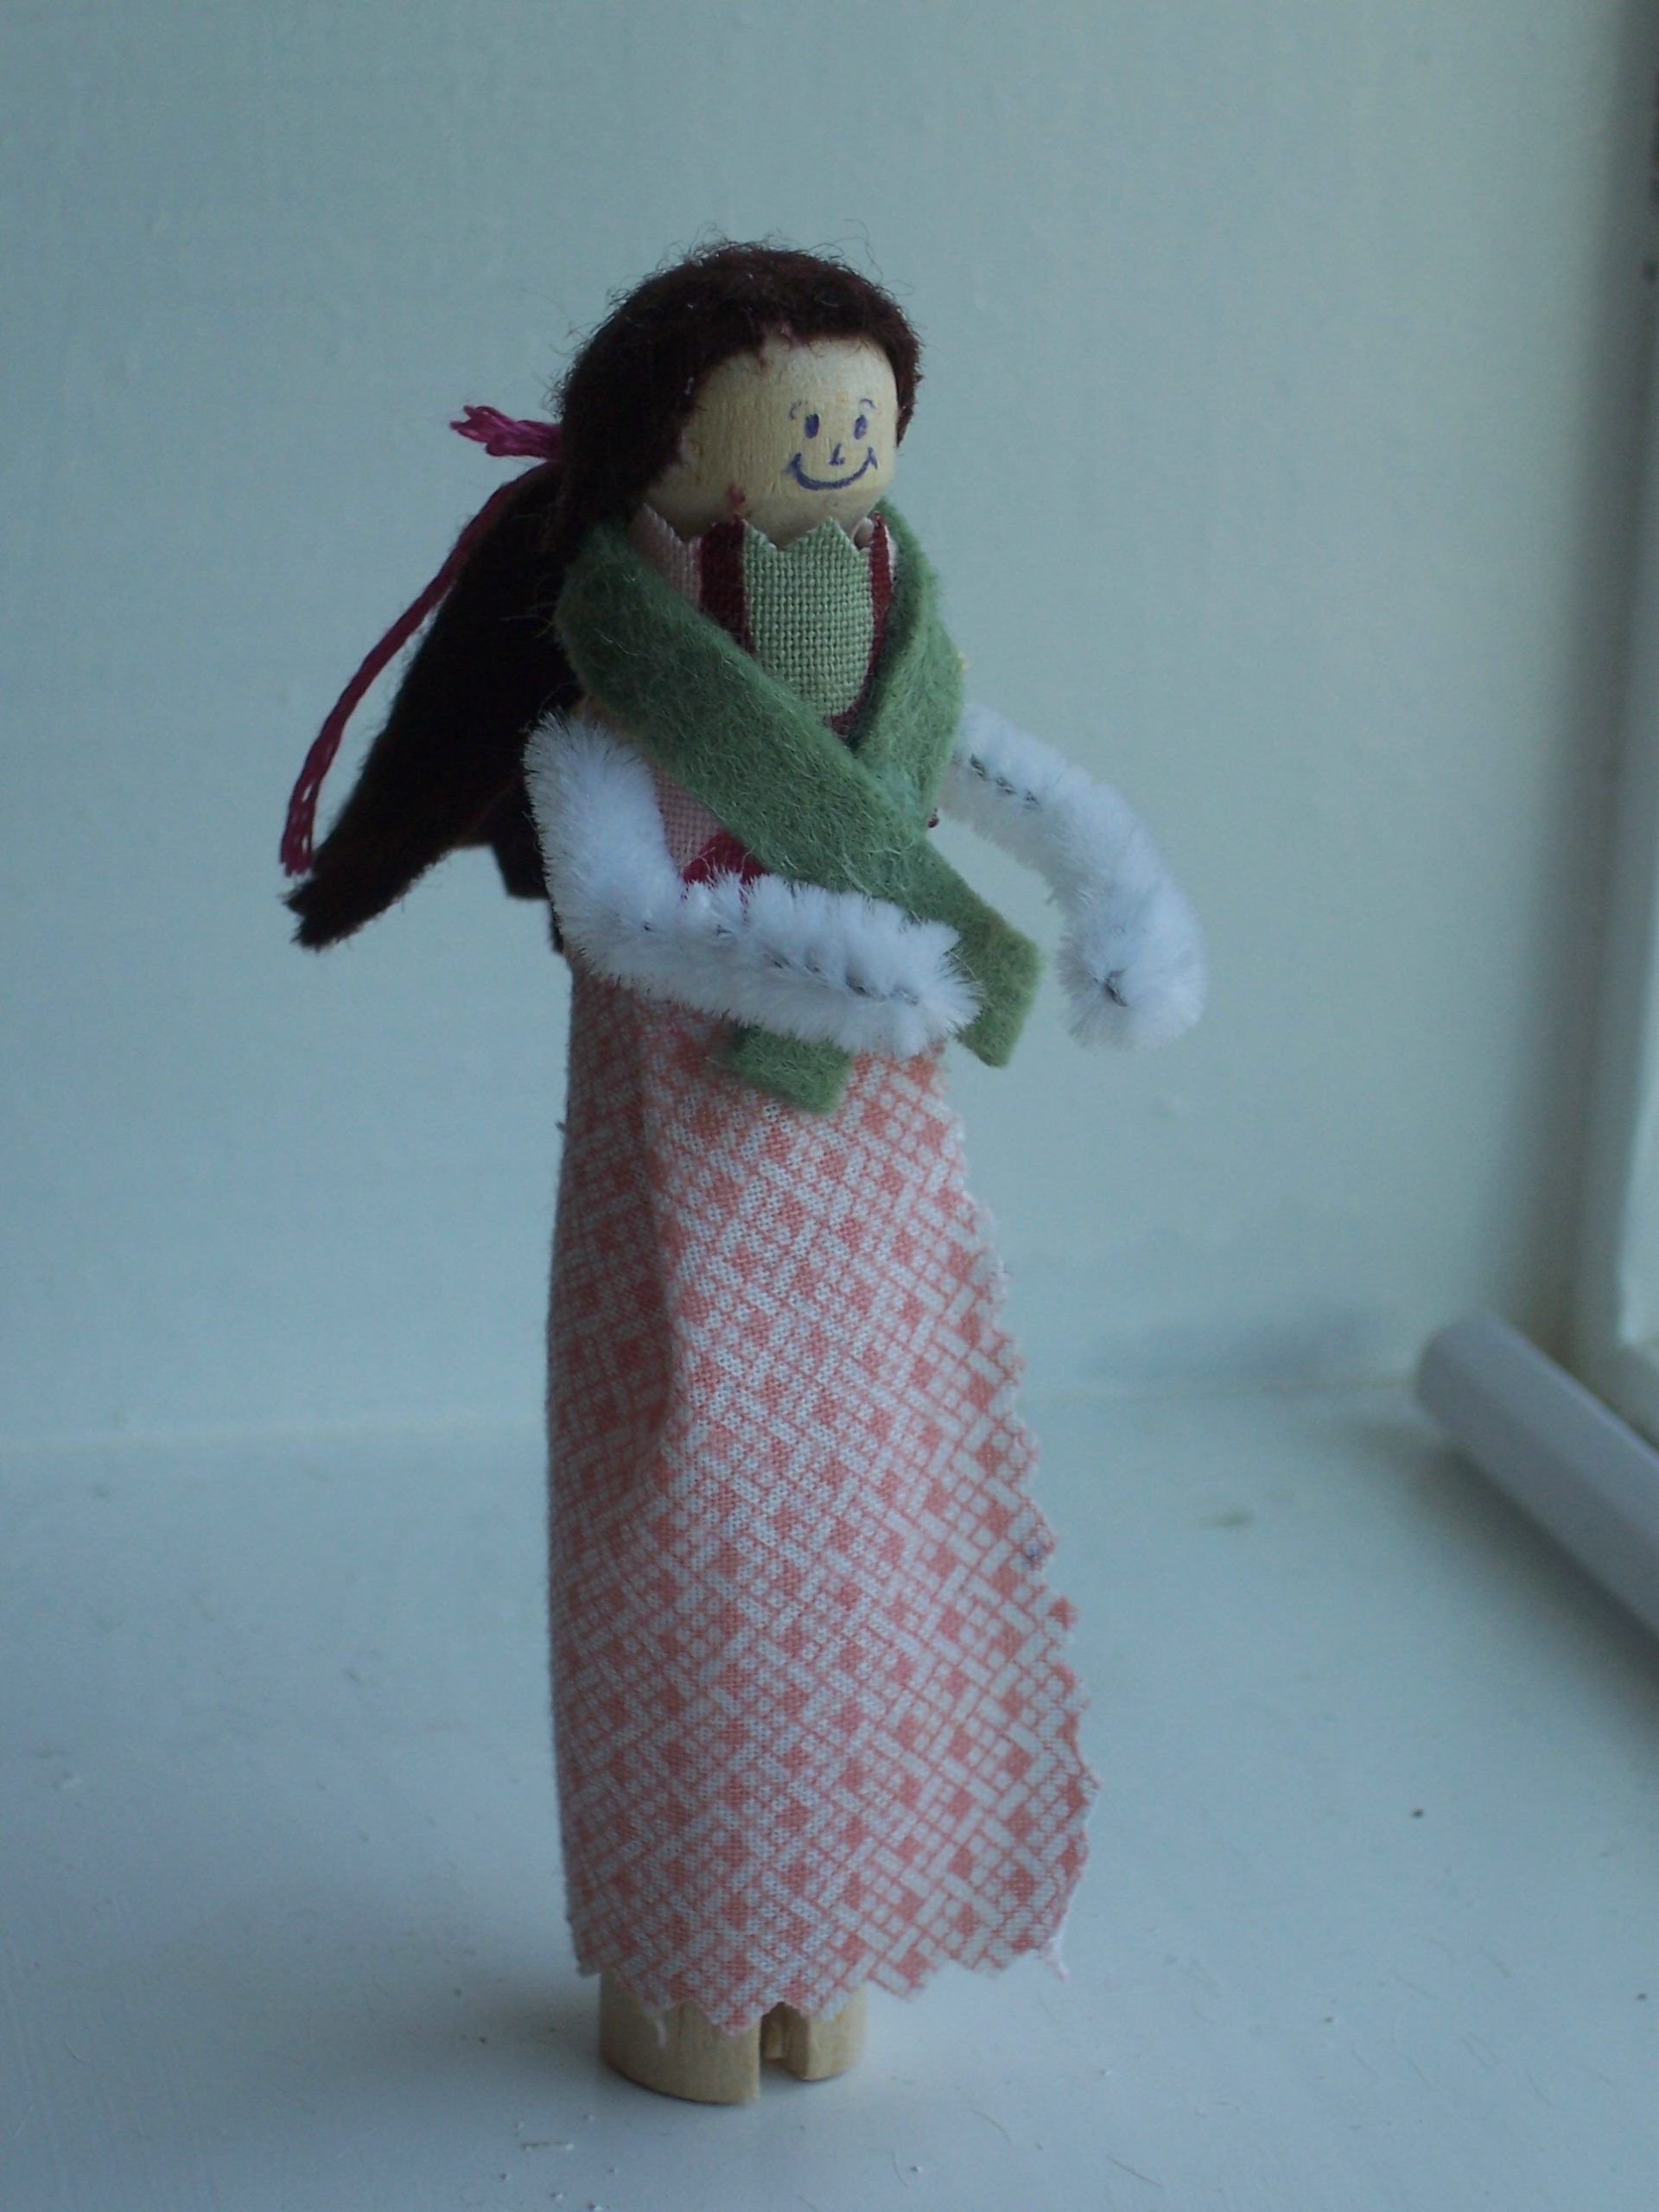
That’s it. There are endless variations with these simple dolls but hopefully this gives you some ideas to get started. Have fun!