diy Bookshelf cardboard
Page 7 of 17
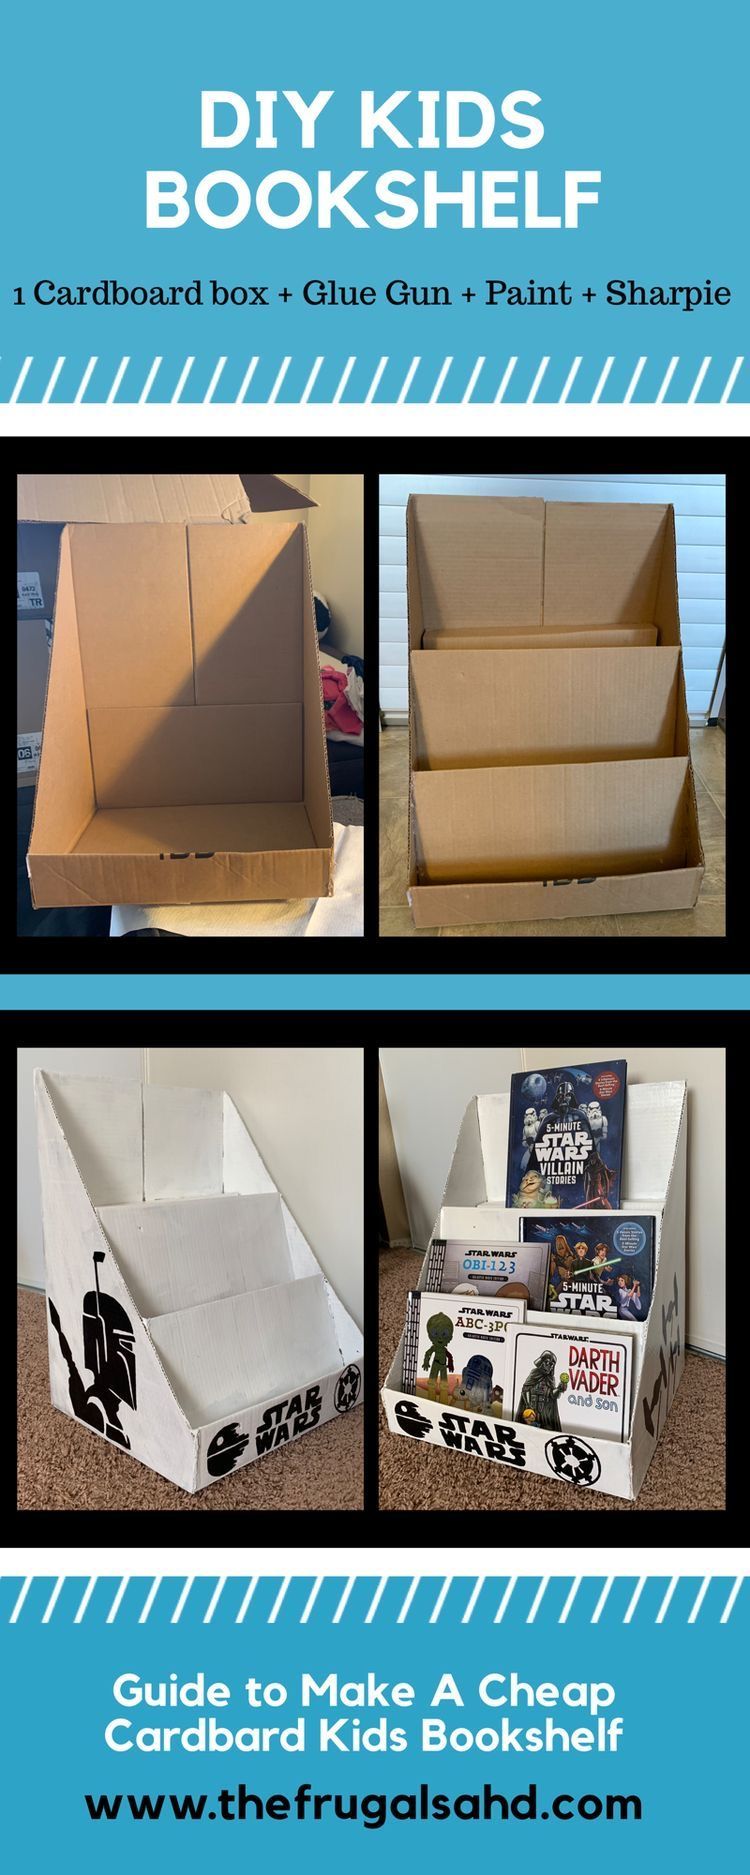
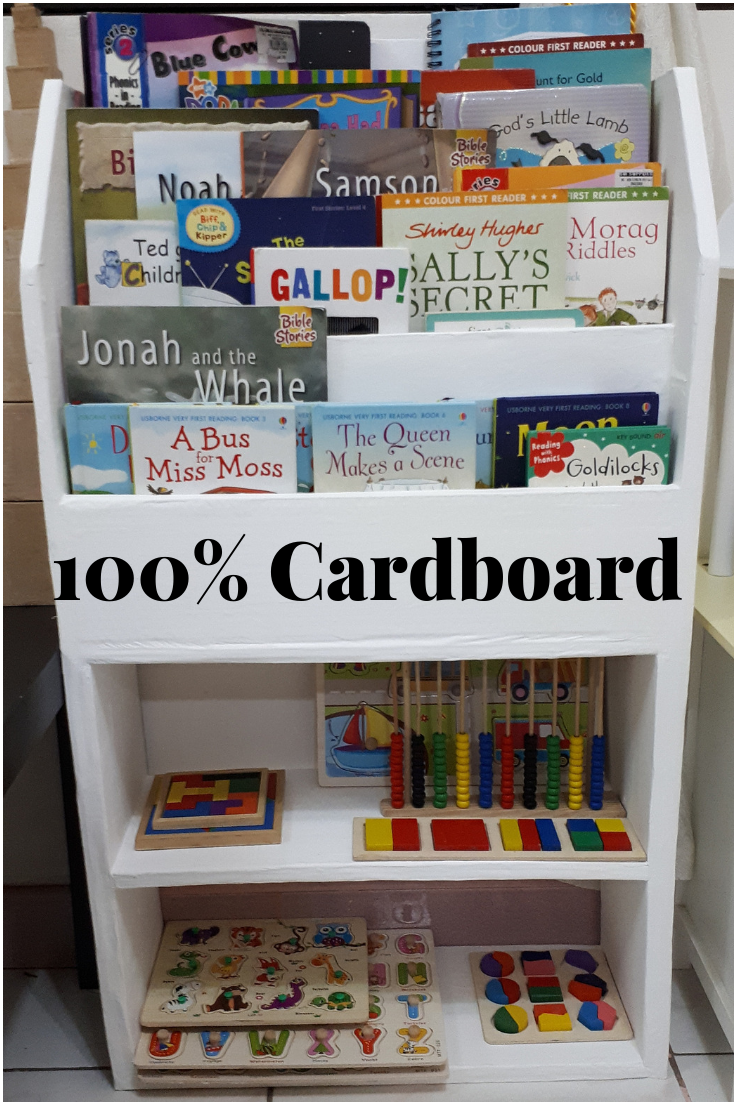
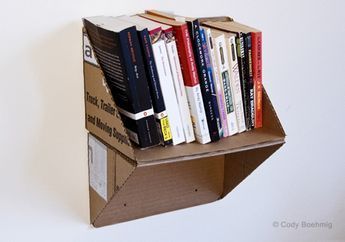
DIY Book Shelf | Cardboard Box Book Shelf

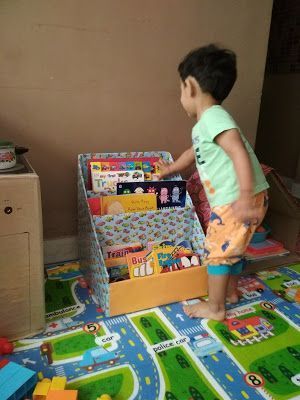
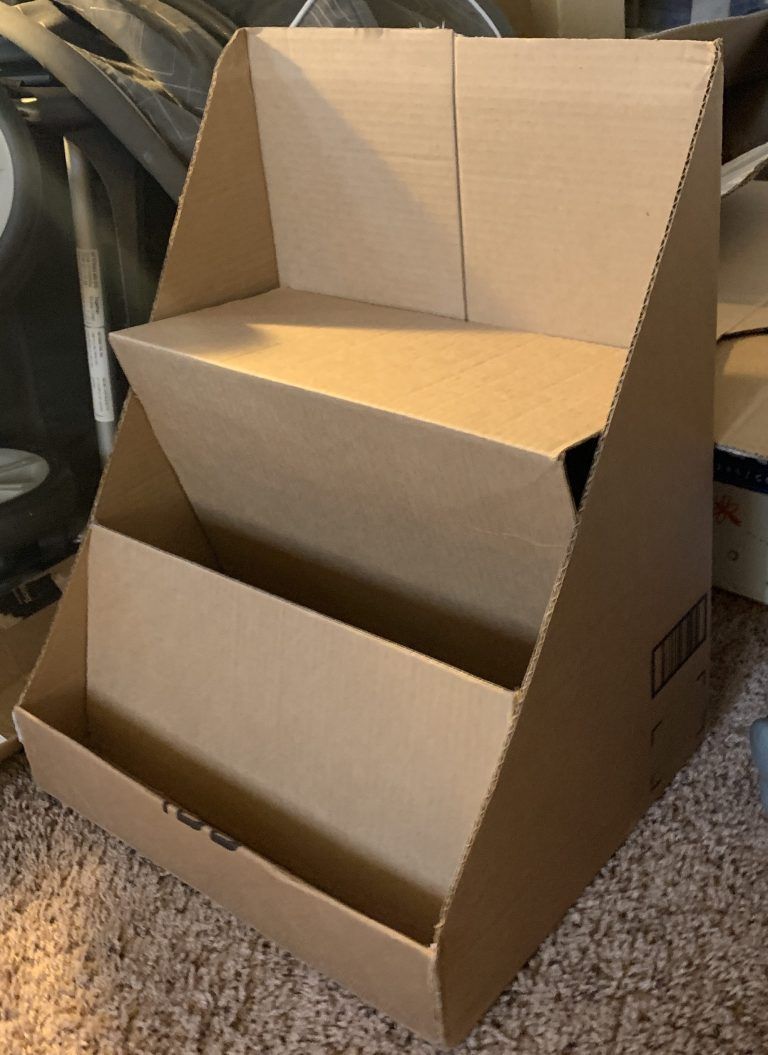
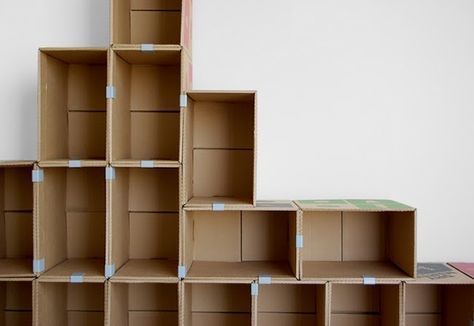
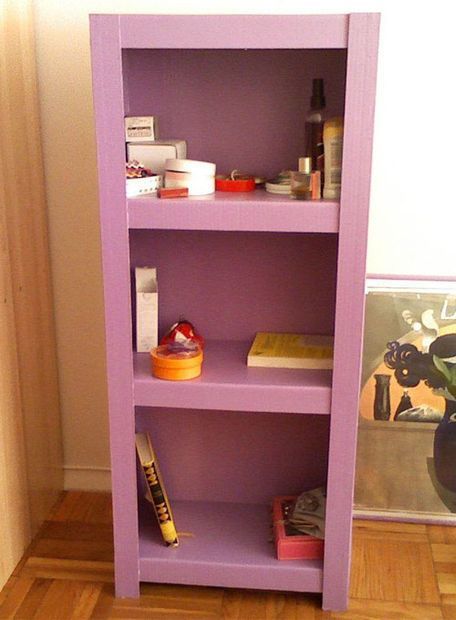
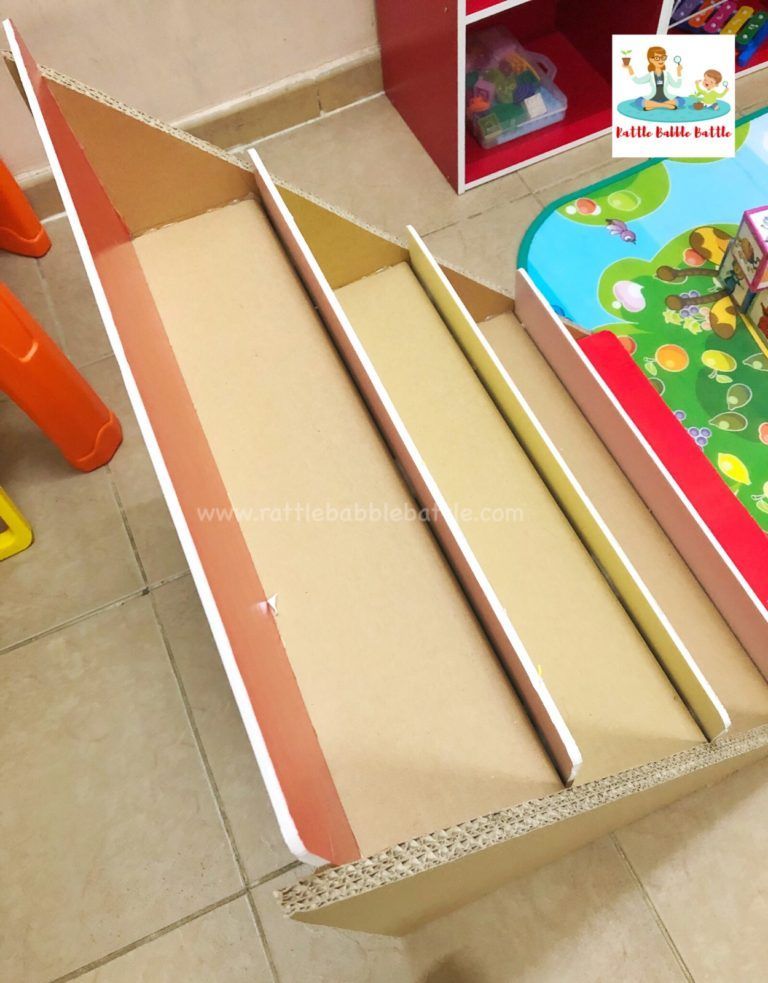
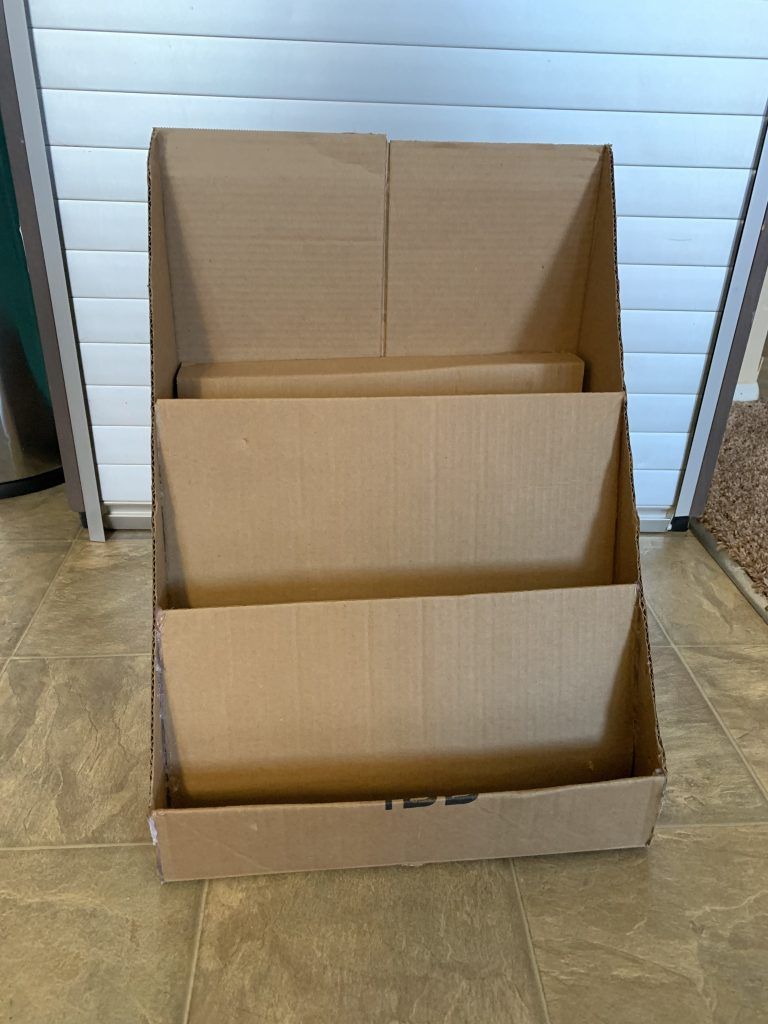
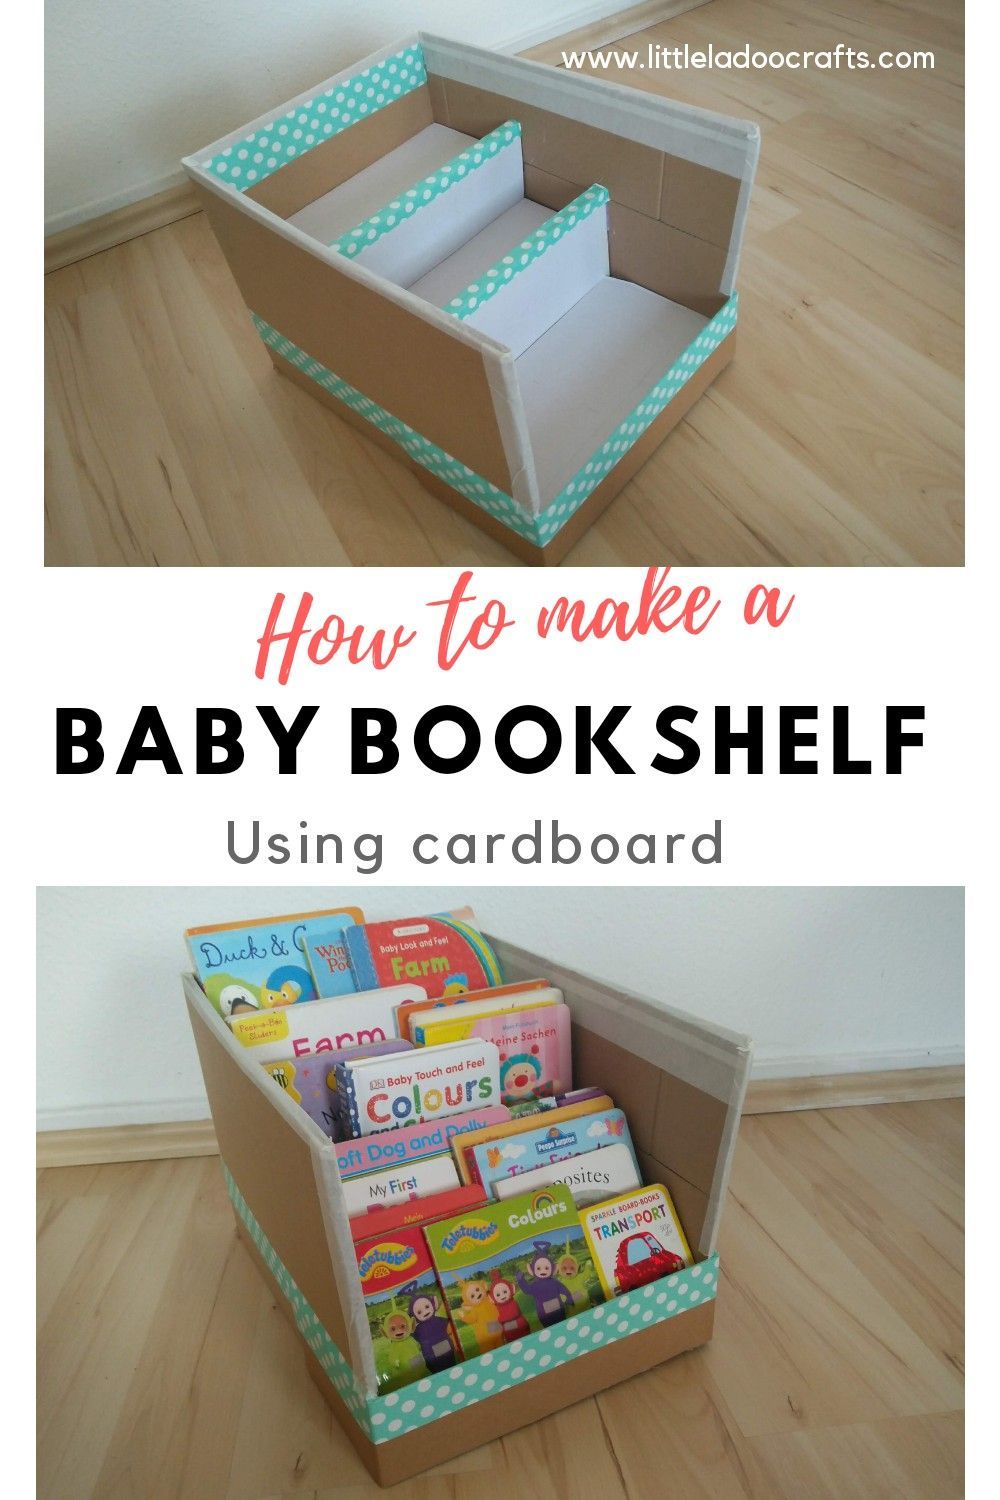
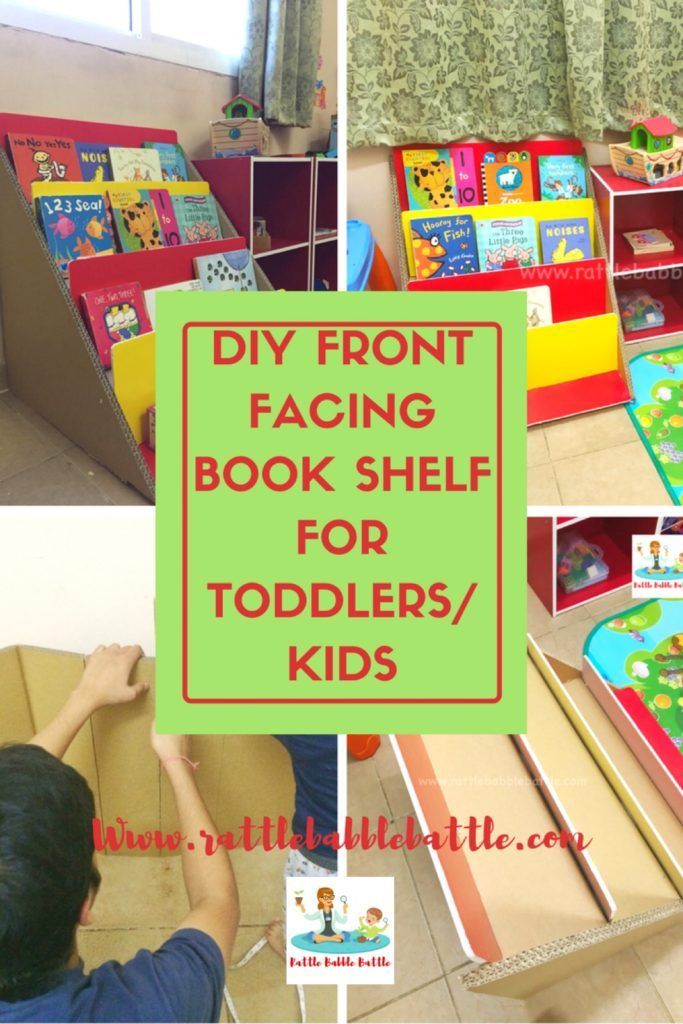
I am a huge fans of books, have always been since childhood and have been an avid reader and writer. I have wanted to pass on this love for reading and books to my little boy and hence introduced books to him when he was just 2 months old. He took to them immediately and has been fond of books ever since. I try to understand his constantly changing likes and stock up on books on topics that will interest him. I had converted a little wooden side table as his reading corner and had stacked up his books into that one shelf. It was neatly arranged and easy for him to pick up but I have wanted a shelf where in I can arrange the books such that they are front facing and he gets to pick them up with more ease and can actually see the front cover at once glance. I understand this is the most apt arrangement of books for toddlers as it catches their attention better. So yesterday suddenly an idea struck me and I immediately got to work! I had a cardboard box which I had saved up until I get just the right idea to use it for. This little bookshelf idea that I had seemed just the perfect project for the cardboard box! And as my little boy is in a ‘Vehicle-Crazy’ mode right now, what better way to decorate his little bookshelf other than the gift wrapping sheet I had in stock with adorable vehicles print! Super duper delighted with the way this has turned out and extremely happy to see my baby boy take to his new bookshelf instantly. Things Needed Cardboard Box Tissue Paper Roll, Pringles Box (Or even thermocol pieces or anything sturdy to give support to the shelves from the bottom) Wrapping Sheet Craft Paper Hobby Knife Scissors Glue, Tape Method Take the cardboard box and cut out the top as shown in the picture (diagonal lines on two opposite sides and a horizontal line about a foot from the bottom, joining the bottom tips of these diagonal lines) Save all the cut out pieces of cardboard, they will be the shelves in between! Now, place the items that you are going to use for support as shown in the picture, the one at the back has to be at a higher height than the one at the front. I had an empty box of Pringles and two empty tissue rolls that served the purpose for me. Using the left over pieces of cardboard, make ‘T’ shaped shelves, the one for the back has to be at a higher height than the one at the front. Basically, these shelves need to be such that, they rest on the support you have kept in place for the two shelves. A lot of adjustments go into this stage, to make sure the shelves fit just right into the cut out cardboard box. Take your time and get this step right using all the scrap bits of cardboard! Now that you have your basic layout ready, time to make the elements pretty! Wrap up the base cardboard box first and then the individual shelves too. Glue in place the support that you are using for the first shelf, at the back end. Then place the shelf on the support and make it sit just right. Secure the sides with more tape. Now place the second support items for the second shelf. Glue them in place. Place the second shelf to fit just right and again secure with more tapes on the sides. Before you know it… you have a bookshelf ready! :) Does not that look chic and adorable for your little one’s reading corner!? I love how my little boy’s play currently looks like! :)