DIY High Waisted Shorts
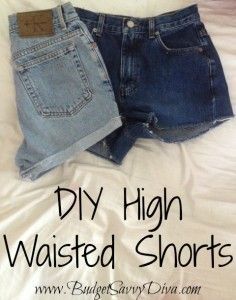
Materials:
- Non-Stretch Jeans*
- Scissors
- Washing Machine
- Washable Marker
How To Do High Waisted Shorts
- Jeans should be non-stretchy and already have the high waisted fit. When searching for the perfect pair think Mom Jeans. Goodwill is a good place to start looking.
- Try on jeans and use a washable marker to mark off how short you would like you would like your shorts to be. When trying to find the perfect legnth its important to go a little longer than what you would like because if you cut the shorts too much there is no fixing it. However by cutting the shorts longer you can go back in and take off more legnth. If you are having trouble deciding on the legnth it may help to use a pair of your favorite shorts as cutting guides.
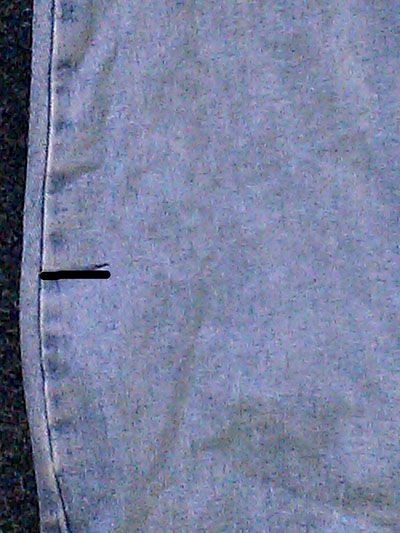
- After you have marked off where you will cut fold the pants so that the legs are on top of one another. Then make sure that the cut marks you have made align on both legs.
- Once you are sure you have marked your cut lines correctly you can proceed in cutting the pants. When cutting the jeans be sure you are using the sharpest scissors you have.
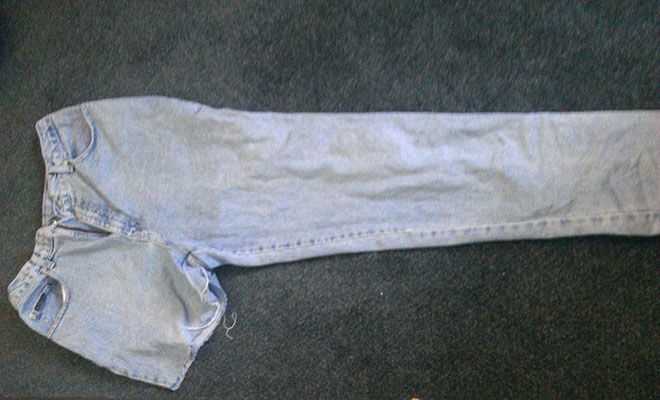
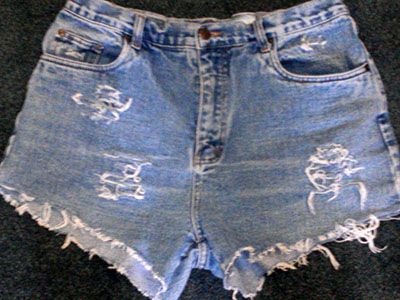
- Once you have cut your shorts to the desired legnth you are finished, however you may also want to add some cut designs to improve the look. In order to do this you are going to need scissors or a knife. Use the scissors to cut small slits where ever you want to add a distressed look to your shorts. After you have added the desired slits the next step is to wash the shorts. This will help make the lines you created look less clean cut.
Other Options
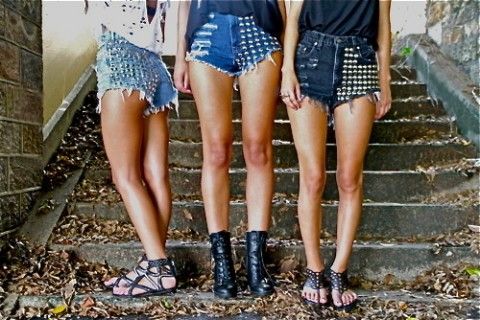
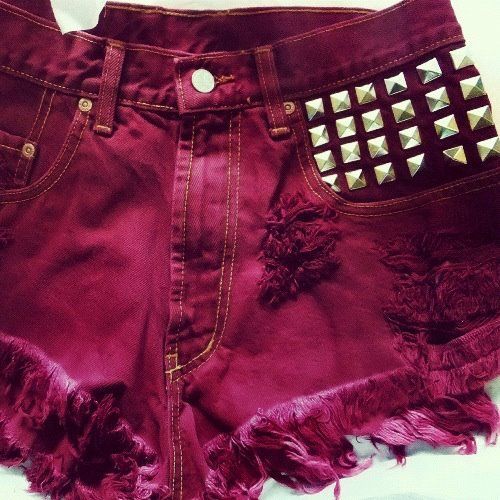
Adding slits to your shorts aren’t your only design options. You can also add fabric paint, studs, or other patches of fabric to add some flare to your new shorts. Below you will find examples of high waisted shorts myself and others have created.
