DIY Sharpie Nails, interesting!

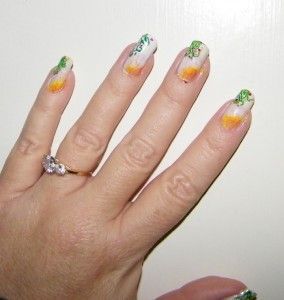
Here a a simple nail design that is made easy by using Sharpie markers for better control of your nail design. I’m a stick figure artist and this was easy for me to do so, if you have any artistic ability this should be a breeze!
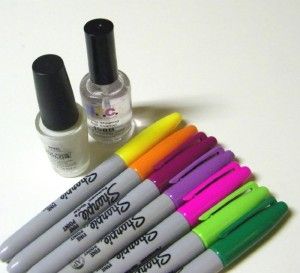
 Here’s a list of supplies you’ll need:
- clear coat nail polish
- white nail polish
- Sharpie markers in green, light green, pink, magenta, purple, orange and yellow
Now that you have your supplies here is your step by step lesson.
- polish your all of your nails with clear coat and let dry
- polish all of your nails lightly with white nail polish I recommend only one coat (for this tutorial we used NYC Little Italy) let your nails dry thoroughly.
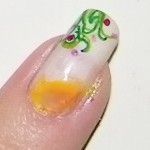
- in the upper corners of your nails use the orange marker to make a quarter sun (this does not have to be perfect at all as we are going to make is smear!) just below the orange draw a line of yellow.
- using the clear coat polish gently apply just to the upper part of the nail this will cause the marker to smear and give a soft sun look, let your nails dry again
- now with your green markers free hand some vines down in the opposite corner of the nail from the sun use your pink, purple and magenta markers to make little dots for flowers
- if you choose to use a top coat at this point you must gently pat it on the vines or they will smear!! Let the patted on clear dry and then finish with another coat of clear.
