How to use patching plaster
Pick a cute corner floral stencil by Martha Stewart and got out your patching plaster. It is very important to make sure that the plaster is smooth. If it is lumpy, add a little water and mix it up with you hand mixer. Center the stencil where you want it to go.
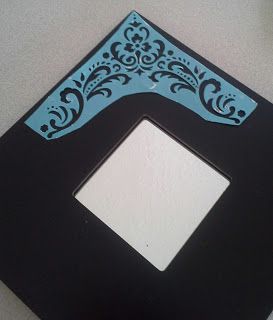 Now you are ready to add the plaster. Dip your finger in the plaster so you will have a good dollop to start spreading over the stencil.
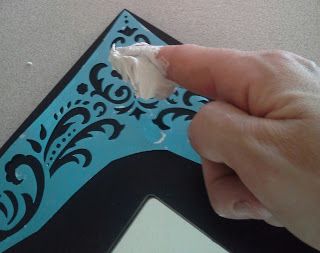 Now, slowly spread the plaster around the stencil. Add a little pressure to make sure the plaster is seeping into all the holes. Make sure the surface is fairly smooth. Wipe the excess plaster that may be outside the edges of the stencil with a paper towel.
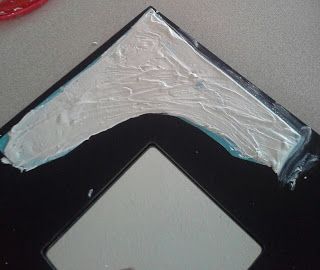 Very carefully, pick up an edge of the stencil and lift it off.
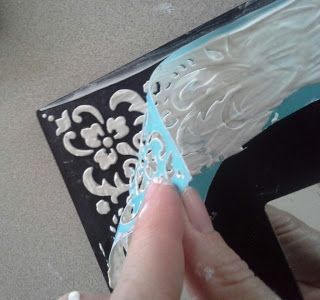
It may or may not be perfect when you lift it off. If there are only minor imperfections, you can usually fix them with a toothpick and a steady hand.
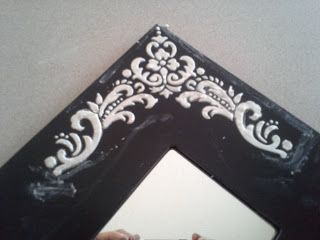 Add another applique to the opposite corner. As you can see, there is some plaster smeared around the applique. You can easily wipe it off once the plaster dries.
It takes about 2 hours for the plaster to dry. One it has dried, sand it gently with some 220 grit sandpaper to smooth it out, then prime.
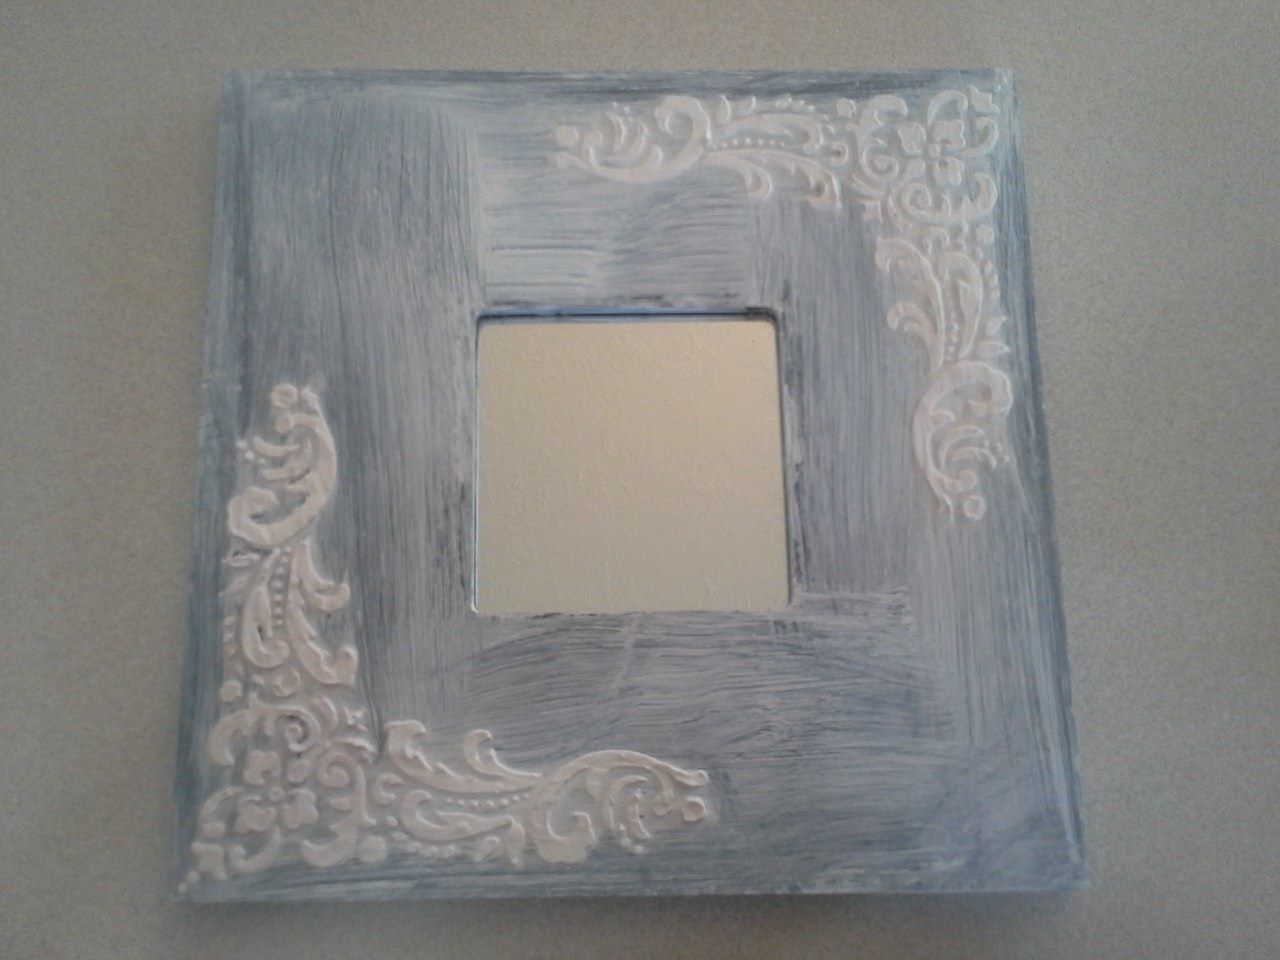 Once the primer is dry, lightly sand the whole piece.
Now you can paint!
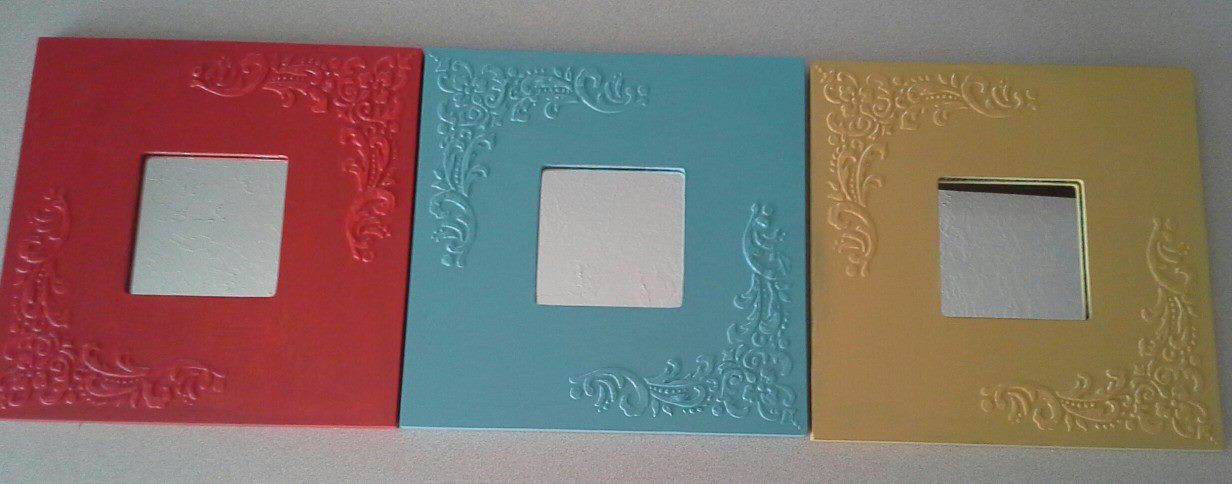 After the paint is dry, sand the appliques and any other areas you would like to distress with some 60 grit sandpaper.
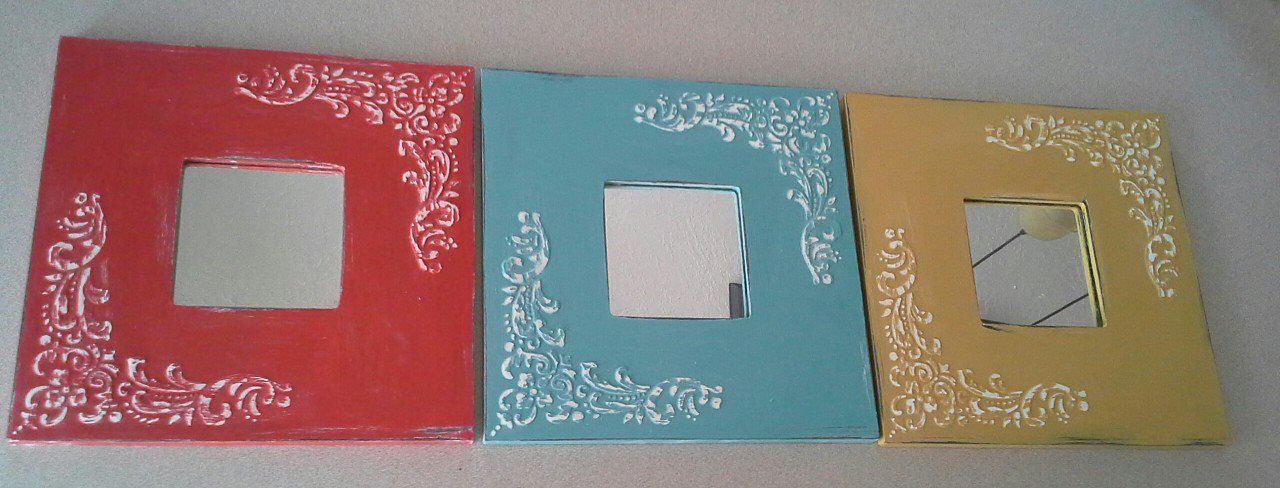 You can either leave the appliques white and seal the piece with wax, or poly, or you can add some stain.
Here is the final product
