


- All
- Best Sofas
- Furniture Outlets
- General
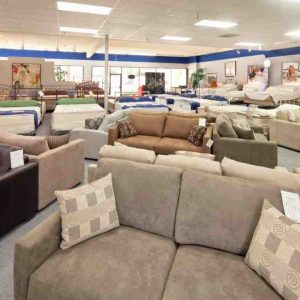
Introduction Finding stylish, durable, and affordable home furniture in Australia can be challenging—especially when you want premium quality without paying premium prices. That’s why furniture outlets in Sydney, including furniture warehouses, furniture factory outlets, and home furniture outlets, have become the go-to choice for homeowners looking to upgrade their spaces in 2025. These outlets offer discounted lounges, bedroom sets, dining suites, outdoor furniture, and luxury sofas for a...

Why Are Recliner Sofas So Popular in Australia? Recliner sofas have become a staple in modern homes because they offer unbeatable relaxation without compromising on style. Australians are increasingly looking for furniture that serves two purposes—providing therapeutic comfort after long workdays while also enhancing the look of their interiors. Changing Lifestyles The rise in popularity can be attributed to changing lifestyle needs. With more people working from home,...
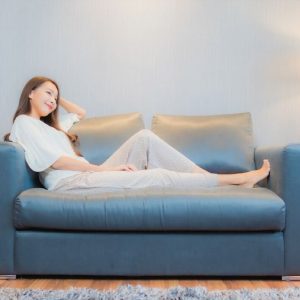
Recliner sofas Sydney homeowners choose reflect a growing desire for furniture that balances comfort with contemporary design. These versatile pieces have become essential in Australian living rooms, offering the perfect spot to unwind after long days while adding sophisticated style to interior spaces. Top-rated recliner sofas stand out in Sydney’s competitive furniture market because they deliver on multiple fronts. They provide ergonomic support that traditional sofas simply can’t...