If you want to learn to draw a simp
Ā
If you want to learn to draw a simple and easy anchor then you need to take a look at this drawing tutorial. It teaches you a step-by-step process to draw a simple anchor quickly. Find out more…
Step1: The Basic Shapes and Lines of an Anchor
With any drawing, you always want to start with a few basic shapes and lines.
Drawing an anchor is simple if you just follow along with these easy to follow steps.
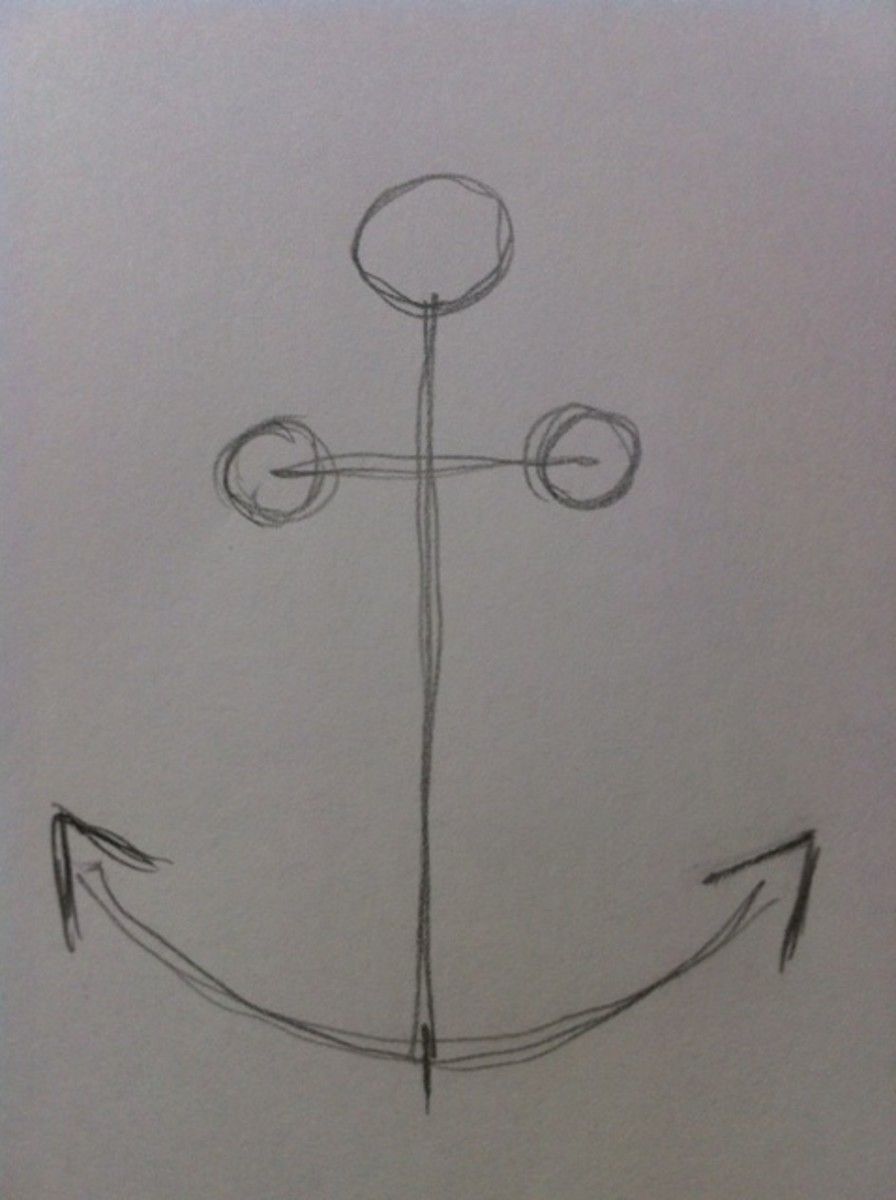
First, draw a straight vertical line that goes up and down. This is the shank.
From that line, extend a shorter horizontal line about one-fourth of the way from the top of your vertical line. This is the stock.
Next, draw a slightly curving line at the bottom of the vertical line. These are the flukes.
Finally, add a smaller circle at the top of the vertical line. This is the ring.
These are the basic shapes of a kedge type anchor.
Step 2: Add Some Basic Details
For this step, we’re going to add a few more foundational details.
On each end of the stock, add a small circle as shown in my drawing.
Toward the bottom, on the curving line, we’re going to draw two points like an arrow. These are the flukes of the anchor.
In the center of the curving line (flukes), add a small point. This will be the crown of the anchor.
Step 3: Add Some Weight to Your Anchor
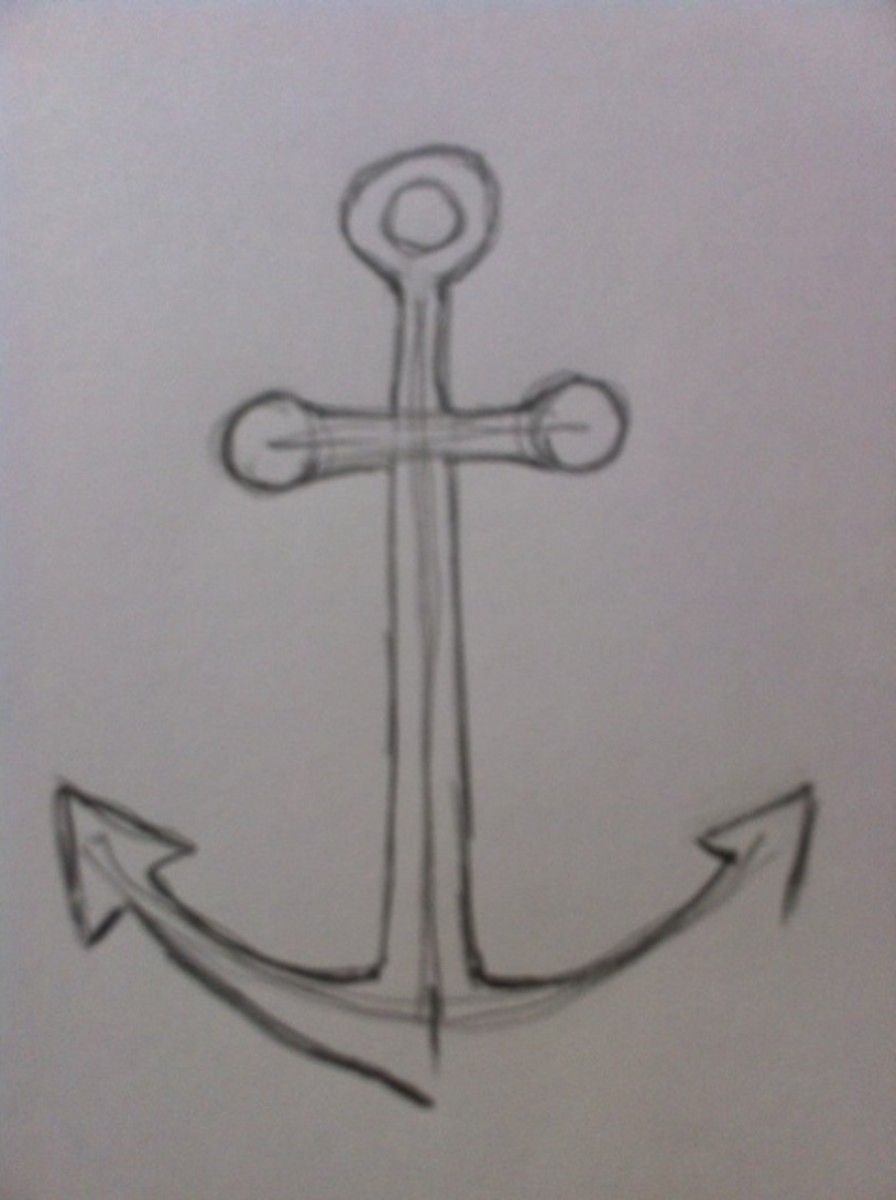
For this step, you’re just going to add some weight and dimension to the anchor.
To do this, simply make an outline around the basic lines you drew in step 1.
Study my drawing, or an actual picture of a kedge anchor, and try to draw your lines as you see there.
Notice that I have left the initial guidelines in the drawing. We’ll make use of these later.
Step 4: Finish the Basic Outline
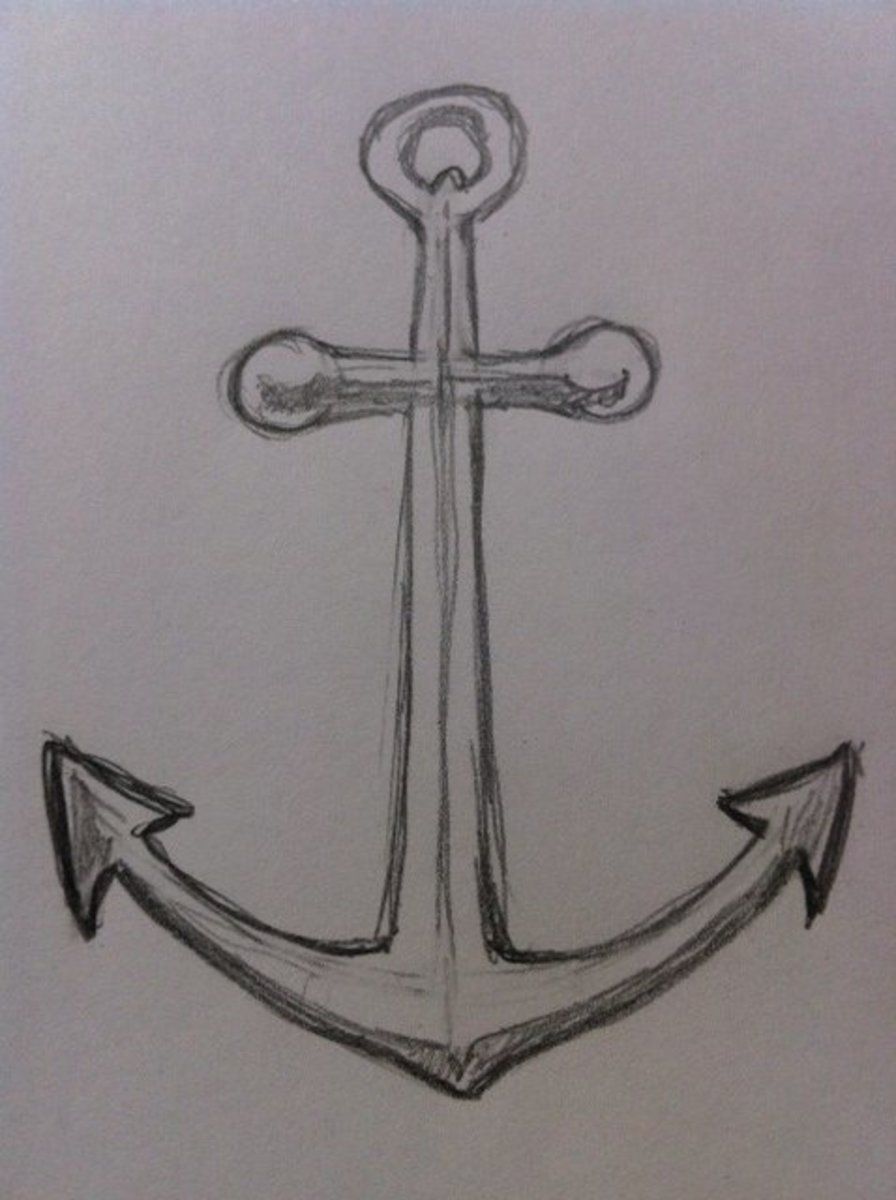
As you can see by my drawing over to the right, I have outlined the entire anchor.
I have also strengthened these lines by bearing down on my pencil a bit harder. This gives a strong, solid outline for the anchor.
On some areas of the stock and flukes, I have added some additional shading to give the anchor some depth and dimension.
Step 5: Finishing Touches
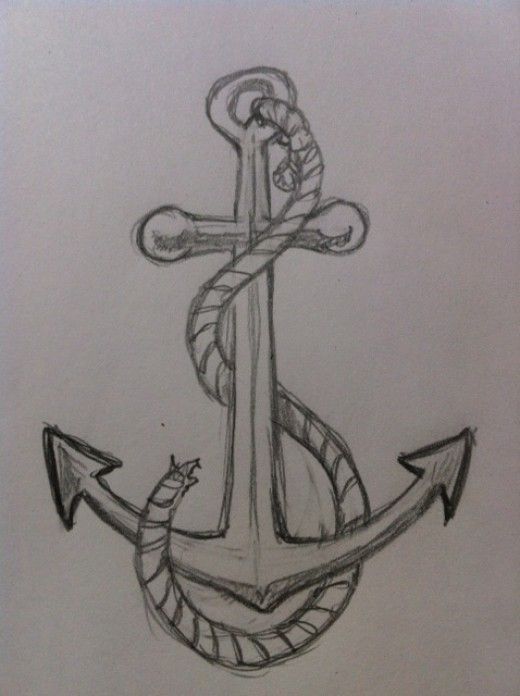
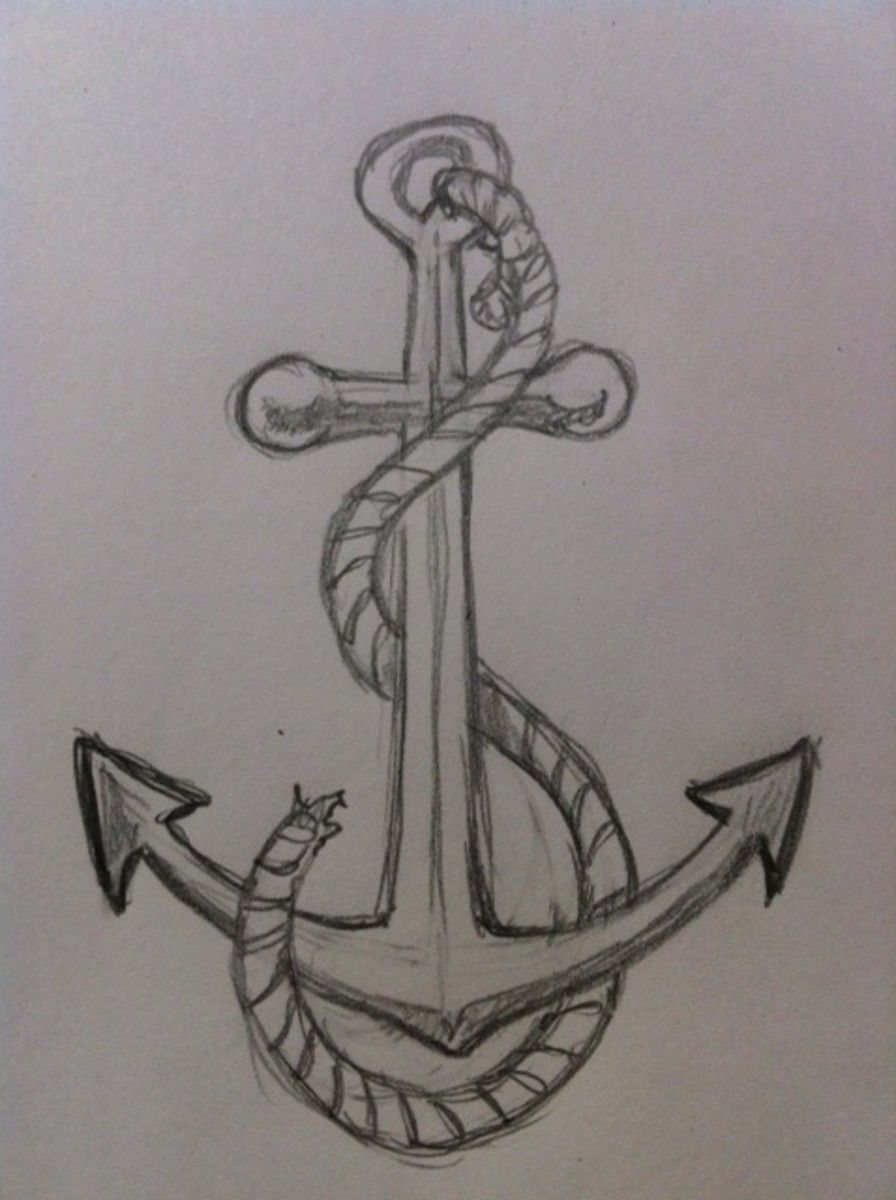
For the last step, I wanted to add one additional item: a strong rope.
To draw this rope, simply make a light outline of where you want the rope to be positioned in your drawing.
I added some small lines all along the length of the rope to appear as the winding strands.
Take note especially of the places where the rope appears in front of and behind the anchor.
This is not difficult to do if you simply pay attention to exactly what you’re drawing.
Remember, erasers are on the other end of a pencil because people make mistakes. If you make a mistake, simply erase it and begin again.