Mosaic Birdbath {Tutorial}
You will need:
a terracotta pot and large saucer, spray paint (if desired), tiles/glass gems , strong glue such as Marine Goop! or E-6000, white grout and sponges.
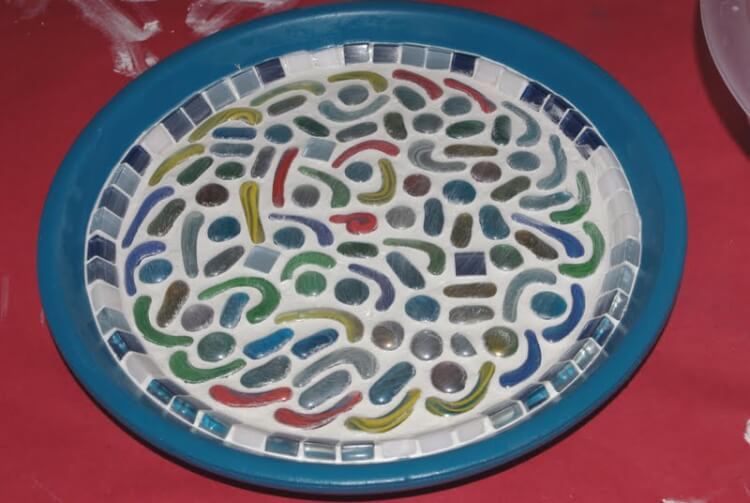
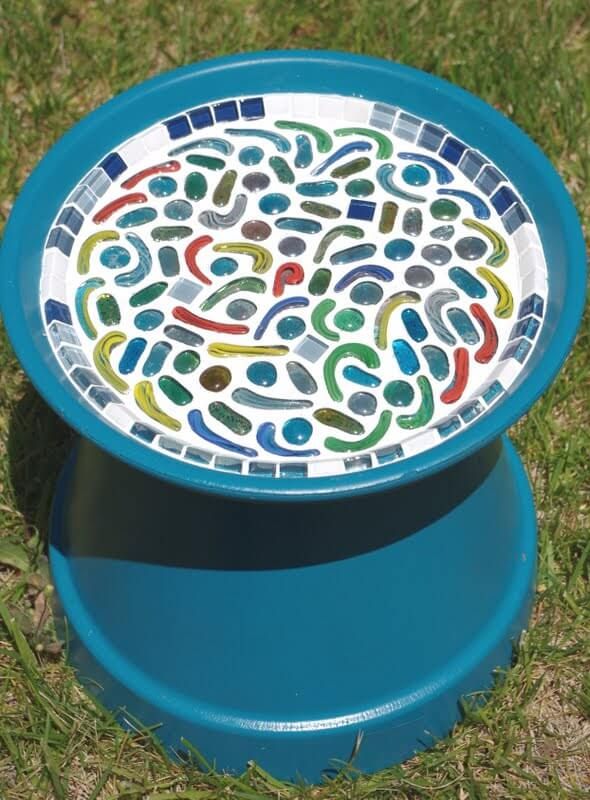
After painting our pot and saucer with a couple of coats of spray paint, we used our strong adhesive to glue the glass mosaic pieces to the inside of the saucer. I put a puddle of Goop! and a chopstick on a paper plate and supervised while my boys took turns creating their mosaic design (make sure you open the windows and get adequate ventilation!).
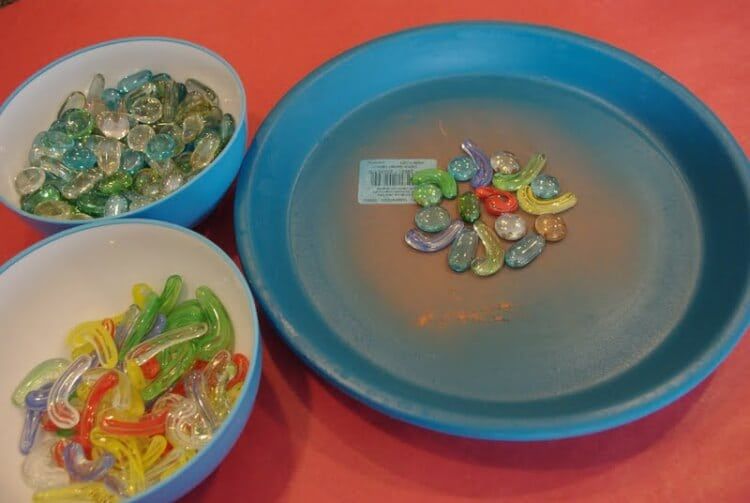
The boys started with a random assortment of glass shapes in the center, and then we rimmed the saucer with small square tiles to clean up the edges of their design. (See how I didn’t peel off the price sticker on the saucer there? Don’t follow my example here – in the end we could still faintly see parts of the sticker through the clear glass gems – oops!)
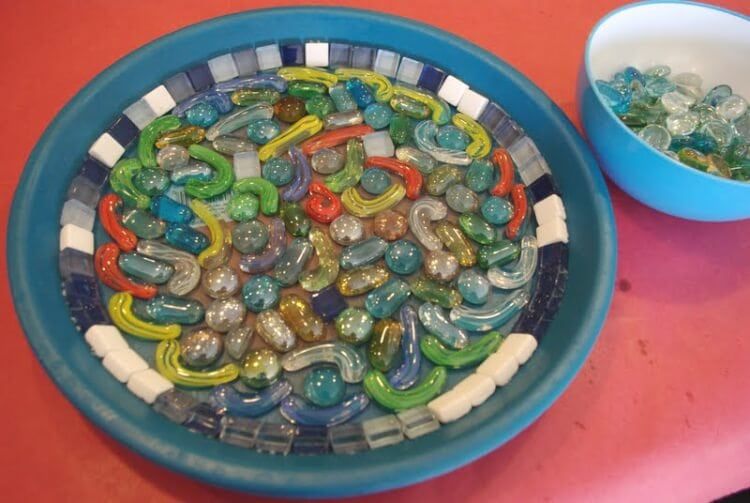
After all of our mosaic pieces were glued down, let the glue dry for several days before proceeding on to the next step.
Time for grout, mixed dry grout with water in a recycled container, and spread it on with plastic spoons.
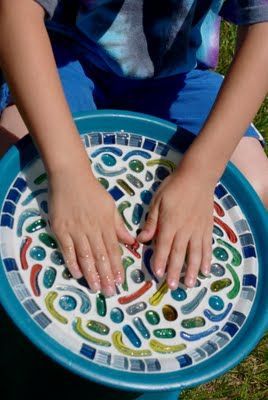
Made sure that it filled in all of the cracks between the tiles and gems. When the entire saucer was sufficiently covered they took turns wiping off the excess, and when it will almost done finish it up for them.
