19 fabric crafts For Men man shirt ideas
Page 19 of 19
Best Wholesale Men Shirt Suppliers near Me | Tooley

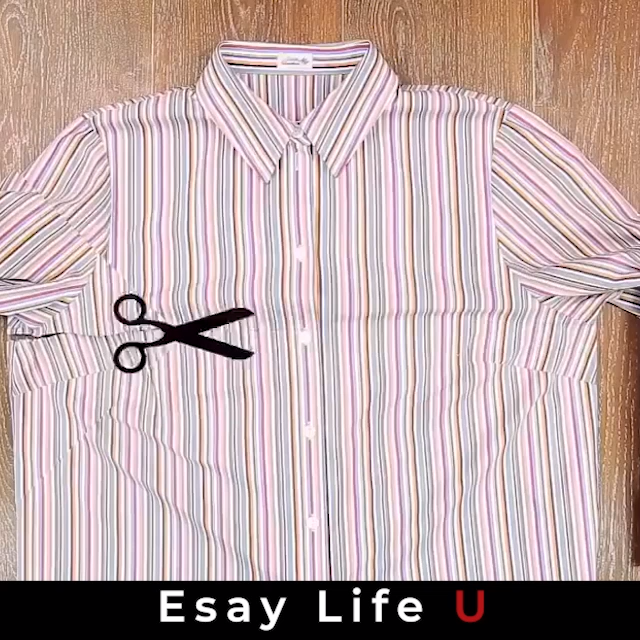
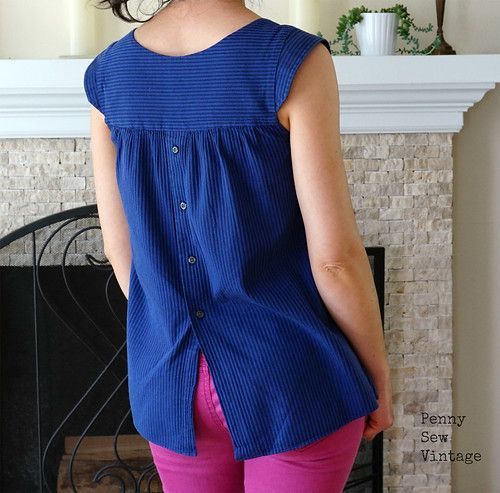
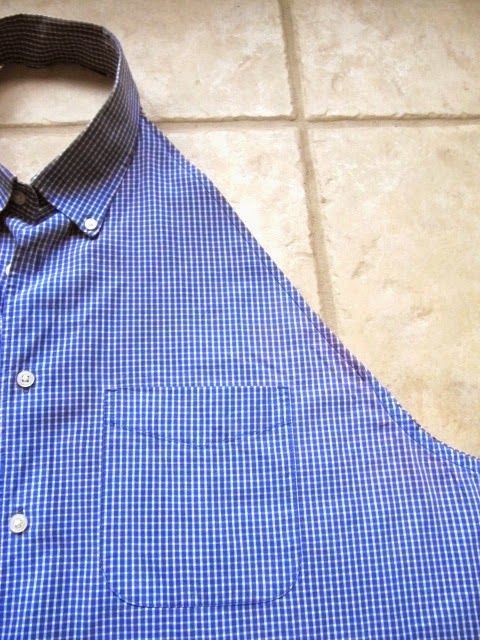
Clothes For Men | Buy 1, Get 1 Free: Best Wholesale Men Shirt Suppliers near Me | Toole… Hi Everyone! I’ve been cleaning out closets over the last couple months and most all of the clothes have gone to charity. There were some things that just need to go to the trash, but I saved them and “upcycled” them to useful things for around the house. My husband’s shirts were some of the things that I saved. They are worn out and sad, but perfect for aprons. I’ve seen these on Pinterest and wanted to give them a try. Here’s the before… Here is the after Just a few minutes of sewing and you’re done. Come on in and see!! The first step is the cutting… Most men’s shirts have double sewn finished side seams. I used this to my advantage to have a finish seam for the apron. No Sewing!! Just cut up the side seams. Continue to the armpit seam and turn to go towards the collar, still saving the seam near the sleeve. Here is the cutting around the sleeve, from the armpit, up to the collar. This is the cut shoulder seam leading up to the collar. Cut around the collar, keeping the sewn seam intact. Do that on both sides and it will look like this. Now at this point, I tried it on to fold down the shoulder part so that it slants at a diagonal like an apron does. The right side is folded in the picture below. I pinned it to the wrong side while it was on me. Now cut away the extra fabric and leave an inch for turning and sewing the seam Fold over twice to finish. Sew seam from neck to the end where the armpit was. If you don’t sew, you could also use Iron On Webbing. It comes on a roll about a 1/2 inch wide. It’s perfect for the seams and hems. Both sides sewn down. To make the ties I used the back of the shirt fabric. For one tie, I just cut the bottom hem off the shirt because it’s already sewn!! For the second tie, I cut a wider length of fabric and sewed another tie the same width as the hem tie. Sew each tie to the sides. You could also pin the ties on and sew the slanted seams at the same time with one line of stitching. Just back stitch the ties a few times to secure them better. They will be getting tugged on when you tie the apron on. All done and so easy!! Just unbutton the top buttons, put the apron on over you head and tie in the back!! I am going to make a few of these. They will be perfect for my husband and his 2 brothers when they are all cutting the turkeys and hams I serve for Thanksgiving dinner!! I little more “masculine” than my girly aprons!! Hope you will make some of these too. They are great for any messy project around the house cleaning painting cooking kid’s crafting Thanks so much for stopping by!! ~Karen~