T-Shirt Quilts
Instructions
Things You’ll Need:
• Pins
• Rotary cutters
• Sewing needles
• Threads
• Quilting needles
• Fabric for backing
• Quilt frame
• Scissors
• Fabrics
• Cardboard
• Sewing machine
• Rulers
• Batting
• Irons
Step 1
Decide how large a quilt you want to make.
Step 2
Collect, wash and dry T-shirts that contain images that you wish to include in your quilt.
Step 3
Sort the shirts by the size of the images.
Step 4
Add a 2 1/2-inch border to each side of the largest image. This frame will determine the size of all of the quilt squares and will allow you to figure out how many squares will fit on the quilt.
Step 5
Make a cardboard template using the dimensions from the previous step, then cut all the T-shirts to this size.
Step 6
Apply fusible non-stretch interfacing under each image to keep the edges from curling. Leave the interface about 2 inches larger than the fabric square.
Step 7
Lay out all of the squares on the floor or a table so that you can see how the quilt top will look.
Step 8
Sew each square to the next one, forming rows. Add sashing if desired.
Step 9
Sew the rows together and add borders made of woven cotton, flannel or non-stretch fleece.
Step 10
Cut and sew (if necessary) a durable, cotton-blend fabric or flannel backing or, if you have enough shirts, use shirts on both sides of the quilt.
Step 11
Fill the quilt with polyester batting.
Step 12
Finish the quilt by tying, or quilt in a hoop or quilt frame.
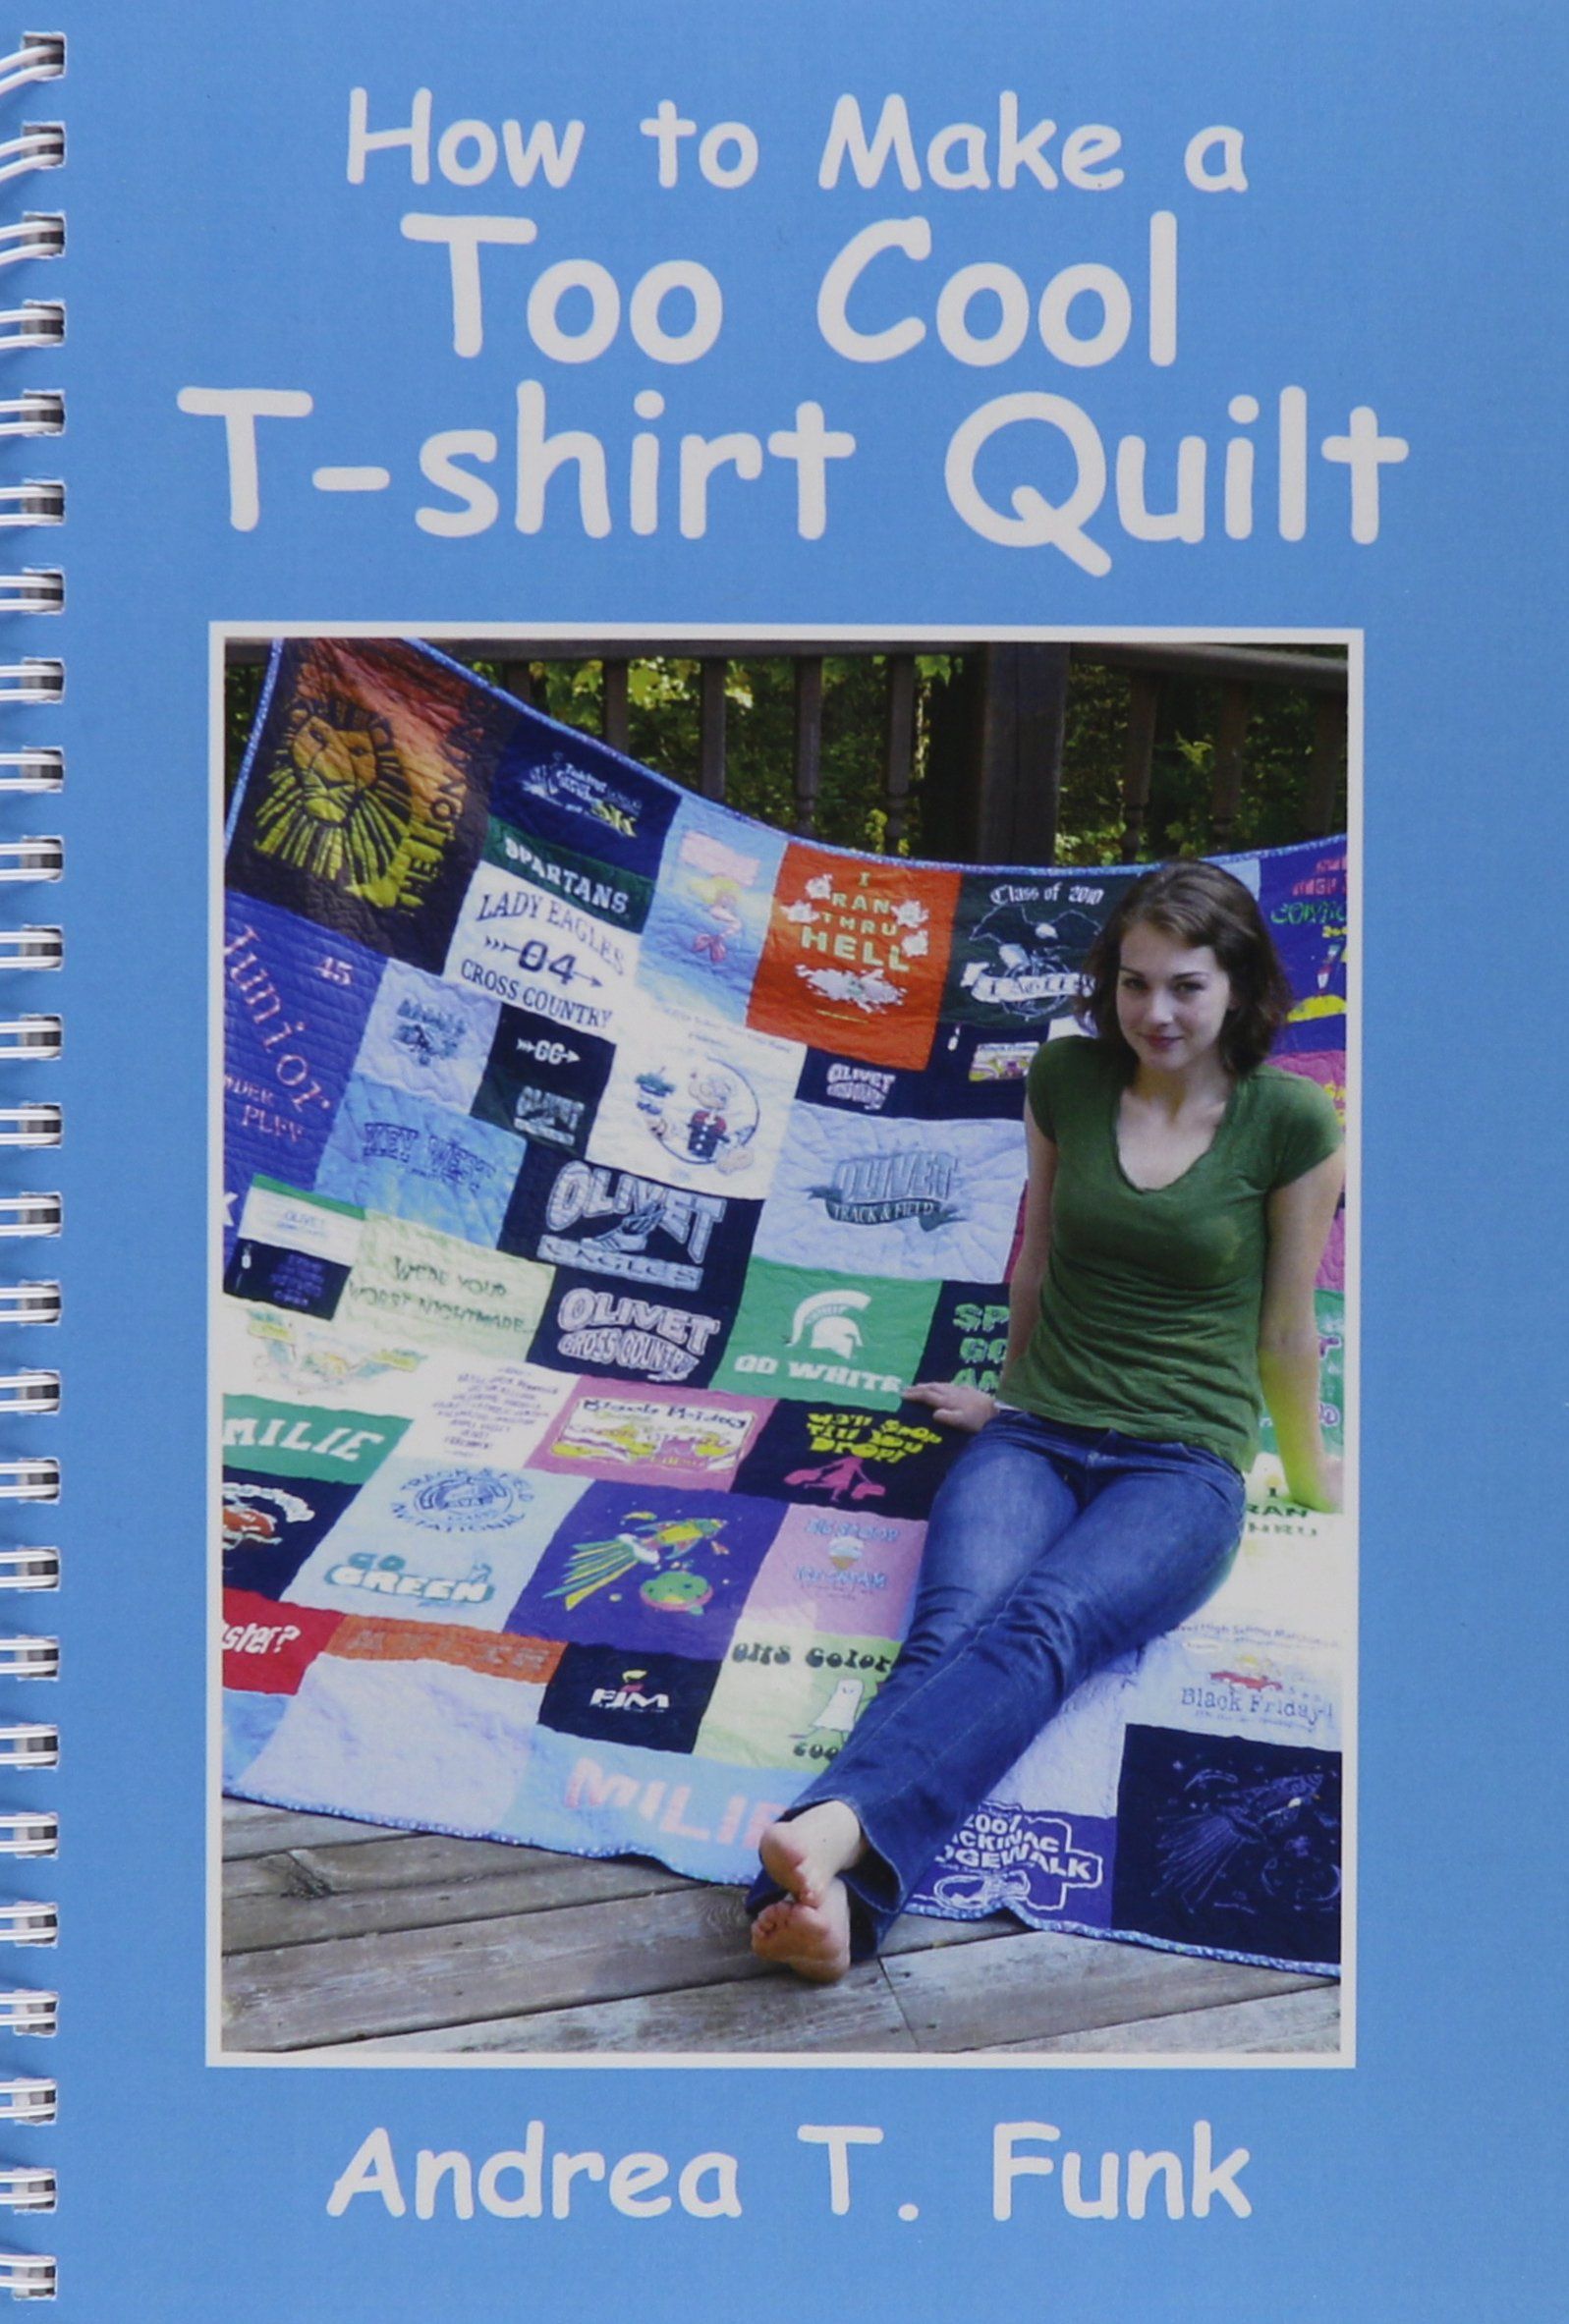
Many quilters are interested in making tee shirt quilts for family or friends. Everyone has a collection of t-shirts they can’t bear to throw away from vacations, rock concerts, sports or hobbies. Beginning quilters will have no problem making a T- shirt quilt of one of the types described in this article.
Your tee shirt quilt can be any size – a cozy lap quilt for the couch or a full sized bed quilt. If you have many tee shirts you can make every block from a shirt, but if you have fewer shirts you can put plain fabric in some blocks. The plain fabric can be cotton woven fabric or unprinted areas of cotton knit from your tee shirts.
Pull out all the tee shirts you think to use. Sort them by size of images on the shirts. Notice if there are smaller logos or designs on back and sleeves that you might also want to use. Roughly measure the sizes and make a list of the height x width of the designs you want to use. Remember to leave at least 2-3 inches around the edges of the printed logo or design for sewing.
You may have a range from as small as 4 x 5 inches (for sleeve or pocket designs) up to 12 x 15 inches from large adult tees. Smaller images and children’s designs will fall in the middle. Before you decide on what layout you want to use, browse through the Gallery of Tee Shirt Quilt images in Part 5 of this article. You’ll see there are many quilt layouts for arranging the blocks.
Tee shirts (4 to 36 = number depending on size of quilt), Interfacing (fusible, woven type), woven cotton fabric for sashing and borders, fabric for backing (woven cotton, flannel, or polarfleece) and batting if you choose to use it.
Interfacing
There are many brands of interfacing. Look for a woven type or a nonwoven that is not stretchy (don’t use a knit interfacing). You are using the interfacing to make the knit tee fabric non-stretchy for ease in sewing. Some interfacing needs to be pre-shrunk with water to avoid bubbles on the surface after fusing so read the directions from the manufacturer and test on a plain piece of tee shirt knit fabric.
Cotton Fabrics
You’ll be using woven cotton (ie. regular quilting cotton) for the sashing and borders of your quilt. You want the stability of a woven cotton, not stretch from a knit. Pick a fabric that will frame your tee blocks nicely. You don’t need to use a sashing, you can sew the blocks directly to each other.
Batting
You may want to use batting. A polyester batting with loft is fun if you are going to tie your tee shirt quilt. A cotton batting or blend is better for a machine quilted project. If you want a thin style quilt you could leave the batting out completely.
Backing
You may want to use tee shirts pieced on both sides if you have a lot of them. If not, a plain cotton backing used with batting is good. Or a flannel or polarguard backing is cozy and you can leave out the batting with these, too.
Preparation & Techniques
Decide Layout
Assuming you have all your tee shirts out and have studied them and possible layouts so you know your block sizes (see the section here on Blocks and Quilt Layouts to help plan, also look at the Gallery page to see sample quilts).
Washing & Cutting
Wash all tee shirts, if not previously worn you may want to wash them twice. Take the side seams apart (or if they were knit in the round you can slice one side and remove sleeves. Remember to save all the image areas if you t-shirt has small logos on sleeves, etc.
Fusing
Pre-shrink the fusible if needed. Cut the fusible interfacing about 2 inches larger than the size of your unsewn blocks. You may want to use a 1/2 inch seam allowance for your tee shirt blocks rather than the traditional 1/4″ of quilting to make sturdier seams. Following fusible manufacturer’s advice, fuse the interfacing to the tee shirt sections you plan to use.
Cutting the fused tee shirts
If all your blocks are to be the same size, you will find it convenient to make a template from cardboard, mat board or plastic template material. If you are a quilter with a rotary cutter, this is definitely the tool to use. Cut using a long acrylic rotary ruler and a mat. If using scissors, trace your template and cut. Cutting the sashing and borders: remember to leave 1/2 inch seam allowance if you choose to have extra. Thus a 3 inch sashing finished sewn size will mean you should cut a 4 inch wide strip.
Arranging blocks
If all your blocks are one size you can go directly to arranging their order. But, if you are using some smaller units of tee shirt images to make larger blocks (in a 4 patch block for instance) sew those first. Then clear off a place on the floor, a bed top or hang a big flannel sheet or batting on the wall to arrange your blocks.
Sewing
Sew blocks in rows, either horizontal or vertical inserting sashing pieces (if desired) as you go. Then assemble rows and add the borders.
Finishing
Layer top with backing and batting (or leave batting out if you choose) and quilt. You may want to finish this tee shirt quilt in the “reversed bag method” which is especially easy for a tied quilt. Layer the parts this way: put the top of the quilt right side UP and tape to the floor or tables with masking tape evenly around all edges, then put the backing fabric right side DOWN against the top (ie. the two right sides are together), then place the batting on top (if desired to have batting). Pin or baste to hold the edges together. Sew around 3 full sides and 2/3 of the 4th side leaving an opening with a 1/2 inch seam. Trim the batting close to the seam, but don’t trim the fabrics and turn the whole quilt right side out. Hand sew the 1/3 opening on the 4th side. Tie closely every 4-5 inches or quilt the quilt.
You can, of course, use just plain blocks made entirely from the image area cut from the tee shirts. Quilters seem to use a 14″ – 15″ block most often. But you may want to adjust sizes of a smaller image area so that not so much plain tee shirt fabric shows (by using something like the Diamond in a Square block). Or, you may want more variety in layout.
Here are a few block ideas – then see them used in sample T-shirt quilt layouts on the next page. Use your imagination to make blocks anyway you want, there are no “rules” in making tee shirt quilts!
Some other ideas are to shape your block by adding fake “sleeve” sections so that they look as if they were mini-tee shirts.
These quilt blocks have images meant to indicate where the tee shirt blocks are. All blocks here were prepared with Electric Quilt 4.0 and PhotoImpact graphics program.


Use a log cabin type of method to add borders to the tee shirt center. This allows adjusting the size of any tee shirt image area to match other blocks and is handy if you have a big variation of tee shirt sizes. Add more border than you are sure you need and then use your template to cut out the block to desired size.

If you have small logos from sleeves or pocket areas, or perhaps patches such as sports patches that are much smaller than the tee shirt sections you can make them into larger four patch blocks.
Here are some free Tee Shirt Quilt Layouts for different size quilt tops.
With additions of wider borders or wider sashing you can shift the sizes easily and adjust for using different sizes of tee shirts. Most quilters doing t-shirt quilts seem to like a block size of 14 – 15 inches. Smaller logos or images can be grouped into a 4-patch to make one larger block so you can use up the smaller images on a quilt.
These quilt layouts have images meant to indicate where the tee shirt image blocks are. All images here were prepared with Electric Quilt 4.0.

Make A Pillow Size
This pillow layout shows tee shirt panels surrounded by extra borders added before pillow border is added to make the pieces larger. This same idea can be used to adjust sizes of tee shirt pieces in large quilt where they are various sizes, too.

Make A Lap Size

Note that the first 2 below show the tee shirt front with added corners of cotton fabric to make a Square-in-a-Square block and have smaller large areas of tee shirt fabric. This would be suitable for smaller shirt images where you want to show less blank fabric.

Make A Single Or Double Bed Size