19 diy Box basket ideas
Page 5 of 19
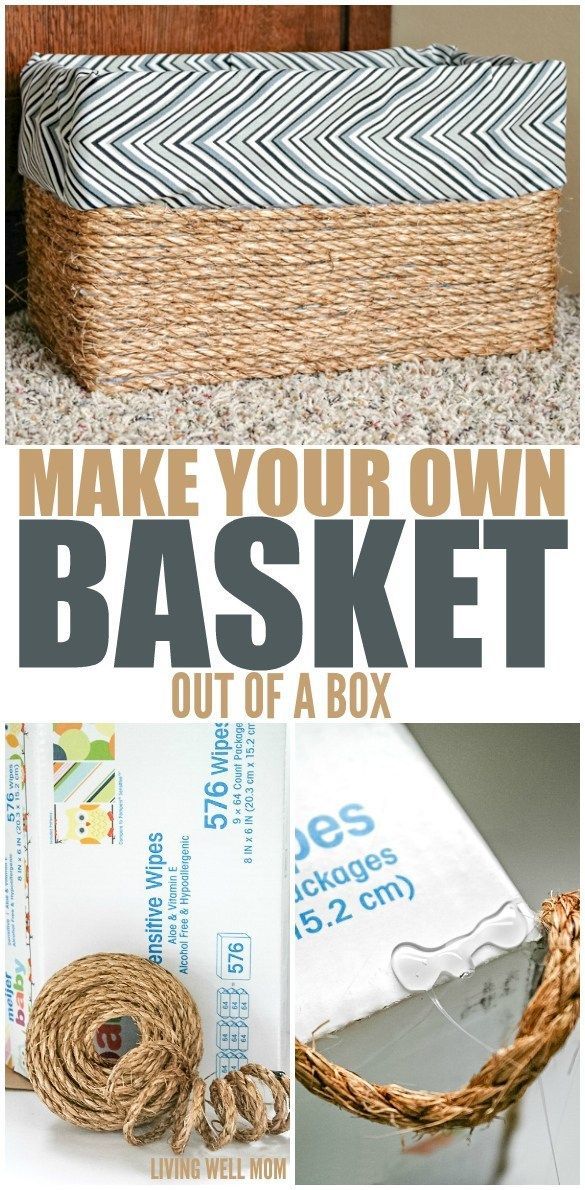
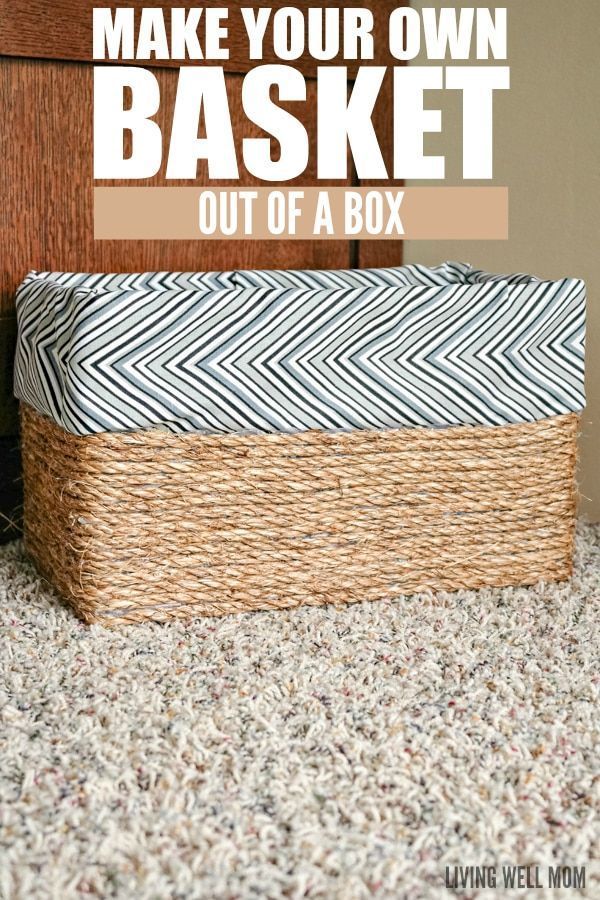
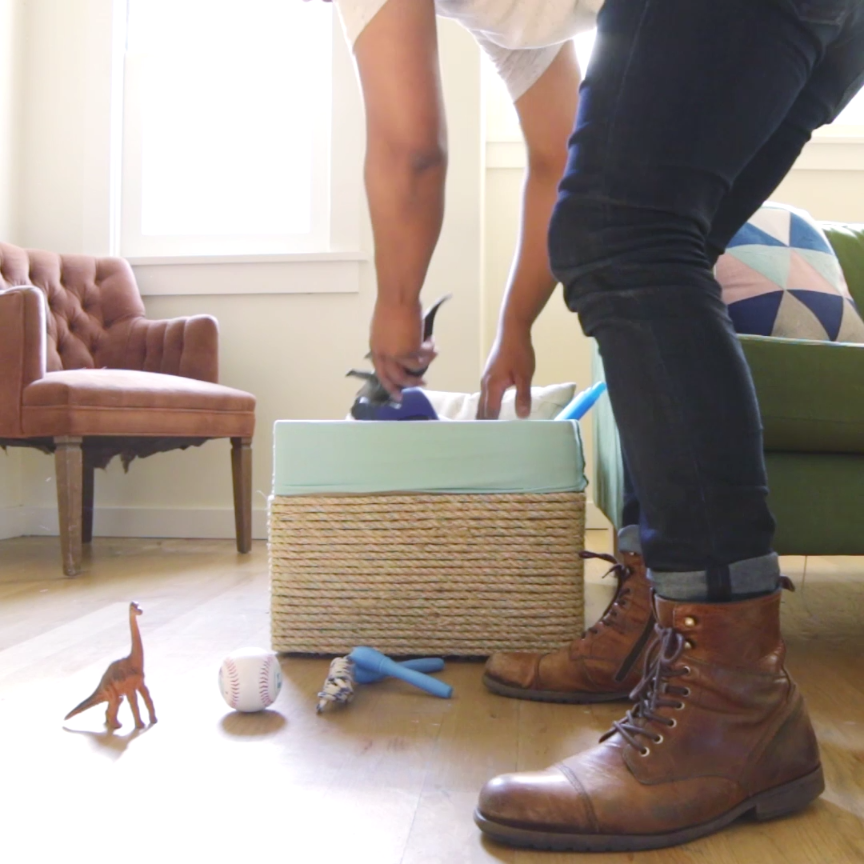
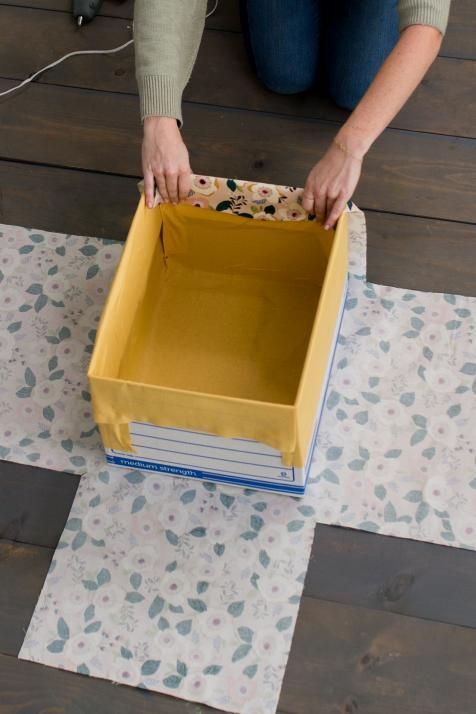
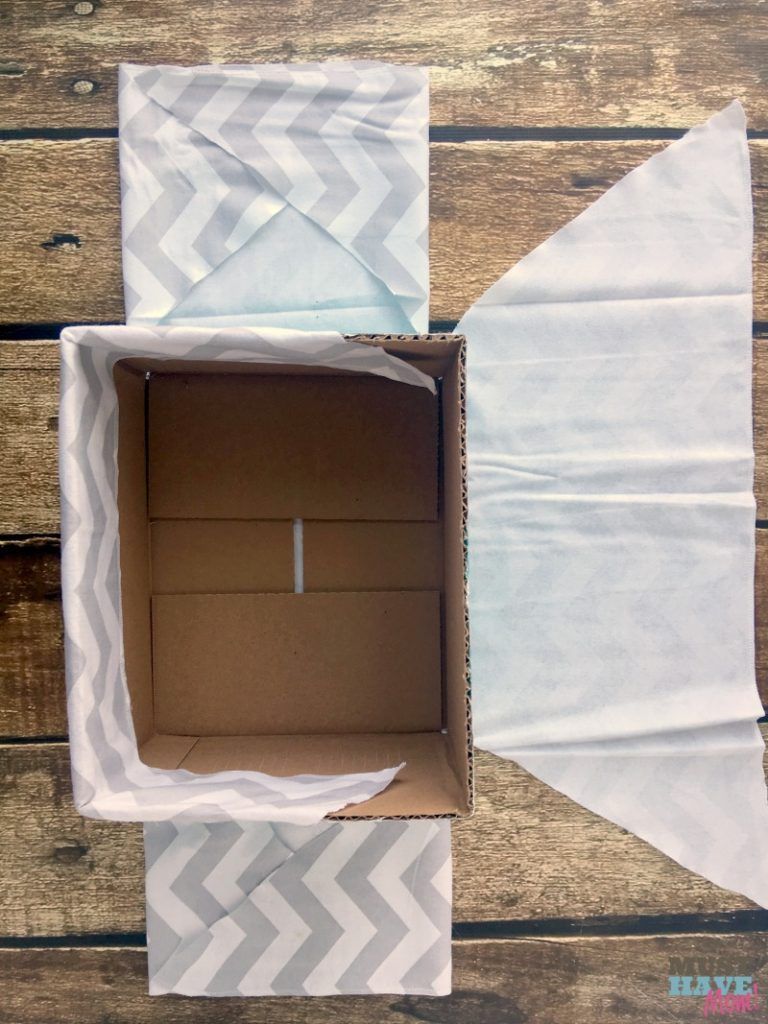
How to Make a Custom Basket Liner – ELIZABETH JOAN DESIGNS

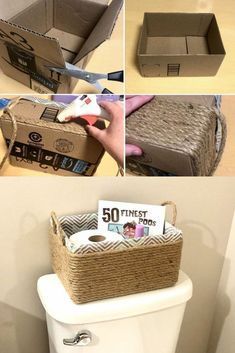
Since re-sharing our Boxes into Baskets post, we have had many requests for a tutorial on how to make a custom basket liner. I have put together a step by step guide for you. (Yes there a lot of steps, but don’t be intimidated. It should only take about 30 minutes to make.) Without further ado, here are instructions and tips so you may create your own. Disclosure: This post may contain affiliate links, which means we may receive a commission if you click the link and purchase. Please check out our disclosure policy for more details. Supplies Basket/Container – Anything you would like to line. Tape Measure– I personally like a fabric one for projects like this. Fabric– This can really be anything you want to make your liner made out of. I usually use inexpensive muslin to keep the cost down, but today I am using different colors of fabric to make it easier to follow along. Rotary Cutter – Scissors work too! Cutting Mat – This is optional. You may not need one if you are using scissors. Straight Pins– In my opinion, an absolute must. Sewing machine– Hand stitching is also acceptable, but may take a little longer. * If you don’t sew and still want to make a custom basket liner, exchange the sewing machine for Thermoweb Heat’n Bond Hem Iron-On Adhesive-3/8?X10 Yards, a clothes iron, and ironing board. (Check the Thermoweb Heat’n Bond packaging to make sure your fabric choice is conducive to working with this product. Cotton is usually a safe bet.) 1. Use your tape measure to grab the height and width of all four sides and the bottom of the box. 2. To me the trickiest part is the math. I first added one inch to all of the original measurements to assume a 1/2? seam allowance. Then, I added 2? to the height of the sides, so the finished liner will be able to hang over the top of the box/basket. (FYI: I only added 1? when I made the white muslin liner. This is so you can see the difference in lengths between the two and choose what works best for you.) * For this project, if you decided not to sew, I suggest using Thermoweb Heat’n Bond Hem Iron-On Adhesive-3/8?X10 Yards. This way you will not have to alter the math equation to fit the width of the adhesive. 3. Use the rotary cutter or scissors to cut the fabric to the final measurements. (My finals are typed in green on the chart.) For tutorial purposes, these are the fabrics I used for each section. 4. With front sides of fabric facing each other, pin section 1 to section 2 together down left hand edge. Sew along pinned edge assuming 1/2? seam allowance. * For the non-sewers out there, every-time you see the word “sew” in this tutorial, place and pin the Thermoweb Heat’n Bond Hem Iron-On Adhesive-3/8?X10 Yards along the edge and press with iron to adhere. Be sure to follow the instructions on the packaging as different brands may vary. 5. Open up your newly sewn piece, lay section 3 face down on section 2, and pin together down right hand edge. Sew along pinned edge again. 6. Repeat step 5, but this time lay section 4 on section 3 and pin together on right side. 7. Fold top edge of fabric strip. 8. Then, fold again to hide rough edge and pin. 9. Sew along edge. 10. Fold fabric strip in half so that the print side of section 1 is on top of the print side of section 4. Pin along edge and sew. 11. At this point, it should look something like this. 12. Now it is time to add the bottom piece. Pin bottom fabric section with front side of fabric facing upward to the sides piece. 13. Finally, sew along all four sides. Make sure the corners are secure so you don’t end up with any holes in your liner. Congratulations! You have now finished making your own custom liner. Yay! Now that wasn’t so bad, was it? Here is how mine turned out using the muslin fabric. __________________________________________________________You may also like: