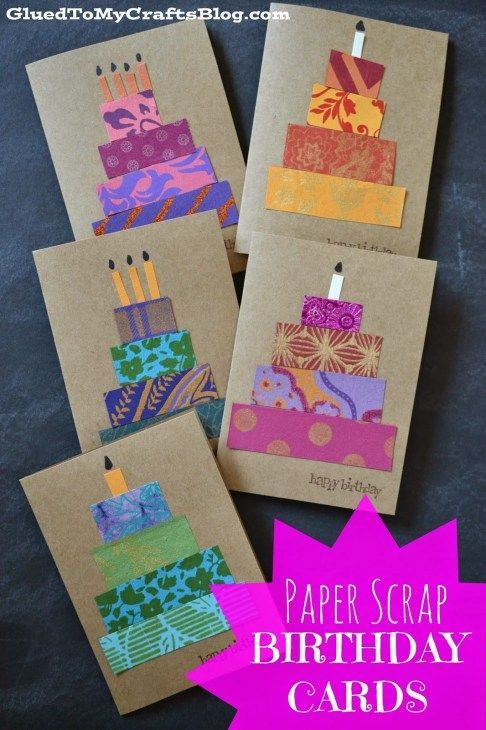
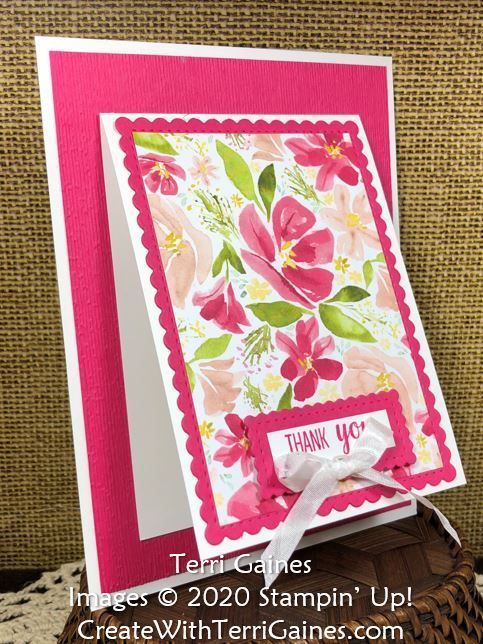
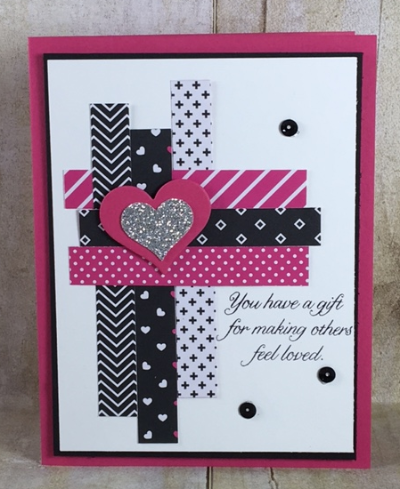
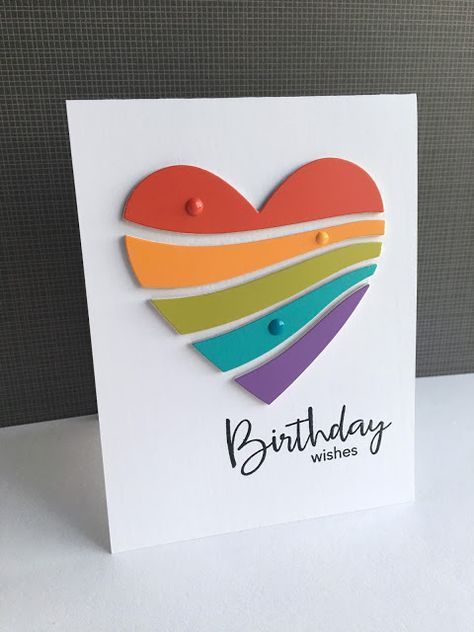
19 diy Paper cards ideas
Page 9 of 19
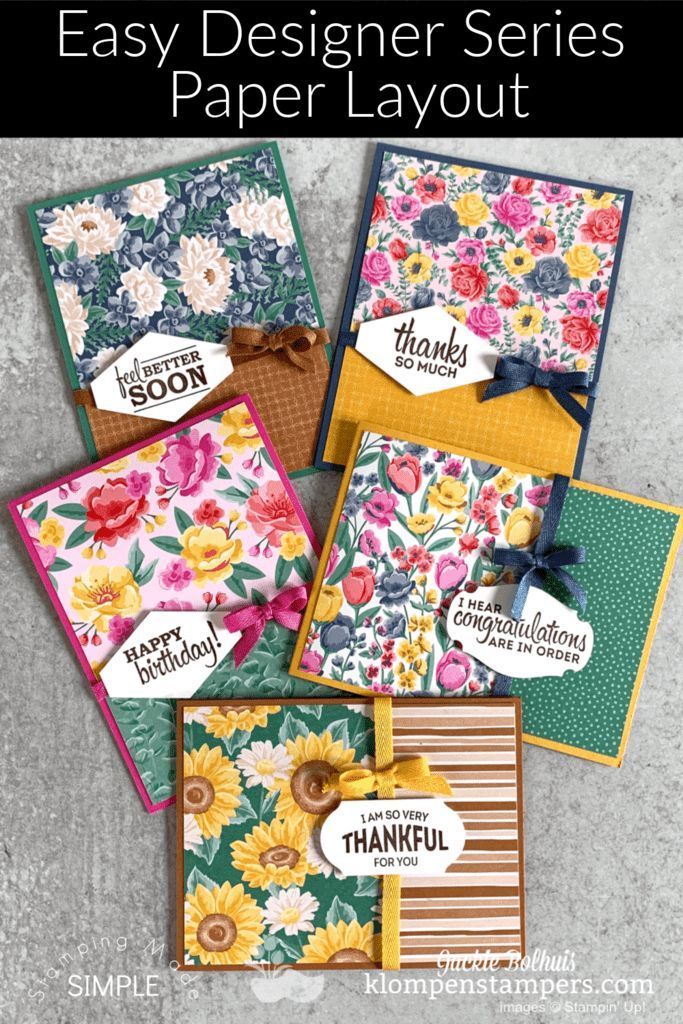
How to Make a Mini Paper Mask for Your #sharesunshine Cards

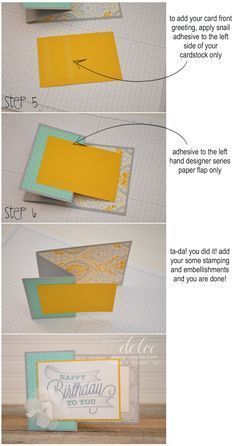
Hi Friends, I’ve sent out a bunch of these Share Sunshine cards and had some requests for how I made the paper face mask, so I put together this quick tutorial. Here’s the finished card- This is a great card to use up small scraps of your favorite colorful designer papers. I used paper from the Tropical Oasis Designer Series Paper pack on this one. The paper I’m using for my tutorial is part of the Peaceful Poppies Designer Series Paper pack. You’ll need a piece of designer paper 3-5/8″ x 4-1/4″. Score the short side at 1″, 1-1/4″, 1-3/4″, 2″, 2-1/2″, & 2-3/4″. Adhere a narrow strip of double-sided adhesive tape in-between the scorelines you made that are 1/4″ apart. I used 1/8″ tape, but if you don’t have that you could split a piece of 1/4″ tape in half. Fold on the scorelines as shown. Remove the backing from the tape and adhere the pleats. Use your bone folder and give them a good press. Use the Stitched Nested Label die that fits your mask and run it through your die-cutting machine. Depending on your machine, you may need to run it through more than once to cut through the layers. And there you have it! Cut two 3-1/2″ pieces of twine, make a loop from each and tape them to the backside. Coordinating twine is nice, but if you don’t have any, Whisper White works just as well. You can give a little curve to your mask by running your bone folder across the back. I attached it to my card with Stampin’ Dimensionals to make it really pop. You can purchase the Share Sunshine Digital Download here for $12. It’s a great buy with 13 pages of images and sentiments! Here are links to some of the supplies I used to make my miniature paper masks: Tropical Oasis Designer Series Paper [151252] $11.50 Peaceful Poppies Designer Series Paper [151324] $11.50 Whisper White Solid Baker’s Twine [124262] $3.50 Paper Trimmer [152392] $25.00